
Blogging has become one of the most popular forms of communication and self-expression in today’s digital age. With the rise of platforms such as Showit and many others, creating and publishing blog posts has never been easier.
Below, we’ll take a closer look at how to blog with Showit, so make sure to check it out!
Showit and blogging
Showit allows users to create websites using a drag-and-drop interface. One of the main advantages of Showit is its ability to integrate with WordPress.
Thanks to this integration, users can create and design their website using Showit, while WordPress handles the backend, including hosting and managing content.
With this in mind, Showit is an ideal platform for bloggers who want to focus on the design and visual aspects of their websites without worrying about various technical aspects such as hosting and security.
How to set up a blog on Showit in 4 easy steps
If you’re planning on setting up a blog on Showit, these four easy steps will guide you through the entire process. Feel free to follow them and create your Showit blog in seconds.
- Step: Create a Showit account
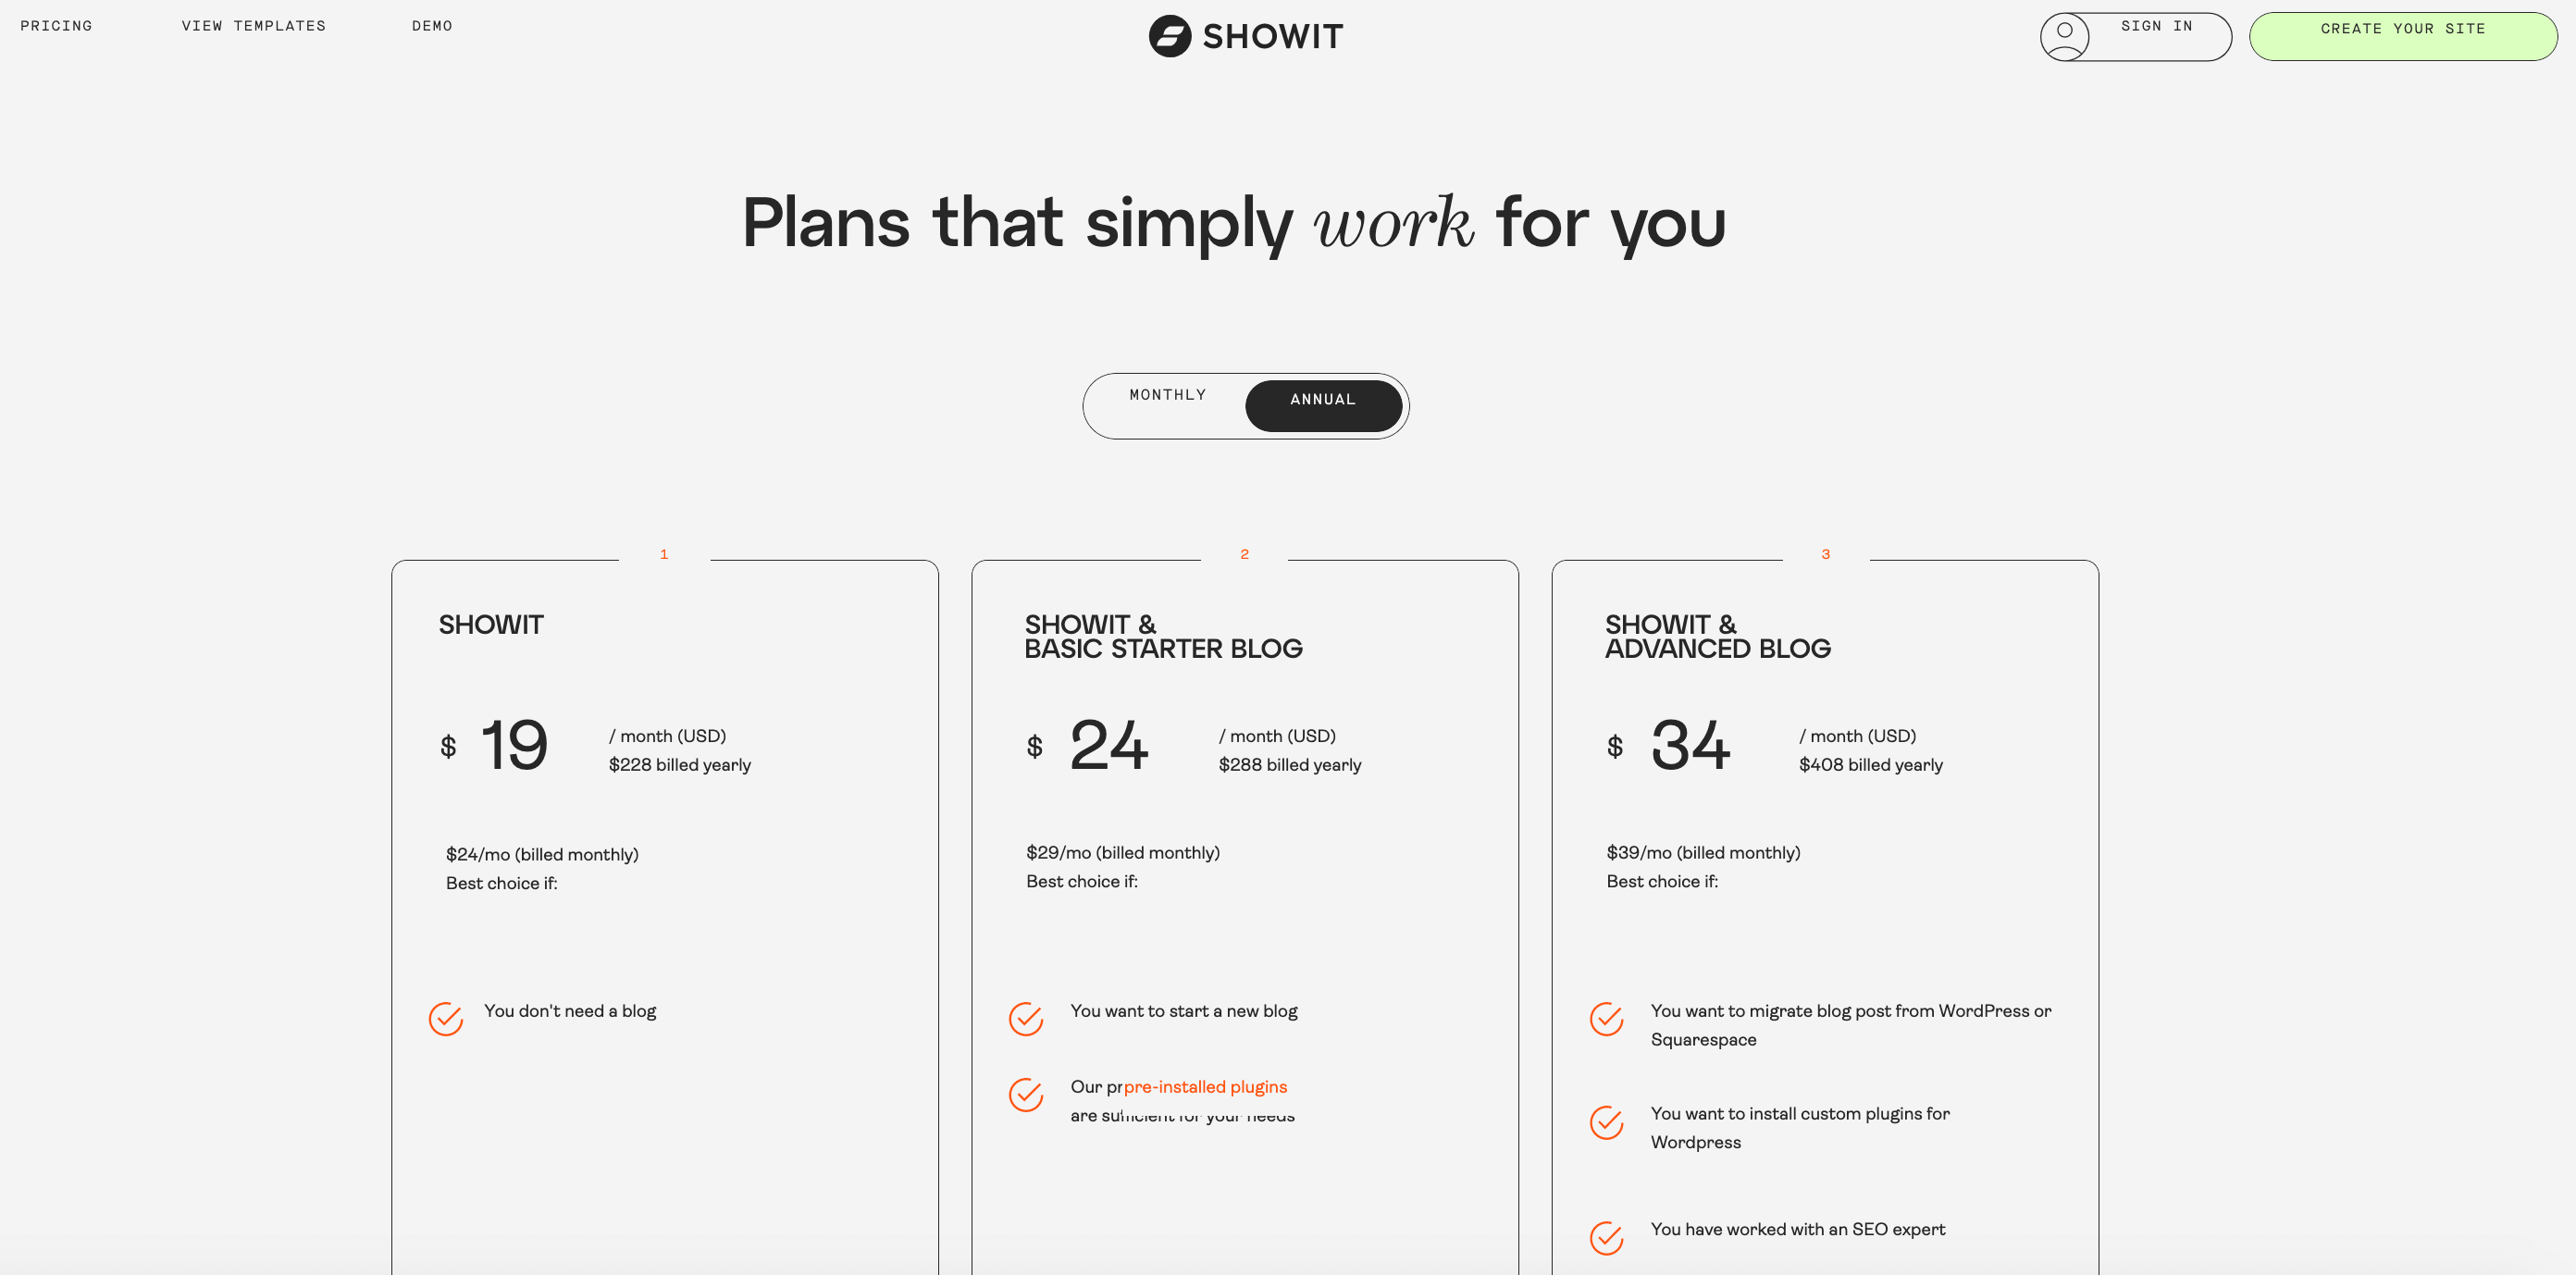
To start, create a Showit account by visiting the Showit official website and signing up. Then, choose a plan that best suits your needs and budget.
- Step: Choose a blog template
Showit offers a wide range of blog templates to choose from. Browse through the available templates and select the one that matches your blog’s style and tone.
- Step: Set up your blog pages
Showit allows you to create multiple blog pages for different categories or topics. You can add blog posts, images, and videos to each page and organize them according to your preference.
- Step: Connect a domain
Once you have customized your blog, connect it to a domain name. Showit offers a built-in domain manager that makes it easy to purchase and manage your domain.
Customizing your Showit blog
It’s important to mention you can also customize your new blog with Showit’s numerous customization features. Here are some of our favorite ideas:
- Choose a color scheme;
- Use high-quality images;
- Optimize for SEO;
- Implement widgets.
Additional tips for blogging with Showit
These additional tips can elevate your Showit blog to a whole other level.
- Use a responsive design – Make your blog mobile-friendly and responsive by testing out different templates.
- Use categories and tags – Organize your blog posts into categories and tags to make it easier for readers to navigate your blog.
- Engage with your readers – Encourage your readers to leave comments and engage with your blog posts. Respond to comments and feedback to build a community around your blog.
- Promote your blog – Use social media and email marketing to promote your blog to the existing audience and attract new readers.
Conclusion
Setting up and customizing a blog on Showit is a fairly straightforward process. Its user-friendly interface helps you create a blog that’s both unique and visually appealing. With these tips, you can launch a successful blog that showcases your skills and expertise.
