Every WordPress admin menu is looking the same after the installation. That might be a good thing if you work on different sites powered by our beloved WordPress, but if you’re creating a blog for a client, you might want to modify the admin menu to achieve a unique look.
Although there aren’t that many options on the WordPress Dashboard, you can still quite easily change things on your own. In today’s guide, let us show you a few quick tips which will help you modify a WordPress admin menu to your needs:
- Rearrange your WordPress admin menu
- How to customize WordPress Admin Menu
- How to change colors in admin menus
- How to change colors in admin menus without plugins
Rearrange your WordPress admin menu
After you begin to add new plugins and functions to your blogging system, you’ll keep on stacking up the icons in the admin menu and you can easily end up with a confusing menu where your authors won’t be able to find their posts or a gallery to add new images.
That’s when you will start to think about rearranging the icons. And that’s where a simple plugin will be a great assistant for you.
Admin Menu Manager – Price: Free
After you install this free & lightweight plugin, you will get only one option. And that’s the option for editing the menu.
If you hit the button, your menu goes “under construction” and you are free to move the elements around. Drag and drop menu and submenu items and create a menu that suits you the best. Do you want a “New Post” link to be right next to “New Page”? You can do that. Actually, you can rearrange elements however you want. You can drag a top-level menu item into a submenu and the other way around, so why wouldn’t you have a “New Post” item hanging by itself instead of having it into a submenu? It’s your choice.
If you’re still not sure why this little plugin is so cool, take a look at demo video.
How to customize WordPress Admin Menus
While the WordPress frontend is highly customizable and you literally have limitless options for your site, the backend i.e. the WordPress Dashboard is somewhat limited and you’re basically stuck with what you got.
Since there are plugins for almost everything in WordPress, why wouldn’t there be one which will let you customize your admin area? Well, there is, and not only one of course.
If you’re into coding, you might not be interested in this part of the guide because we’re not going to show you the code behind the plugin but only give you a short guide on how to set up plugins and easily change the design of your admin area. But you probably want just that, don’t you?
Client Dash – Price: Free
For starters, you might want to change the admin menu for yourself or any other user. This can be easily done with this free plugin where you have the power to change the entire menu which you see while working on your WordPress blog. For example, you can add new menu items, remove ones you don’t need or don’t want to make accessible for a specific user role, you can change icons, etc. So, how to do that? Let’s start:
- Go to Plugins -> Add New
- Install and activate Client Dash plugin
- Navigate to Settings -> Client Dash
- In the second tab, choose “Menus”
- Select User Role and click “Add Menu”
This is where your customization starts. After the plugin has done creating your new menu, you will see the screen as it looks right now. Here you can add or remove the menu items, type in new labels, and even change the standard icons. Whether it is a post type you want to add or maybe a custom link, Client Dash will let you do that. Drag and Drop items and create yourself a personalized menu that will make you work faster.
Admin Menu Editor – Price: Free or $19 (Demo)
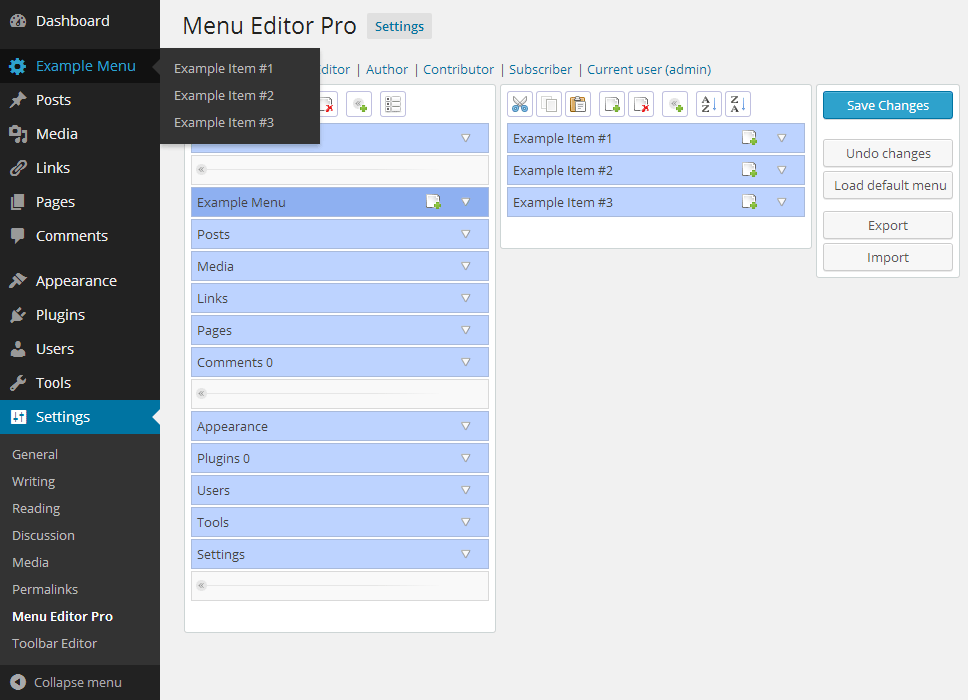
Although more popular than the previously mentioned plugin, Admin Menu Editor comes in free and premium version so you will have to buy the license if you want all the extra features. There aren’t big differences between the plugins and Admin Menu Editor will also give you the ability to rearrange menu for yourself or any other user role simply by dragging and dropping menus and submenus where you want them.
You can change access rights, icons, and titles for all menus, export and import them and even use shortcodes. Check out the PRO version demo to see the real power of this plugin.
- Install the Admin Menu Editor and activate it
- Navigate to Settings -> Menu Editor (PRO)
- Select User Role and set up the menu as you like
- Save changes
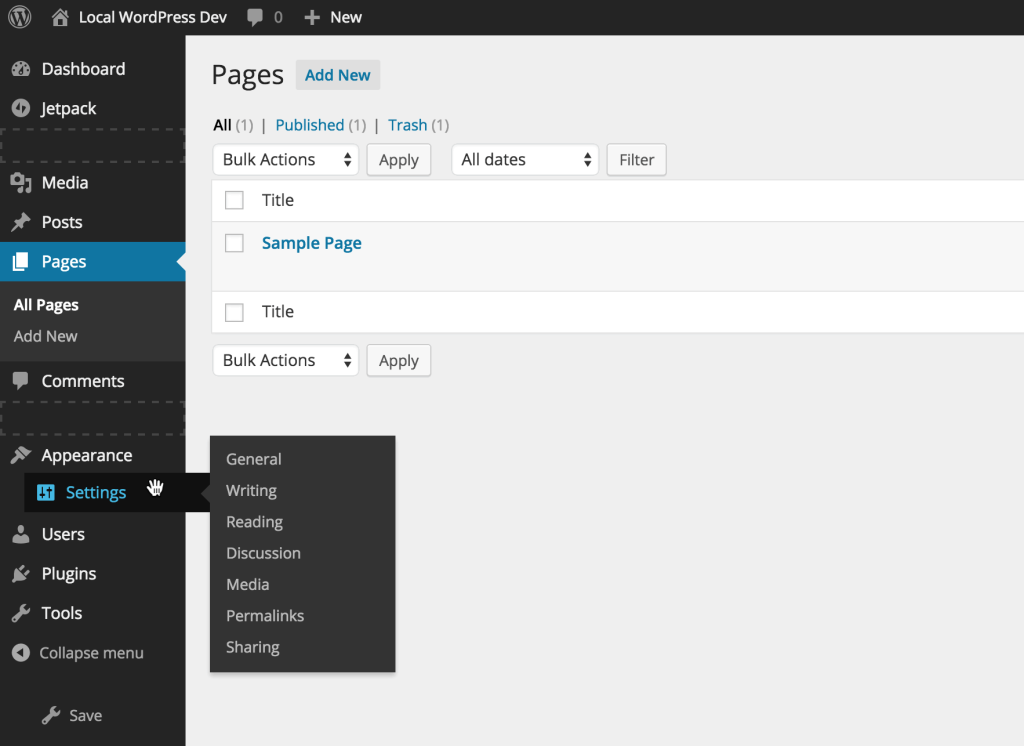
How to change colors in admin menus
When it comes to customization, you might want to change the way your administration area looks like. By default, there are 8 color schemes that you can choose for your profile. But maybe you don’t like the standard colors or you want those to match colors on your site. And that’s where you want more options, right?
There a different ways of changing color schemes for your admin menu. In this part of the article, we will show you two plugins that can do a great job – you can install a simple plugin that will add eight more color schemes or play with the color picker in the other one.
Admin Color Schemes – Price: Free

If you don’t need to go into details and choose every color by yourself, you might want to try this simple and free plugin. You simply need to install Admin Colors Schemes and the plugin will automatically add 8 new color schemes which you can find under user options:
- Install the Admin Color Schemes plugin and activate
- Navigate to Users -> Your Profile
- Under the Admin Color Scheme choose a new scheme you want to use
WordPress Admin Color Scheme Generator – Price: Free
The previously mentioned plugin will just add those 8 color schemes, but if you want to have control over every color in your scheme, you will need more options. Unfortunately, this plugin has been removed from the original website which allowed you to pick colors directly from your browser, but you can still download this plugin and install it manually.
Follow the next few steps and you’ll have a custom admin color scheme in a minute or two (or if you’re like us, you might spend an hour before you find the perfect color combination).
- Download WordPress Admin Color Scheme Generator
- Install and activate the plugin
- Create custom schemes by choosing colors
How to change colors in admin menus without plugins
Instead of installing additional plugins for changing colors in admin menus, in this part, we will teach you how to change color schemes simply by putting the following code in your functions.php and actually make a simple plugin on your own.
With this code, you can choose any colors you want, but instead of choosing one from the color picker, you’ll have to write the color’s hexadecimal triplets. You can get those by using any color picker you want – from Paint to Photoshop or any online color picker.
- Go to your functions.php file
- Paste the following code at the end:
function additional_admin_color_schemes() {
//Get the theme directory $theme_dir =
get_template_directory_uri();
//Ocean
wp_admin_css_color( 'isitwpcolor', __( 'Is It WP' ),
$theme_dir . '/admin-colors/isitwp/colors.min.css',
array( ' #ed2a0c', '#000000', '#738e96', '#f2fcff' )
); }
add_action('admin_init',
'additional_admin_color_schemes');
- With the next piece of code, make your new color scheme active:
function set_default_admin_color($user_id) {
    $args = array(
        'ID' => $user_id,
        'admin_color' => 'isitwpcolor'
    );
    wp_update_user( $args );
}
add_action(‘user_register’, ‘set_default_admin_color’);
Unfortunately, we’re not done yet. After this step, you need to paste another function to change the label of your newly created color schemes in order to make it work
- Paste the following code:
function rename_fresh_color_scheme() {
    global $_wp_admin_css_colors;
    $color_name = $_wp_admin_css_colors['fresh']->name;

    if( $color_name == 'Default' ) {
        $_wp_admin_css_colors['fresh']->name = 'Fresh';
    }
    return $_wp_admin_css_colors;
}
add_filter('admin_init', 'rename_fresh_color_scheme');
That was the last step in creating your custom color scheme without installing any extra plugins. While it was maybe a bit more time consuming, you won’t have to care about that one extra plugin installed on your WordPress.
Conclusion
While customizing the WordPress admin menu won’t be the first thing on your to-do list, it’s definitely something that you should take care of if you are going to work on your site for a longer period of time. Having a customized menu, different icons or color sets can help you work more easily. It will also create that unique feel for all users that have access to the backend.
So, if you have a few minutes to spare, go through this article and modify your admin menus.
