No matter how hard you try to keep your WordPress website perfect, you are probably already aware of the fact that it is simply not possible. While you keep posting new content, publishing new pages, and changing the structure of your site, problems will arise. Without exceptions. But don’t worry about that! It wasn’t your task to make a perfect website after all, but to do an excellent job while managing one.
Today, let’s put all the other errors and problems aside, and focus on one of the most common issues that regular Internet users come across while browsing. Even those who have no experience in web technologies know about 404 error pages. You’ve seen a few of those throughout your online life, haven’t you?
But, while it is easy to render such an error message, a bit more challenging task is to customize this error page and make it more user-friendly.
What are 404 error pages?
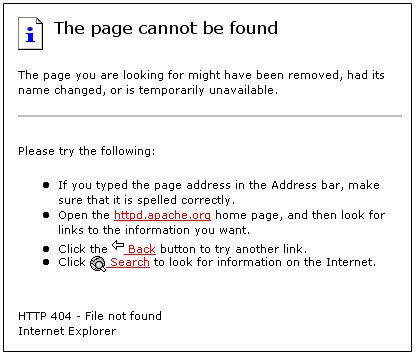
When a particular page cannot be found on your site, the server will display a 404 error message in the browser. It only means that the page or post is not on that website (anymore). Usually, this happens when a user mistypes a URL to your site or when you delete a post that’s already indexed by search engines and linked from other sources.
For example, if you have a contact page at www.yoursite.com/contact and someone tries to land on www.yoursite.com/contacts, WordPress would make a redirection to a 404.php page.
If you decide to read more about 404 error pages, there’s a chance you will end up finding a myth about the nomenclature of this error. At one time, it was believed that the error got its name after a room at CERN where the original web servers were located. The truth is somewhat different. All HTTP status codes were actually established by the World Wide Web Consortium and have nothing to do with rooms or buildings.
Default error page in WordPress
By default, every WordPress theme comes with a 404.php template which is responsible for displaying the error message to unlucky readers. Unfortunately, those default pages are quite generic and contain only basic information. So, if a user lands on your 404.php page, WordPress will just let him know that the resource requested could not be found on your server. As you can see from the screenshot, the message with the Twenty Seventeen theme isn’t very personal. You just have to change that, don’t you think?

If you’re lucky, a theme that you are using already comes with a few 404 error page templates. Maybe it will even let you customize the page through a user-friendly interface. But if that’s not the case, don’t worry. We will now show you how to create a page on your own and keep the readers in the loop.
What makes a good error page in WordPress?
Not all error pages are the same. Sometimes, a different styling will be enough to capture the attention of your users. But it’s more likely that you will need a few other elements to keep things going. In our experience, a good 404 template should have most of the following elements:
- Apology – a custom personal message clearly visible on the page
- Picture – a (funny) image that makes the error page look less scary
- Contact – Show a contact information or form
- Search box – let people search your site for other content
- Recent posts – allow visitors to open one of the latest articles
- Popular posts – allow visitors to see your most popular posts
Obviously, the elements of the page will depend on the site. Sometimes a funny picture just can’t be part of serious business sites, and sometimes you will work on websites that will have no blog posts at all. But take the best out of the list and think twice before putting elements on the page.
Get ideas for a custom page
We have come across some amazing custom error pages that can help you get the ideas. Usually, it is a good idea to make your 404-page fun. Since you already have to acknowledge a blunder, your visitors will like to see something amusing on the page.

If you achieve to keep visitors’ attention even though they landed on the non-existing page, you can be sure they will stay here for a longer time and come back again. And there is certainly more you can do to make the error page user-friendly, but we will talk about that later. For now, let’s see a few examples of beautifully designed 404 error pages:
Create a custom 404 error page
For starters, we would like to remind you that modifying files of your theme is not the best practice. Before you start making changes, we’d like to suggest using a child theme. When you create a child theme for your site, all modifications to its files won’t be affected by updates that you will do to your regular theme. In this case, creating a 404.php file in the child theme wouldn’t have an impact on the original one, but it would still show to your visitors.
Don’t get us wrong; there won’t be any differences if you modify the original file. But in that case, be sure to create a backup of it so that you can restore changes after an update.
Let’s pretend that you haven’t been lazy and have prepared a child theme. So, the first step is to create a new file:
- Open the folder where you created a child theme
- Create a 404.php file
- Edit the file
- Copy and paste the following code:
<?php get_header(); ?>
<div id="main-content">
<div class="container">
<div id="content-area" class="clearfix">
<div id="left-area">
<article id="post-0" <?php post_class
( 'et_pb_post not_found' ); ?>>
<img src="/image.jpg">
<h1><?php esc_html_e('Page Not Found','WP Loop');
?></h1>
<p><?php esc_html_e('Oh No! The page you opened
does not exist. Please use the links below to
navigate to a safer place.', 'WP Loop'); ?></p>
</article> <!-- .et_pb_post -->
</div> <!-- #left-area -->
<?php get_sidebar(); ?>
</div> <!-- #content-area -->
</div> <!-- .container -->
</div> <!-- #main-content -->
<?php get_footer(); ?>
- Change the path to your image on line #7
- Modify the title on line $8
- Write a custom message on line #9
- Save changes
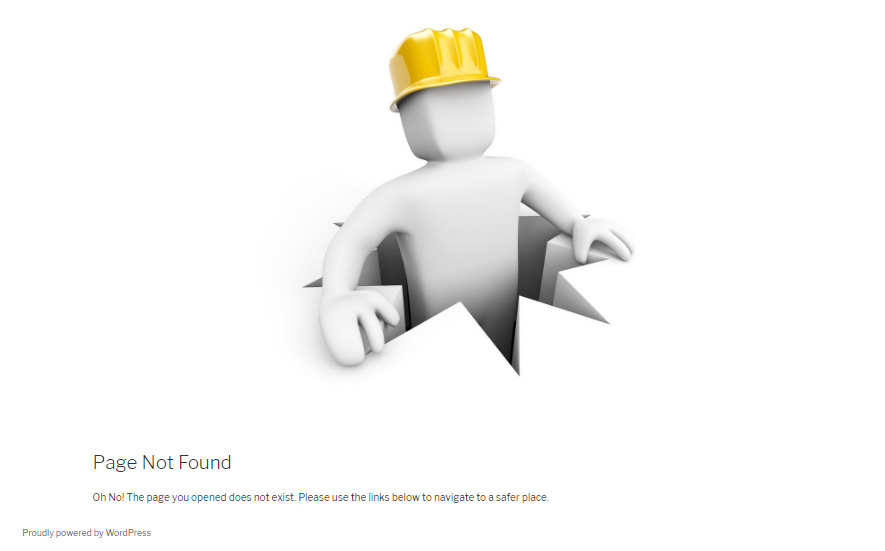
You have successfully created a custom template. If you preview the page, all you would see is an image, message, and your standard header, sidebar, and footer that you have on all the other pages. Still, this is far from what we described earlier as there are no widgets, so stick with us for a few more moments until we create that perfect 404.php that you want. Also, it would be nice to add some styles to the page.
Add custom widgets
While it is possible to code the entire page from scratch, there’s no need for that. WordPress already allows you to add widgets that will help you display the most recent and popular articles. As from version 4.8, you can even add multimedia in specialized widgets, so why not take advantage of that?
To add new widgets specifically to the 404.php page, we suggest creating a new widgetized area (space on your page that allows widgets). In some cases, WordPress themes allow you to create new widgetized areas from the dashboard. So, take a quick look at Appearance -> Widgets. If you’re lucky, there will be an option to create the area for you. If not, let’s create one quickly so that you can have different widgets on your new page:
- Go to your child theme’s folder
- Open or create functions.php file
- Copy and paste the code:
function widget_area_404() {
register_sidebar( array(
'name' => '404 Page',
'id' => '404',
'description' => __( 'Widgets for 404 error page.' ),
'before_widget' => '<div class="et_pb_post">',
'after_widget' => '</div>',
'before_title' => '<h4 class="widgettitle">',
'after_title' => '</h4>',
) );
}
add_action( 'widgets_init', 'widget_area_404' );
- Save changes
- Open the 404.php file that you have modified earlier
- Copy and paste the following code where you want to show new widgets (for example after the title and text):
<?php dynamic_sidebar( '404' ); ?>
- Save changes
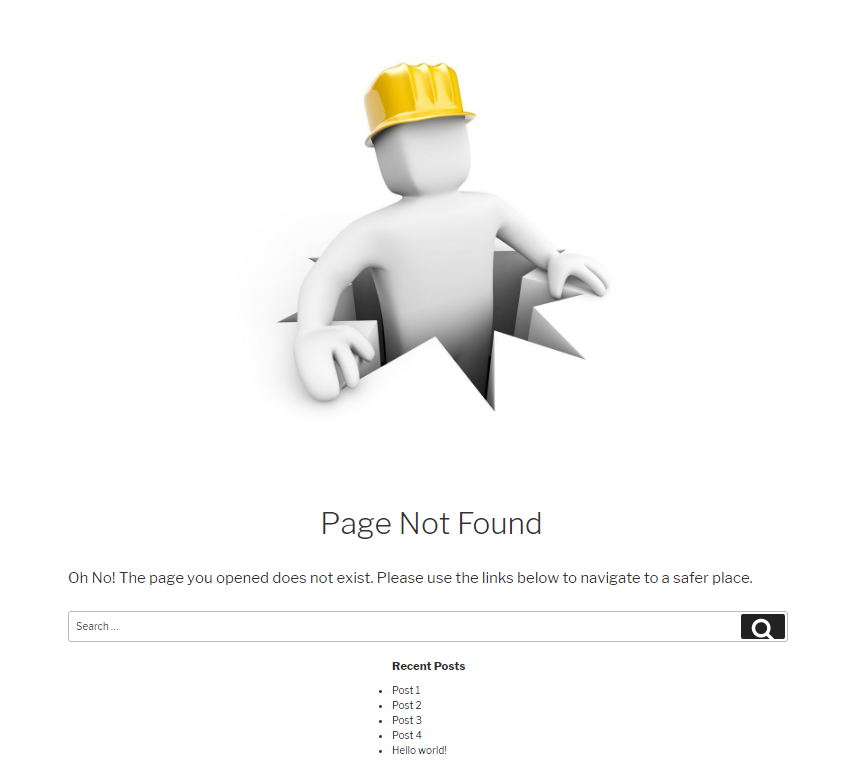
After telling WordPress where to display the new widget area, it is time to actually add the widgets. So, navigate to Appearance -> Widgets, choose Recent Posts, Popular Posts or any other widget that you would like to have on your new 404 page (another example is the free Google Maps Widget to show your location). Don’t forget to customize the widgets to your likings, and remember that there are new multimedia widgets if you want to add images, videos or audio files to the page.
Use a plugin to create a custom page
If you followed all the steps, congratulations – you have a custom 404 error page that will be loaded to any of the visitors who reach the unreachable pages. But even if creating a custom template isn’t that hard when you just have to copy and paste the code we provided, there will be many of you who would rather work in a user-friendly interface. In that case, we would like to show you a simple plugin that will create custom 404 pages for you.
5sec Proper 404
PRICE: $10
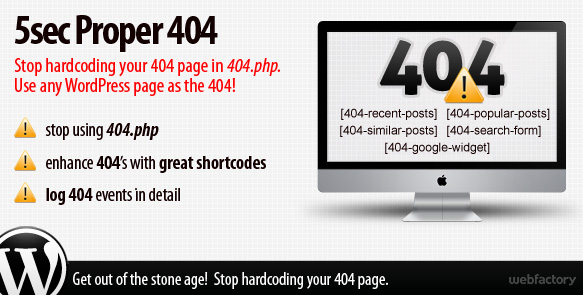
This premium plugin is as simple as it gets. From the moment that you install it, you will be able to choose any regular WordPress page as your new 404 page. That means that you can simply add text, links, and multimedia just like with any other post or page and style it through an intuitive WordPress editor. 5sec Proper 404 will then let you mark that page as your new 404 page. And, basically, that’s all you have to do!
By using the plugin, you can forget about the templates and the code we used throughout this article. After creating a page, the plugin lets you use five shortcodes (recent, popular, similar posts, search form, and Google search widget). That means that you won’t have to worry about widgetized areas or styling at all.
While you are already taking care of broken pages, why not eliminate them completely? 5sec Proper 404 creates a detailed log that shows you all the broken pages that caused the 404 error message. While the visitors will see your new page, you can work from the backend, find links that aren’t working and fix them if possible.
Conclusion
Now that we have shown you two different methods of customizing 404 pages in WordPress, it is your time to shine. Don’t let people land on those generic error pages that help no one. Personalize it with some code. Once you create a custom 404 page, don’t forget to leave a link to it in the comments below – we’d love to see your results!
