Wix is one of the most popular free website builders available today. Making a website using Wix is a fast process that almost anyone can do.
This platform powers up hundreds of millions of websites created by people worldwide. Whether you have discovered Wix by seeing one of its entertaining commercials featuring television stars or just by Googling for the best website builder, this platform will provide you with everything necessary to create your first website.
How to Build a Website with Wix in 8 Easy Steps
- Step #1: Sign up and create a free account
- Step #2: Get a website made for you or pick a template
- Step #3: Make changes with website editor
- Step #4: Add additional functionality with apps
- Step #5: Design a professional logo for your website
- Step #6: Choose and connect a domain name
- Step #7: Optimize and customize your website
- Step #8: Publish your website to make it live
If this is your first website, this guide will help you to get comfortable and make those first baby steps. After going through the eight stages of this guide, your website will be ready for the public, and you will be able to show off your fancy new site.
Step #1: Sign up and create a free account
Even if you’re still not sure if Wix is the right platform for you, creating an account is entirely free, so you can start by just checking it out. After signing up, you will get a chance to test their complete platform. You will not be time-limited, which means that if you end up liking what Wix provides, you can continue using it for free forever.
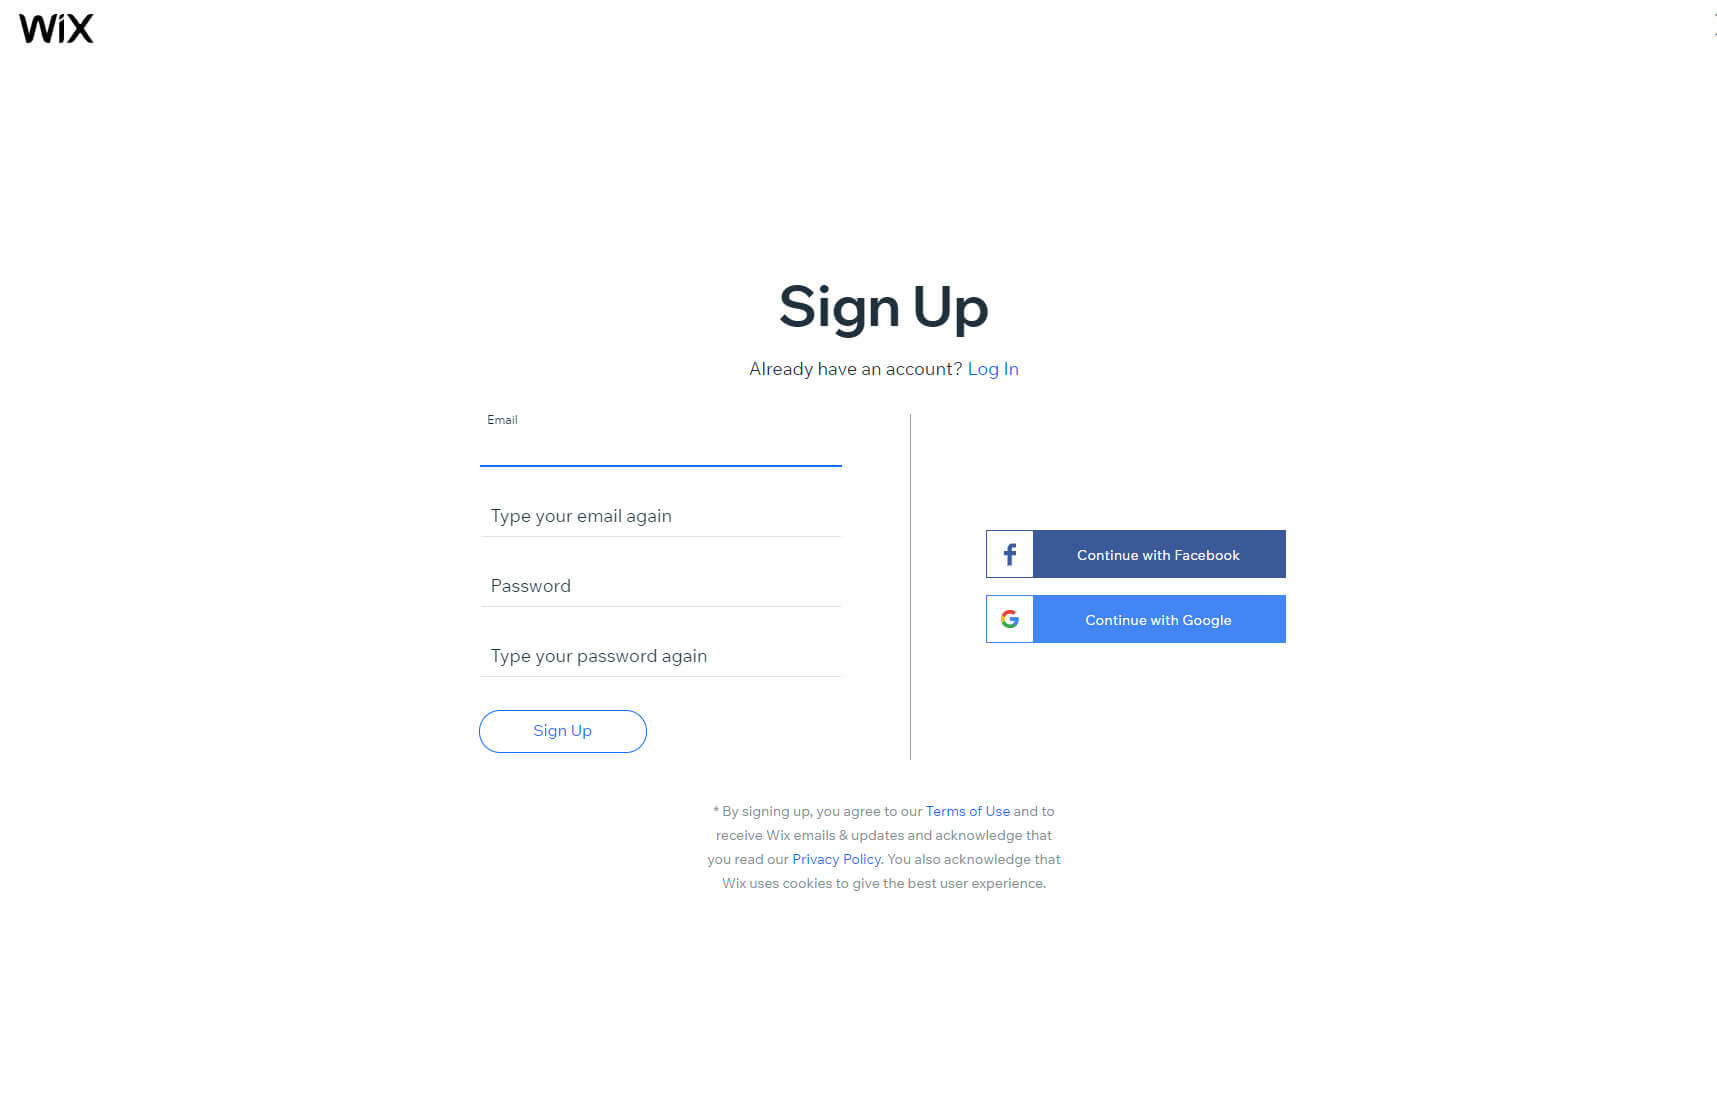
- Open Wix.com website.
- Click on the “Sign Up” button.
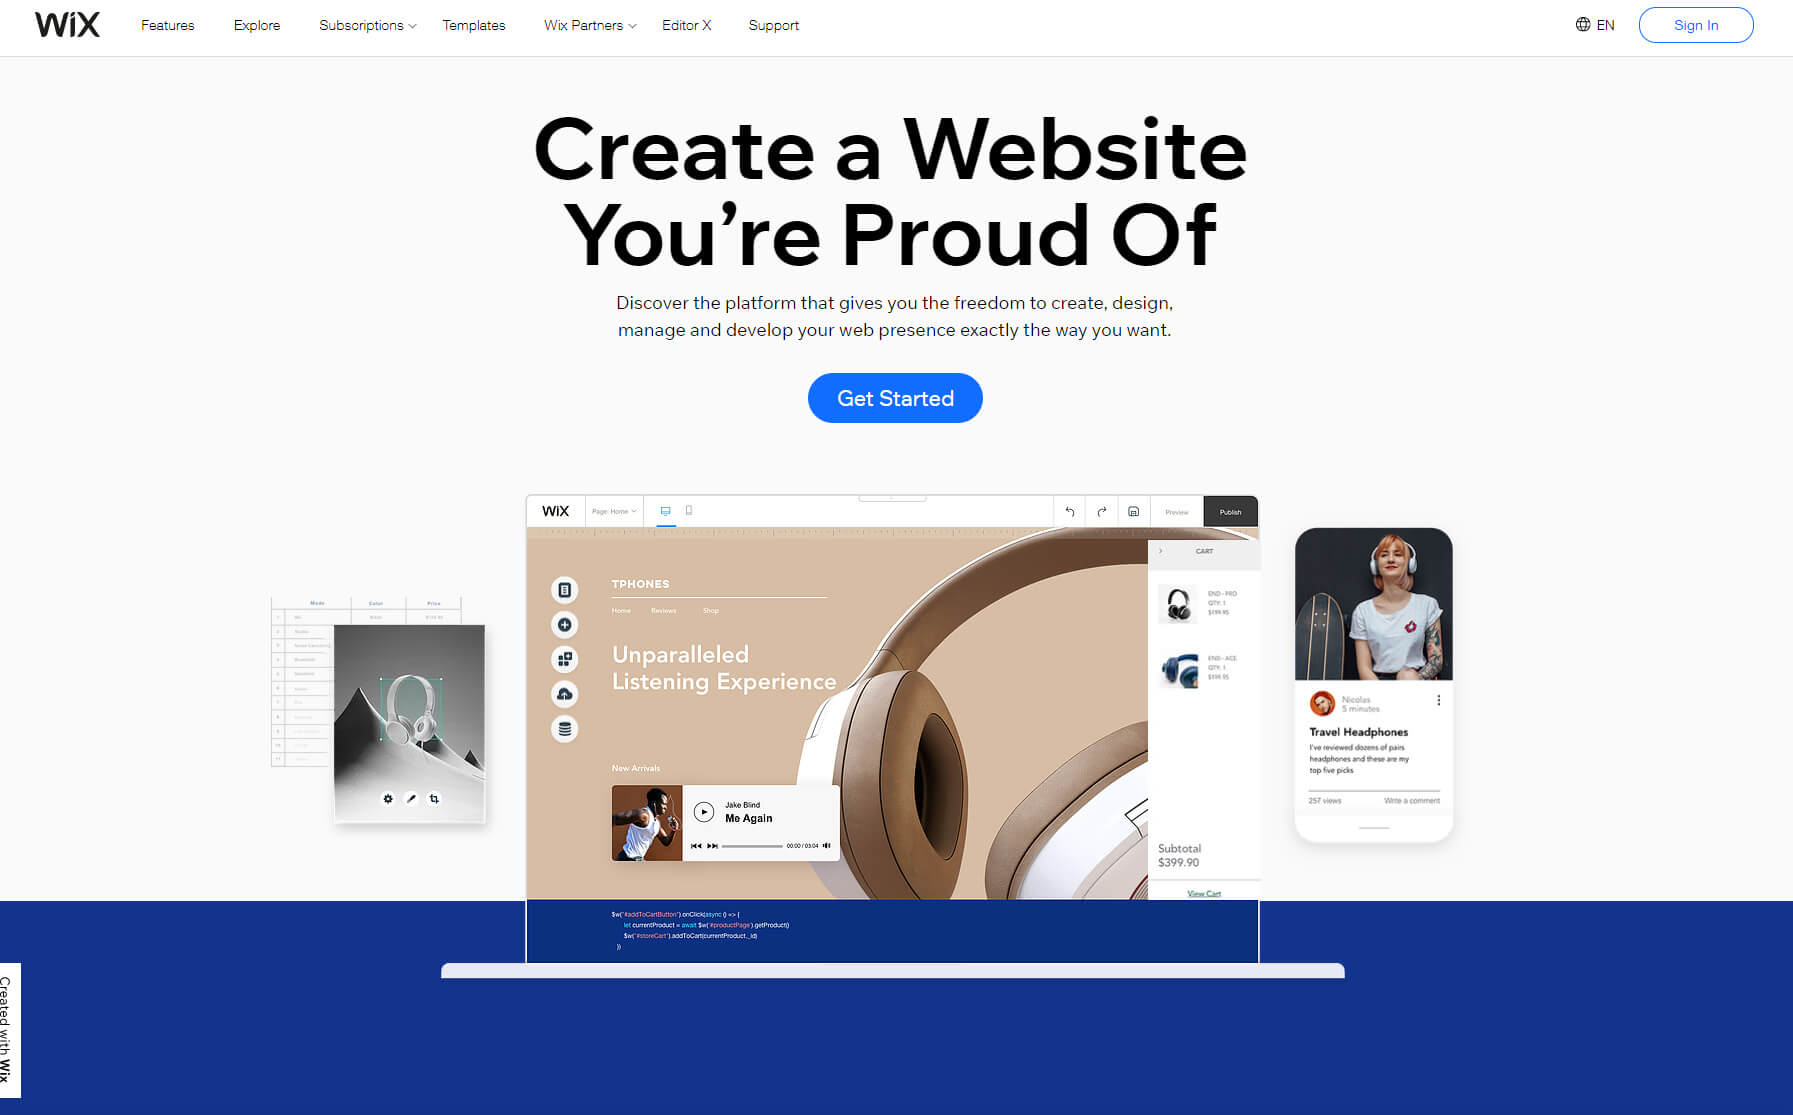
- Fill in your details (email and your password).
After this, Wix will take you through a short questionnaire that will help you to get started. Don’t worry! There is nothing personal about the questions. You just need to tell them what kind of website you want to create and your level of expertise. It is ok to say that you have never created a site. Nobody will judge you.
Step #2: Get a website made for you or pick a template
Wix offers two different solutions when it comes to creating new websites. There’s the popular editor that allows you to pick elements and drag & drop them around the layout. The other one is Wix ADI, an artificial intelligence solution that will create the entire website for you based on just a few options that you input.
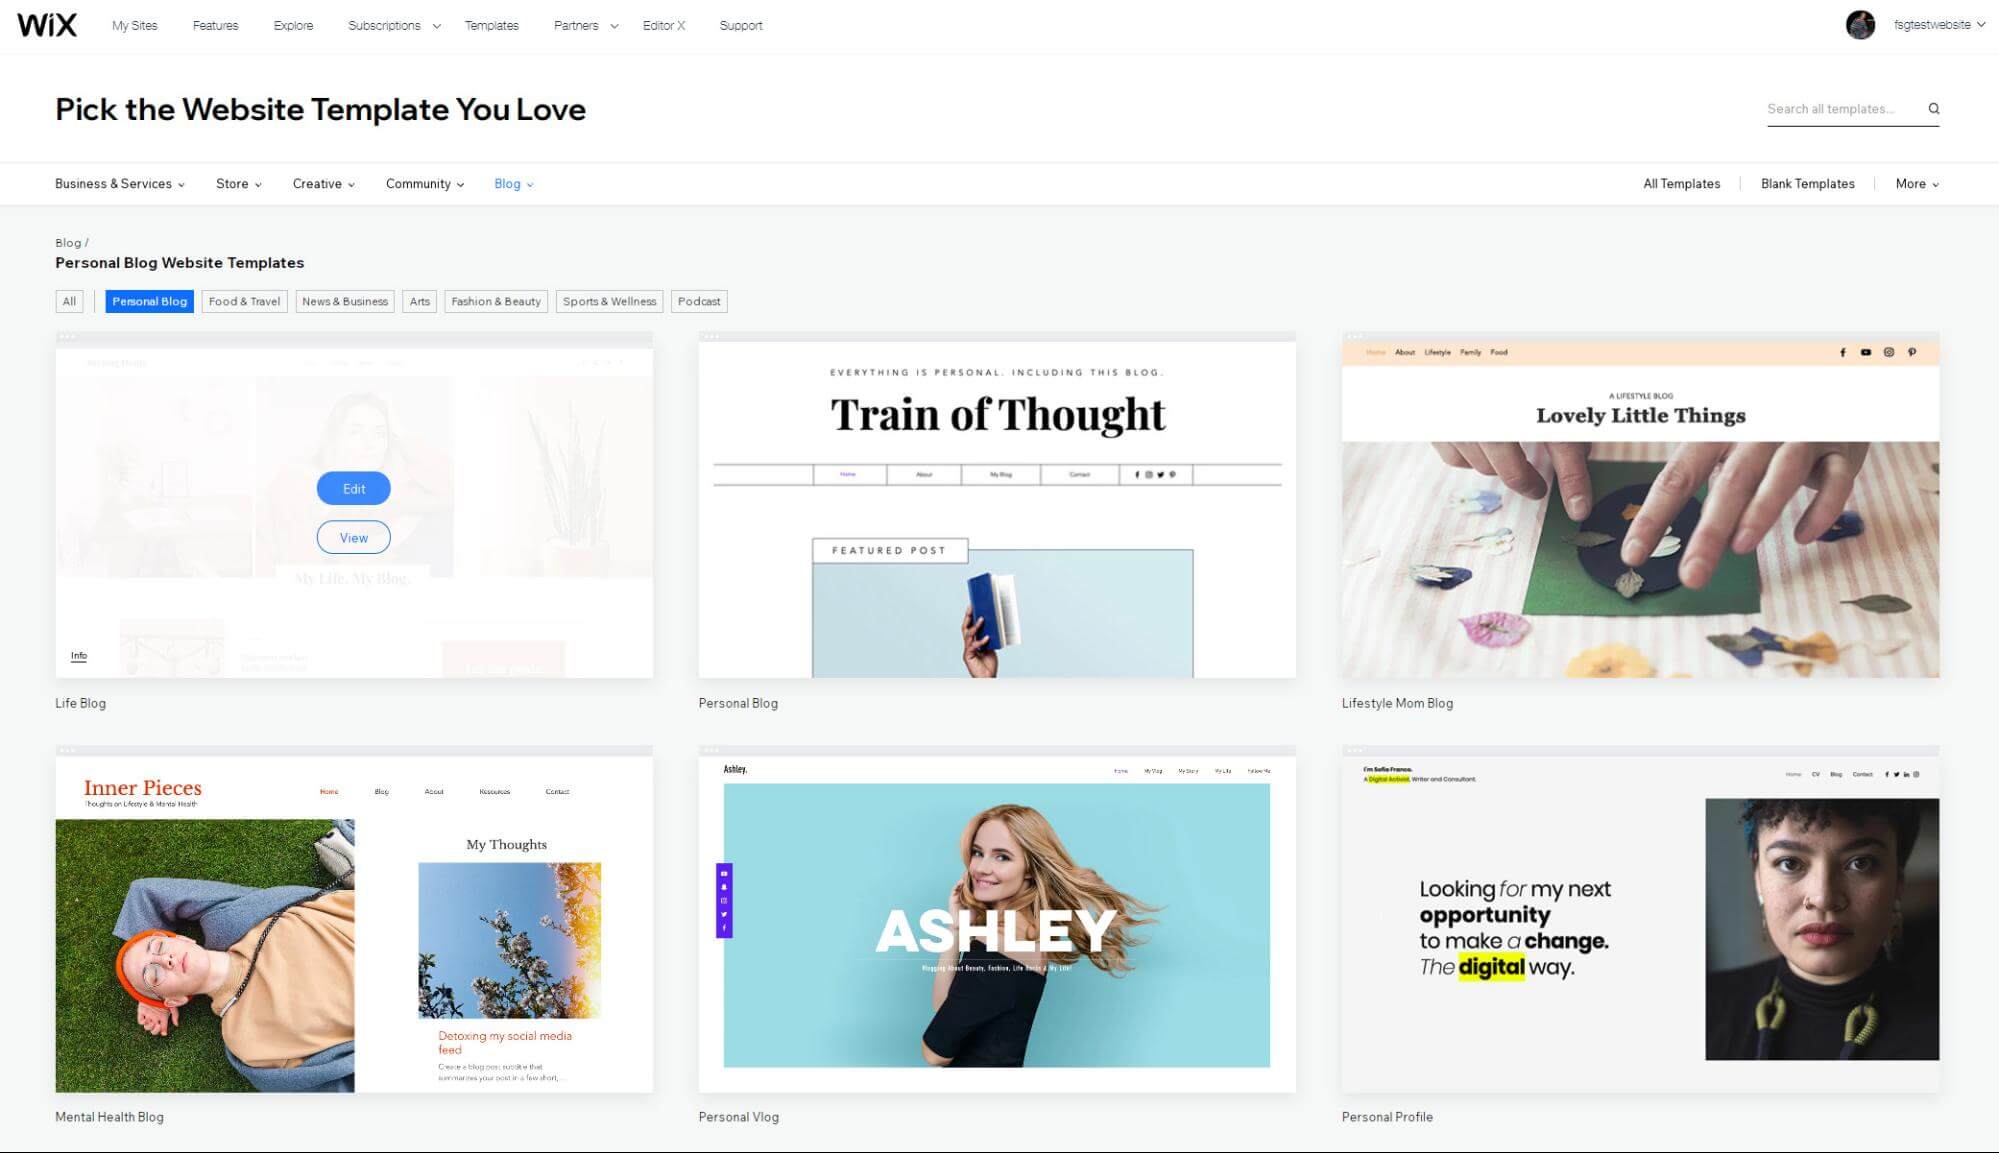
Choose a template
- Click the “Start Now” button.
- Select one from the hundreds of templates available.
- Hover over a template and select the “Edit button”.
Wix ADI – let artificial intelligence create a site for you.
Instead of choosing a template, Wix ADI will ask you a few questions. Similar to quizzes on social media, the machine will try to connect the dots and present you with a site that matches your needs. If the result isn’t perfect, you can make some modifications and improve it. Or simply start over and try providing slightly different answers.

Answer the questions:
- What type of site do you want to create?
- What do you need on your new website?
- What is the name of your blog?
- Do you want to import your images and text? If you already have an online presence, you will be able to upload pictures and jump-start your website
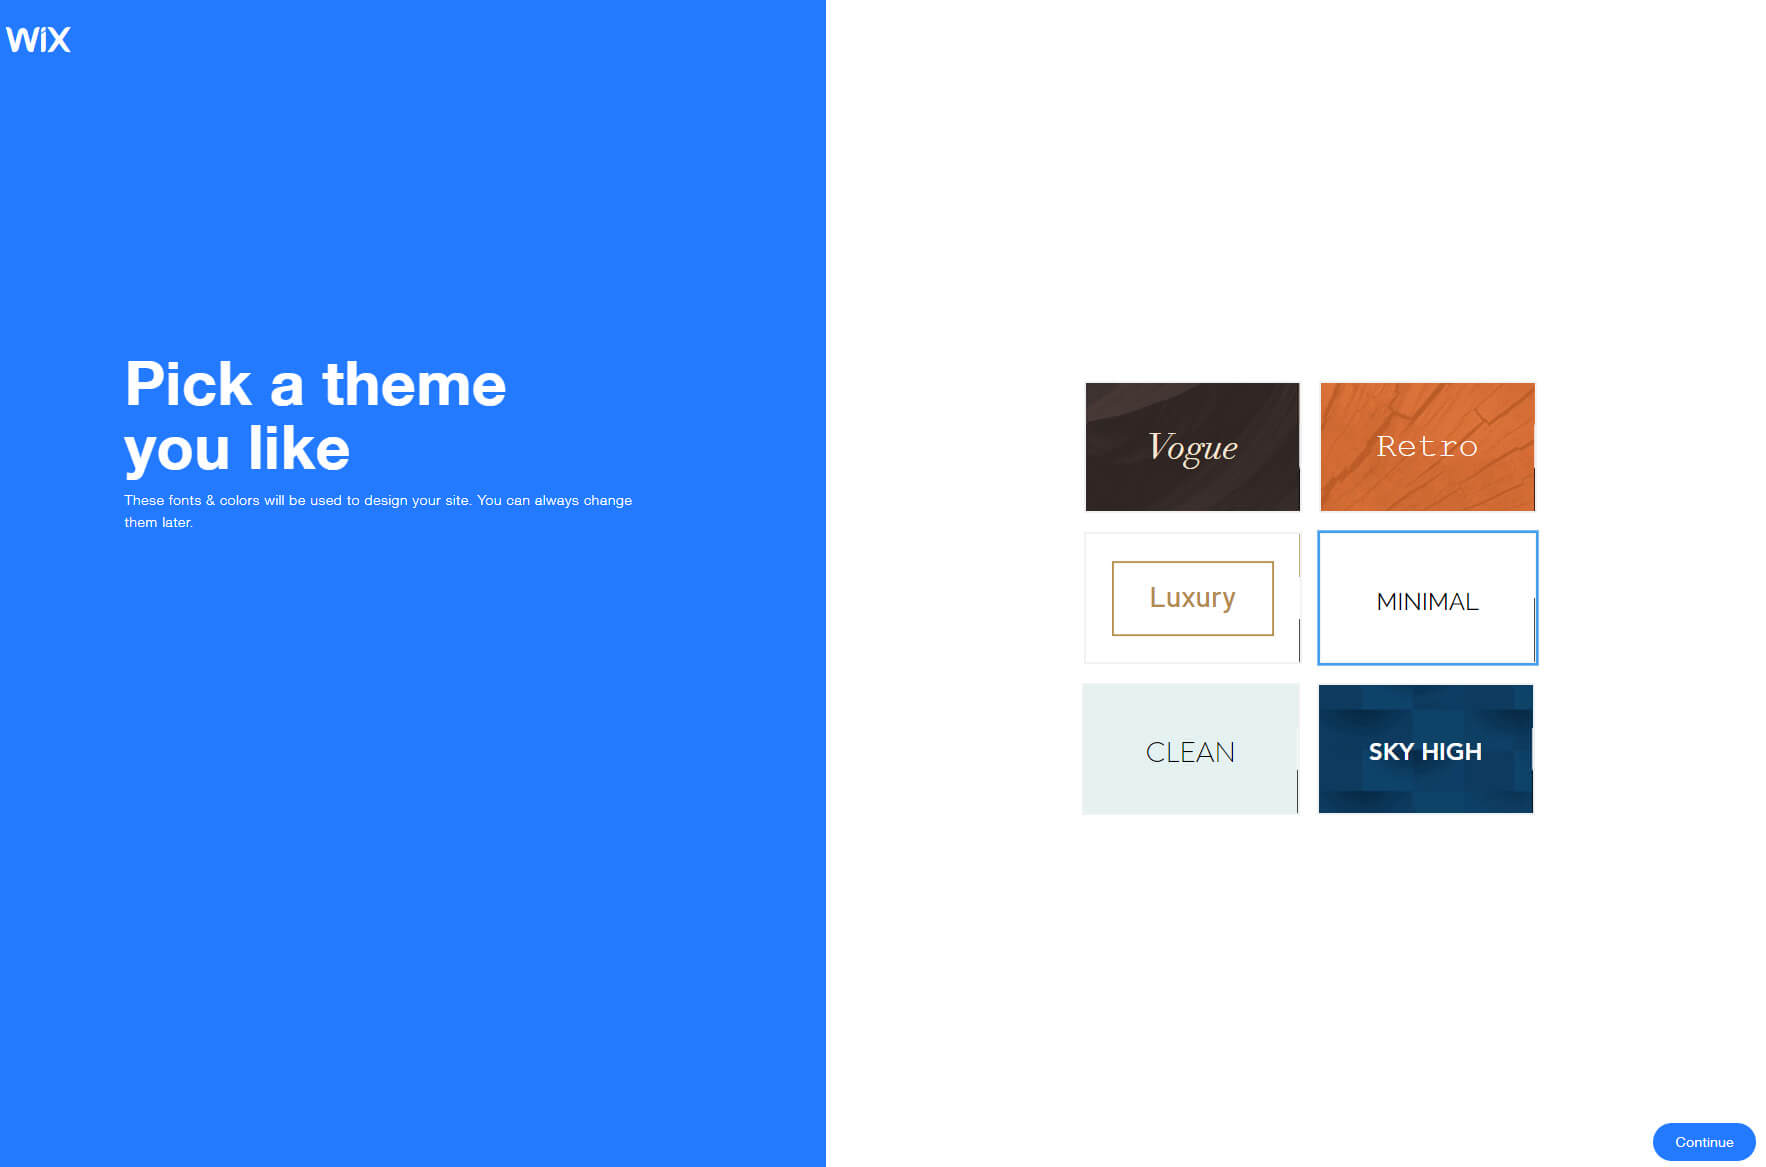
After reviewing the information you have previously provided, Wix ADI will let you choose a theme. But don’t mistake this for a template. Although it may seem similar, themes only come with predefined colors and font types and can’t be customized in detail like templates.
Step #3: Make changes with website editor
Depending on the decision you made in the previous step (choosing templates or Wix ADI), you will have a different website editor laid in front of you. Yes, both are still Wix, but the editors are entirely different. While the first editor available with a template will let you be creative and design a site by moving the elements around, the Wix ADI editor will only let you handle the basics.
Making changes with the Drag and Drop Editor
Now you have a preview of your website, but it is still just a template filled with the demo content. This is great because you get to see what your site can look like. Even if you decide not to change a thing about the elements, you will still want to modify the content by adding your images, videos, and writing your own copy.
The Wix editor is very user-friendly and allows you to move everything around. Don’t be afraid to explore and click on the elements you want to change. Clicking on a component will open a small popup menu with all of the options available. To modify an image, click on it. Then you will be able to change it to a new photo, crop, add filters, styles, and so on. A similar procedure repeats with all of the other elements.
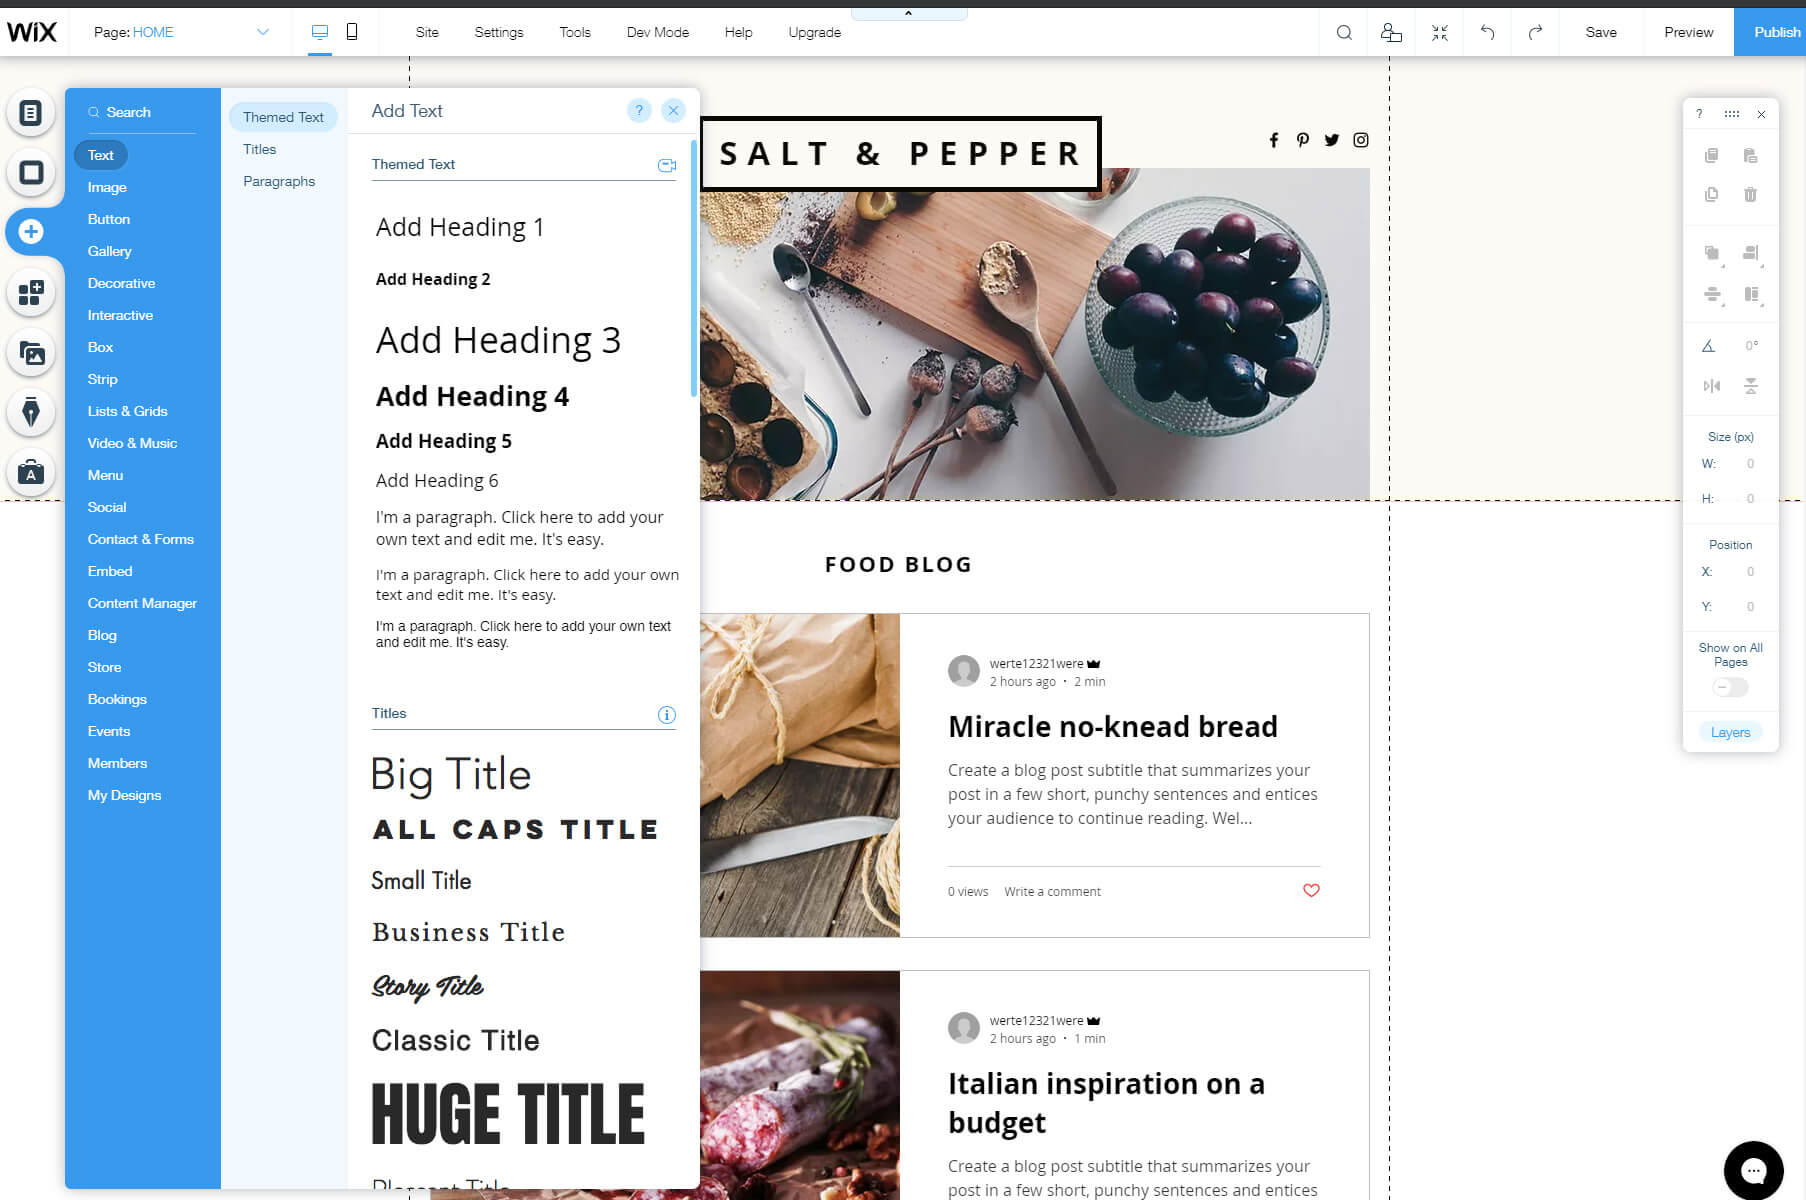
Add a new element
The template you have chosen probably looks perfect. However, once you have spent more time modifying it, you could realize that it might be better for you to add a new element. Wix allows you to add new elements easily:
- Click on the big plus sign from the left-hand side menu.
- Pick an element you want to add like image, button, gallery, and so on.
- Choose a variant of the element.
- Click on it.
Instantly, the element you have selected will appear on your site. It won’t look that good at first, but that’s only because Wix allows you to move any piece freely around the website. So, now all you have to do is click on the element, hold down your mouse button, and move it around.
While the element is selected, the menu on the right-hand side of the screen will become active, allowing you to handle the details. That means that you can quickly copy or delete the selected element, rotate it, change the size, and so on. Feel free to play around and test all of the options because you can always click the button to undo or redo changes.
You can repeat the process with as many elements as you want until you create the perfect site that you had in mind.
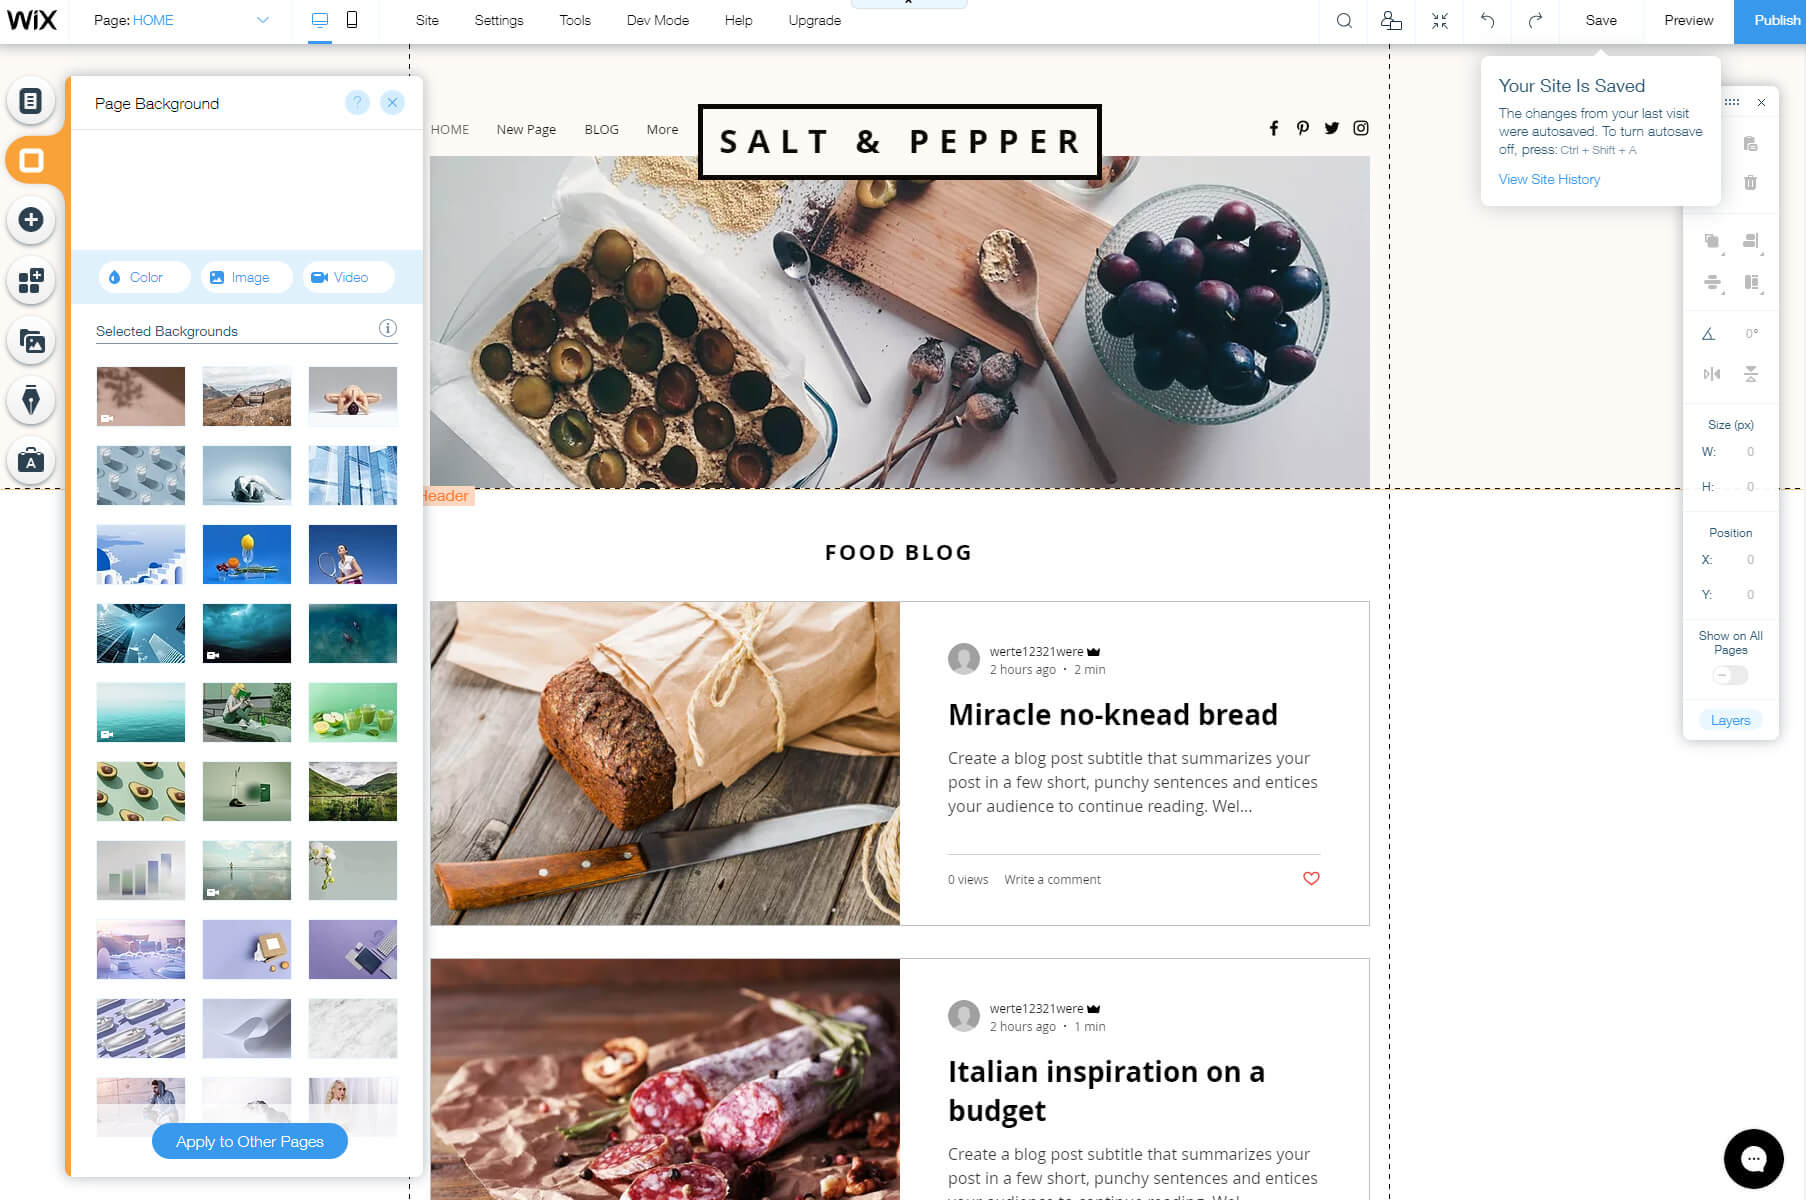
Change the background
Although a background may come preset with a template you picked, it can be easily changed to practically anything you want.
- From the left-hand side menu, select the second background option.
- Choose a color, image, or a video.
- Click on it to make it active.
If you decide to spend more time on the background, you can go into details and edit photos directly from Wix, change filters, transparency options, and much more. Be creative!
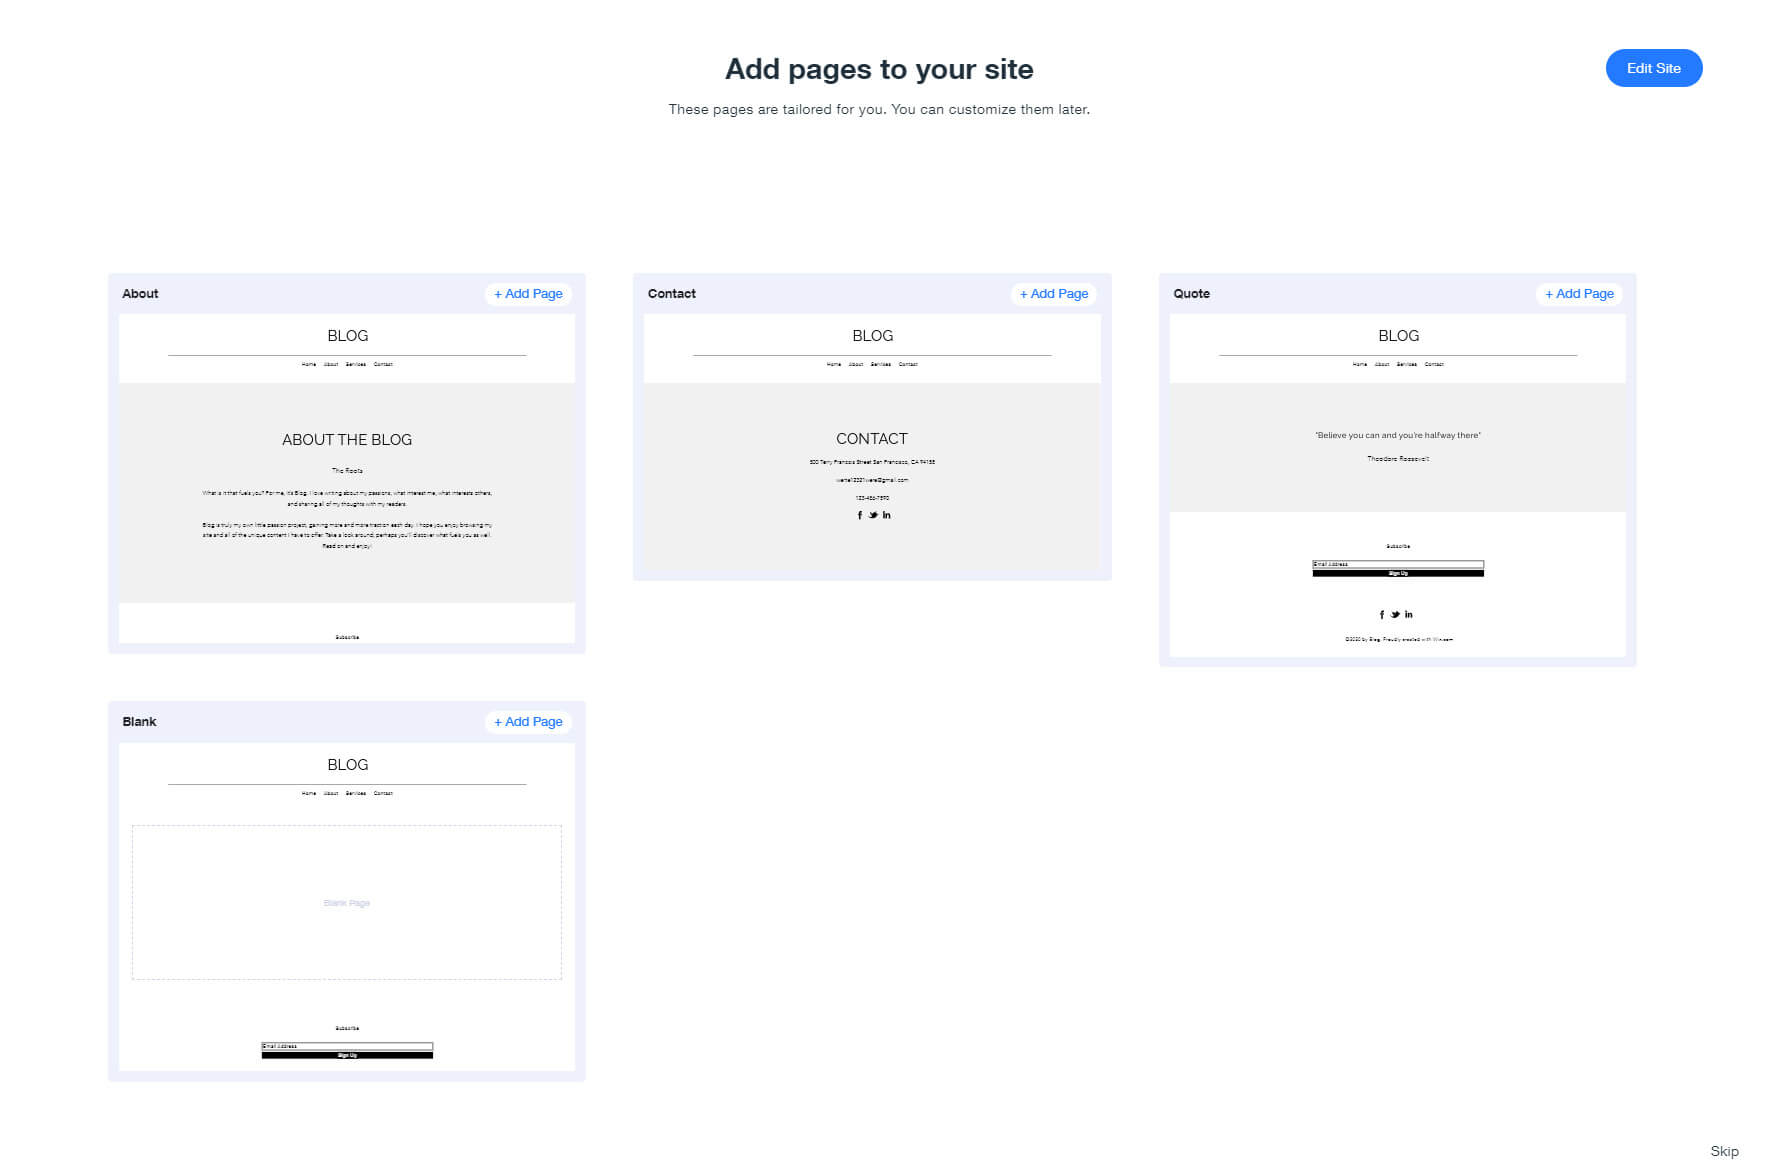
Add pages
Depending on the template, your site will have only a few selected pages besides the homepage. When you decide to add a new one, you can quickly do it via the editor:
- Click on the first option from the left-hand side menu.
- Click the “+ Add Page” button.
- Give it a name and click done.
After that, you will be able to modify this new page just like any other page on your site.
Manage blog
Whether you wanted to start only a blog or add a blog to a business website you’re about to create, Wix lets you handle everything in only a few clicks.
- From the left-hand side menu, choose Blog Options.
- Click the button to create a post or manage posts.
Writing your first post is fun! When you click on the button, a post editor will open a new page. Everything is clearly laid out, so adding a new title is straightforward. Creating a post is as easy as adding elements to a homepage. Click on the little plus sign to add text, images, videos, hashtags, and anything else you want. Play around with the editor until you create a post you are happy with.
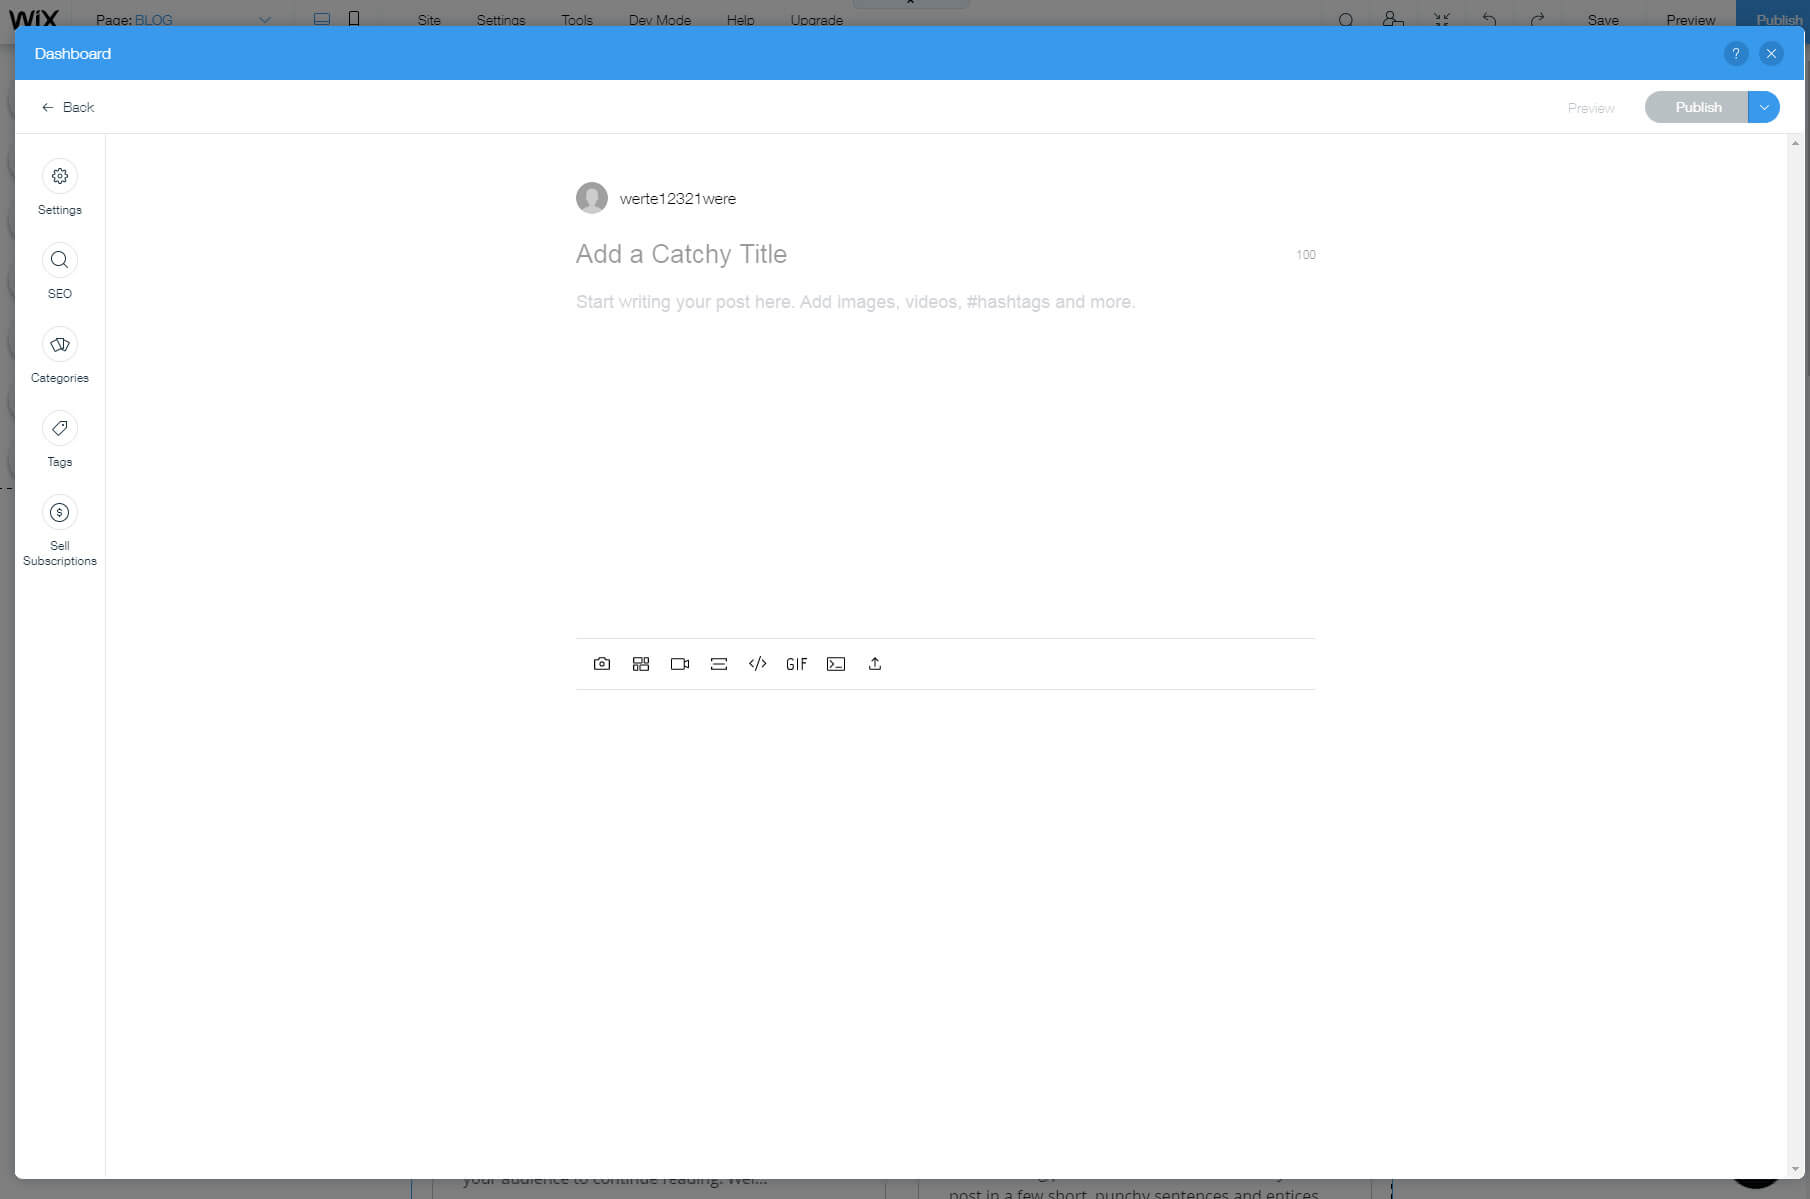
After that, you can move over to the menu and go through the SEO options, handle categories, tags, and even sell subscriptions if you want to.
Wix ADI
If you decide to start your site with Wix ADI, the editor will be quite different. Instead of all of the options described earlier, Wix ADI will let you handle only the basics.
In order to edit elements, click on them to open settings on the left-hand side of the screen. Here you will be able to change the essential information, without the option to move elements around.
Step #4: Add additional functionality with apps
After editing your site for a few hours, you should already be somewhat familiar with Wix and know what it can do for you. If you still think that you need more elements to play with, or you are missing functionality that you really need, you will love Wix apps.
- Click on the 4th option from the left-hand side menu to open the Wix App Market.
- Search for apps and see what they have to offer.
- Click on the “Add” button to add the application.
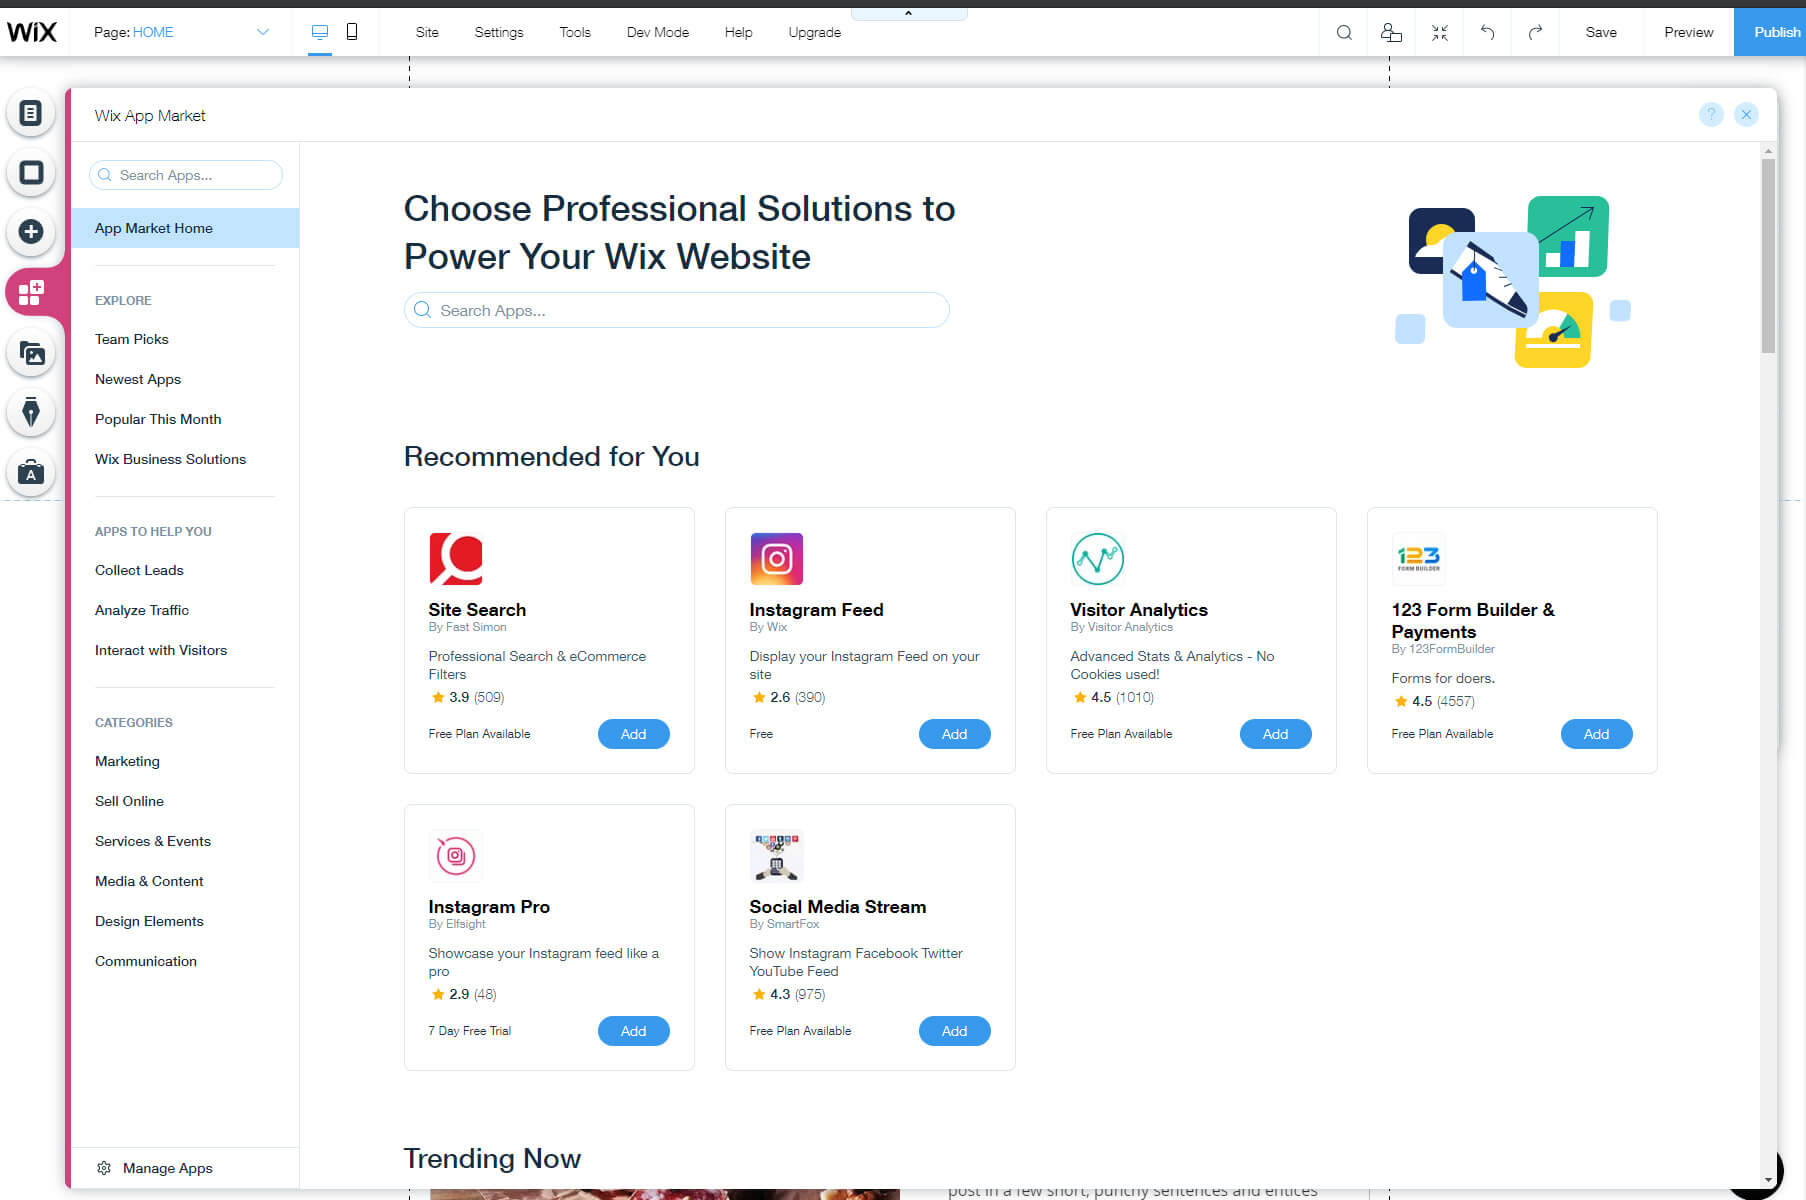
There are more than 250 apps available on the App Market, and you can add anything from Instagram integration to visitor analytics to new design elements, or even e-commerce features. Take your time to explore all of the elements, but add only what you really need.
Step #5: Design a professional logo for your website
A logo is an integral part of every business and every website. The people at Wix know that, so they added a free logo maker where you can design your custom logo.
After answering a few questions and choosing from several examples, Wix’s artificial intelligence will create a custom logo for you. Choose the one that looks the best, and hover over it to see a button for the customization.
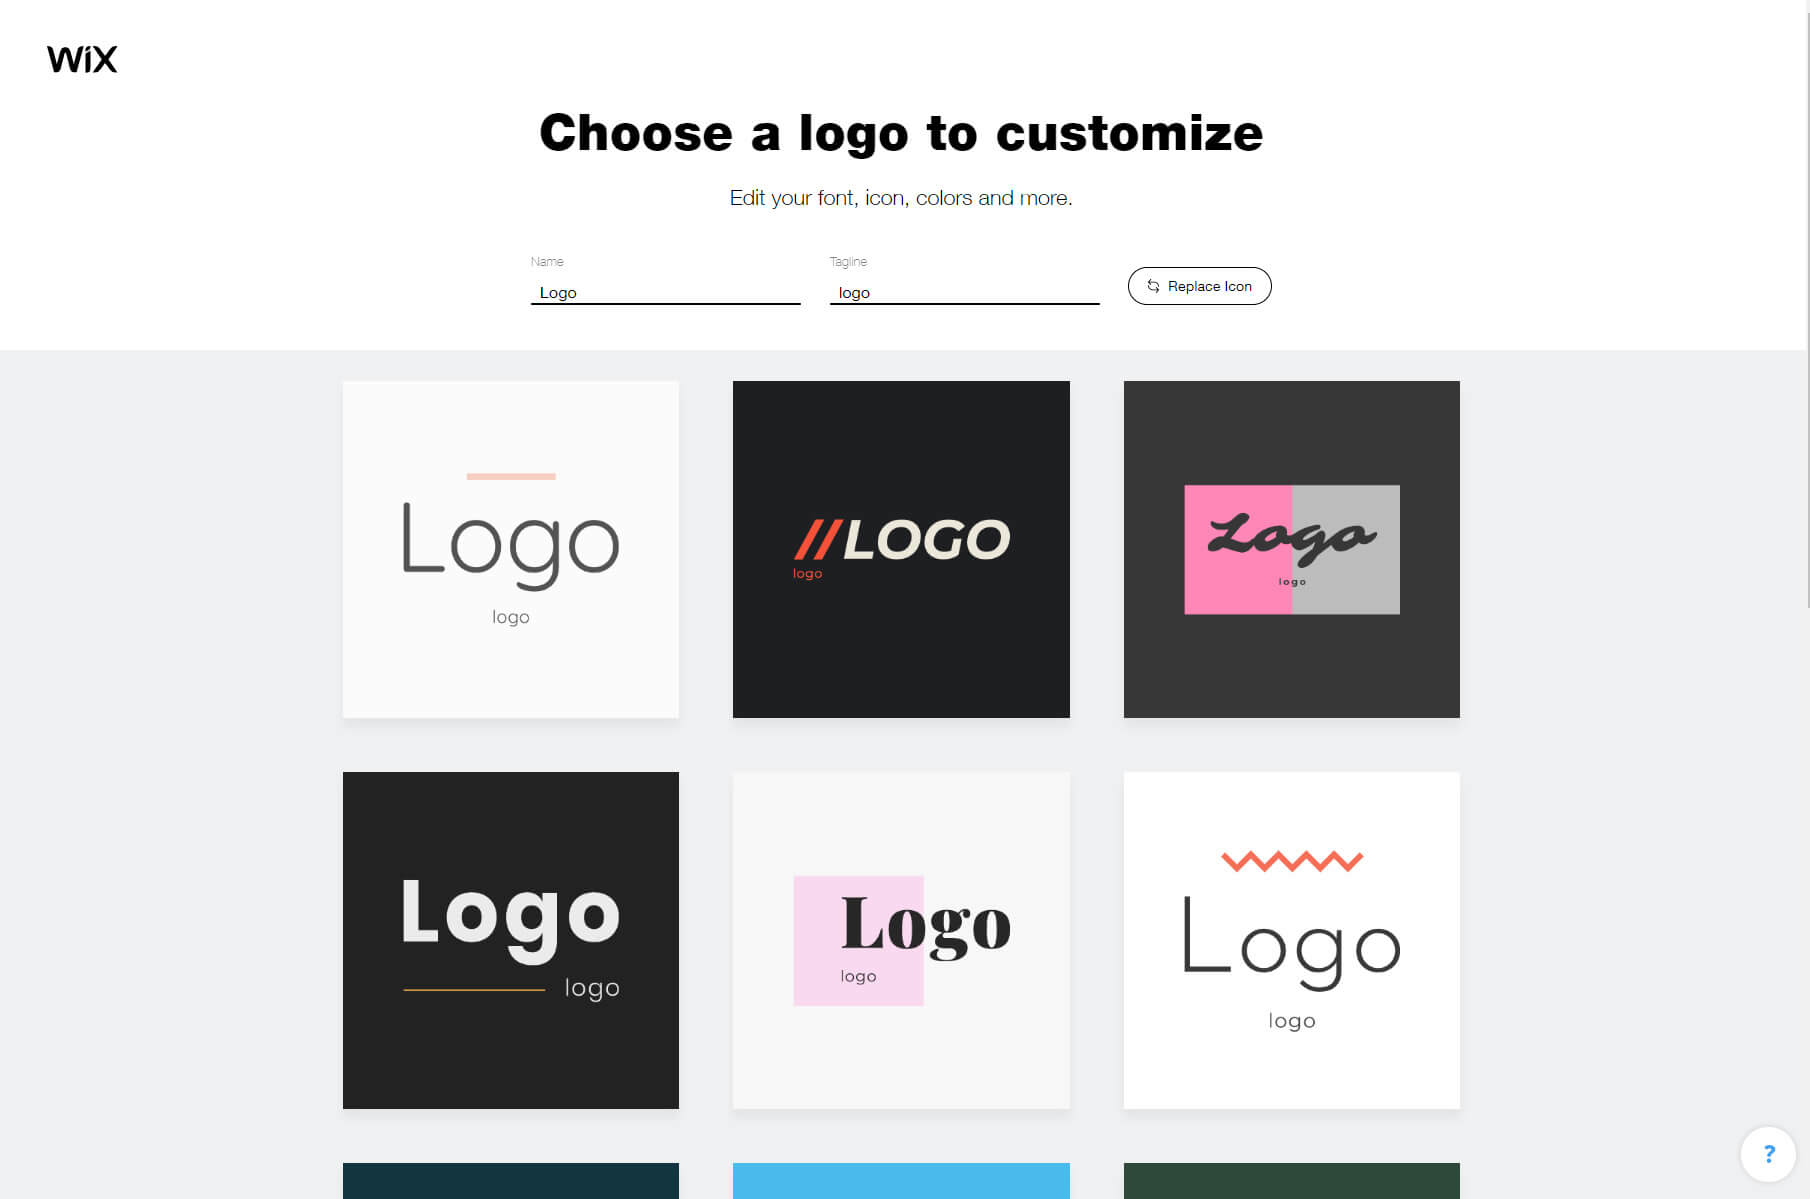
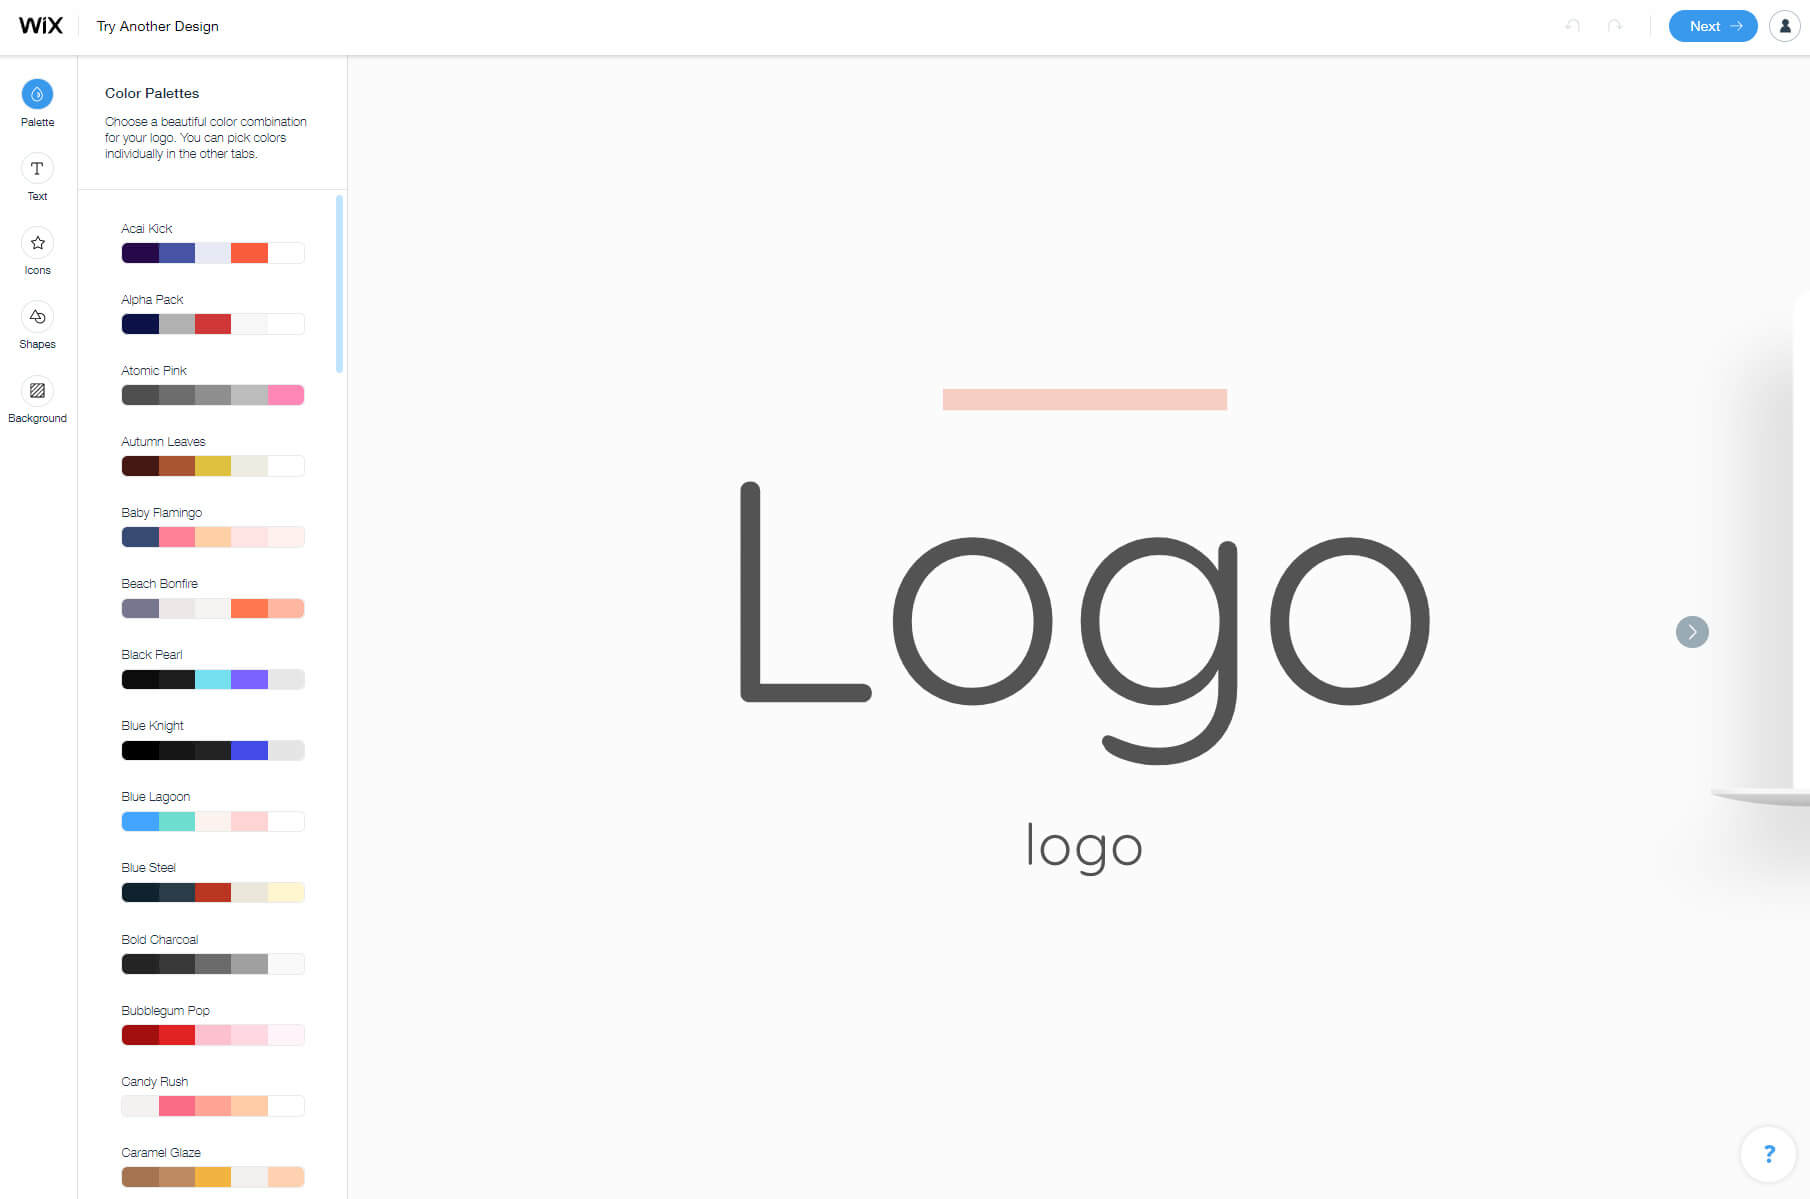
Here, you can edit your logo: choose different colors, add text, icons, shapes, and backgrounds. If you’re not happy with creating a logo like this, Wix can always help you to hire a professional designer that will help you to get what you want. In exchange for money, of course.
Step #6: Choose and connect a domain name
Domain names usually cost money. But what’s great about Wix is that you get to use a free subdomain with their free plan. That means that your site will be a part of Wix’s domain, but you will still be able to have a custom name attached to it.
- From the top-right menu, click on your image to open a menu.
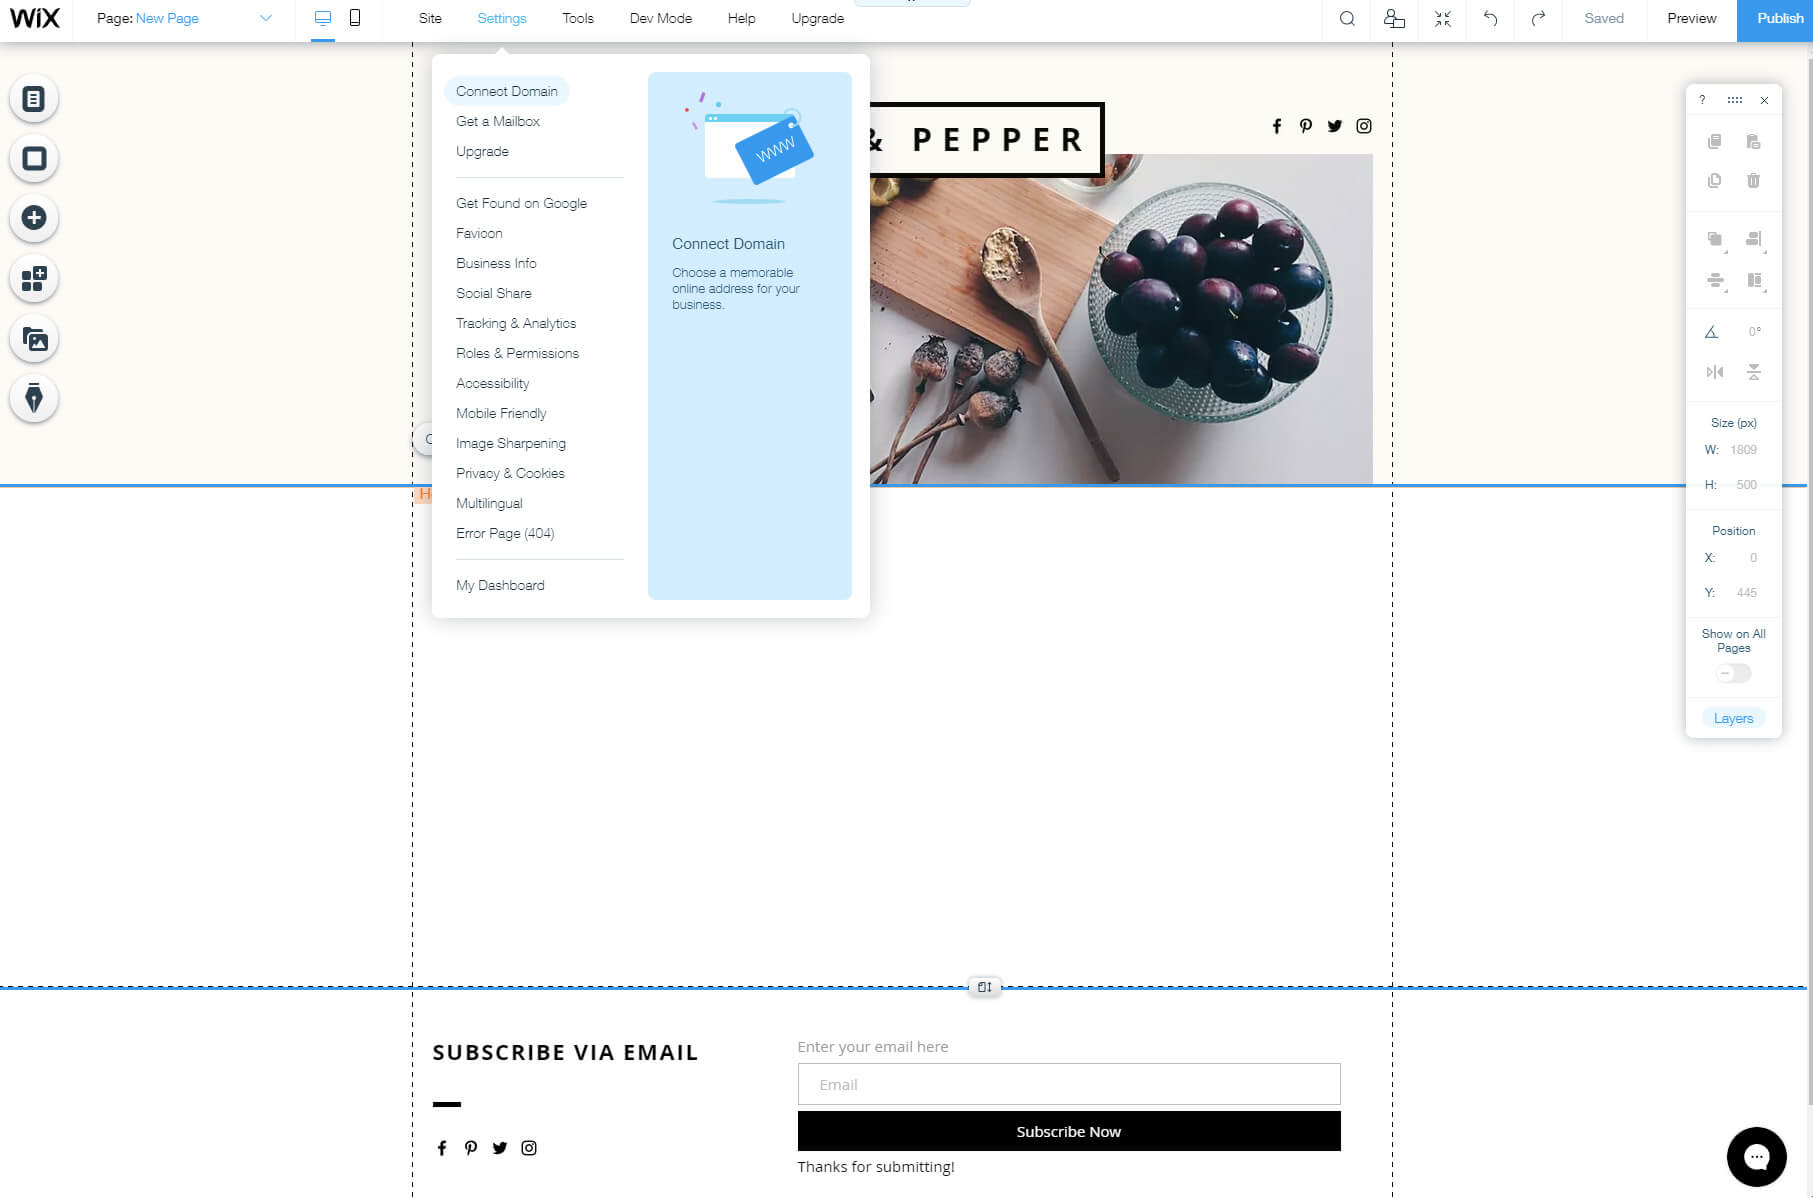
- Choose “Account Settings”.
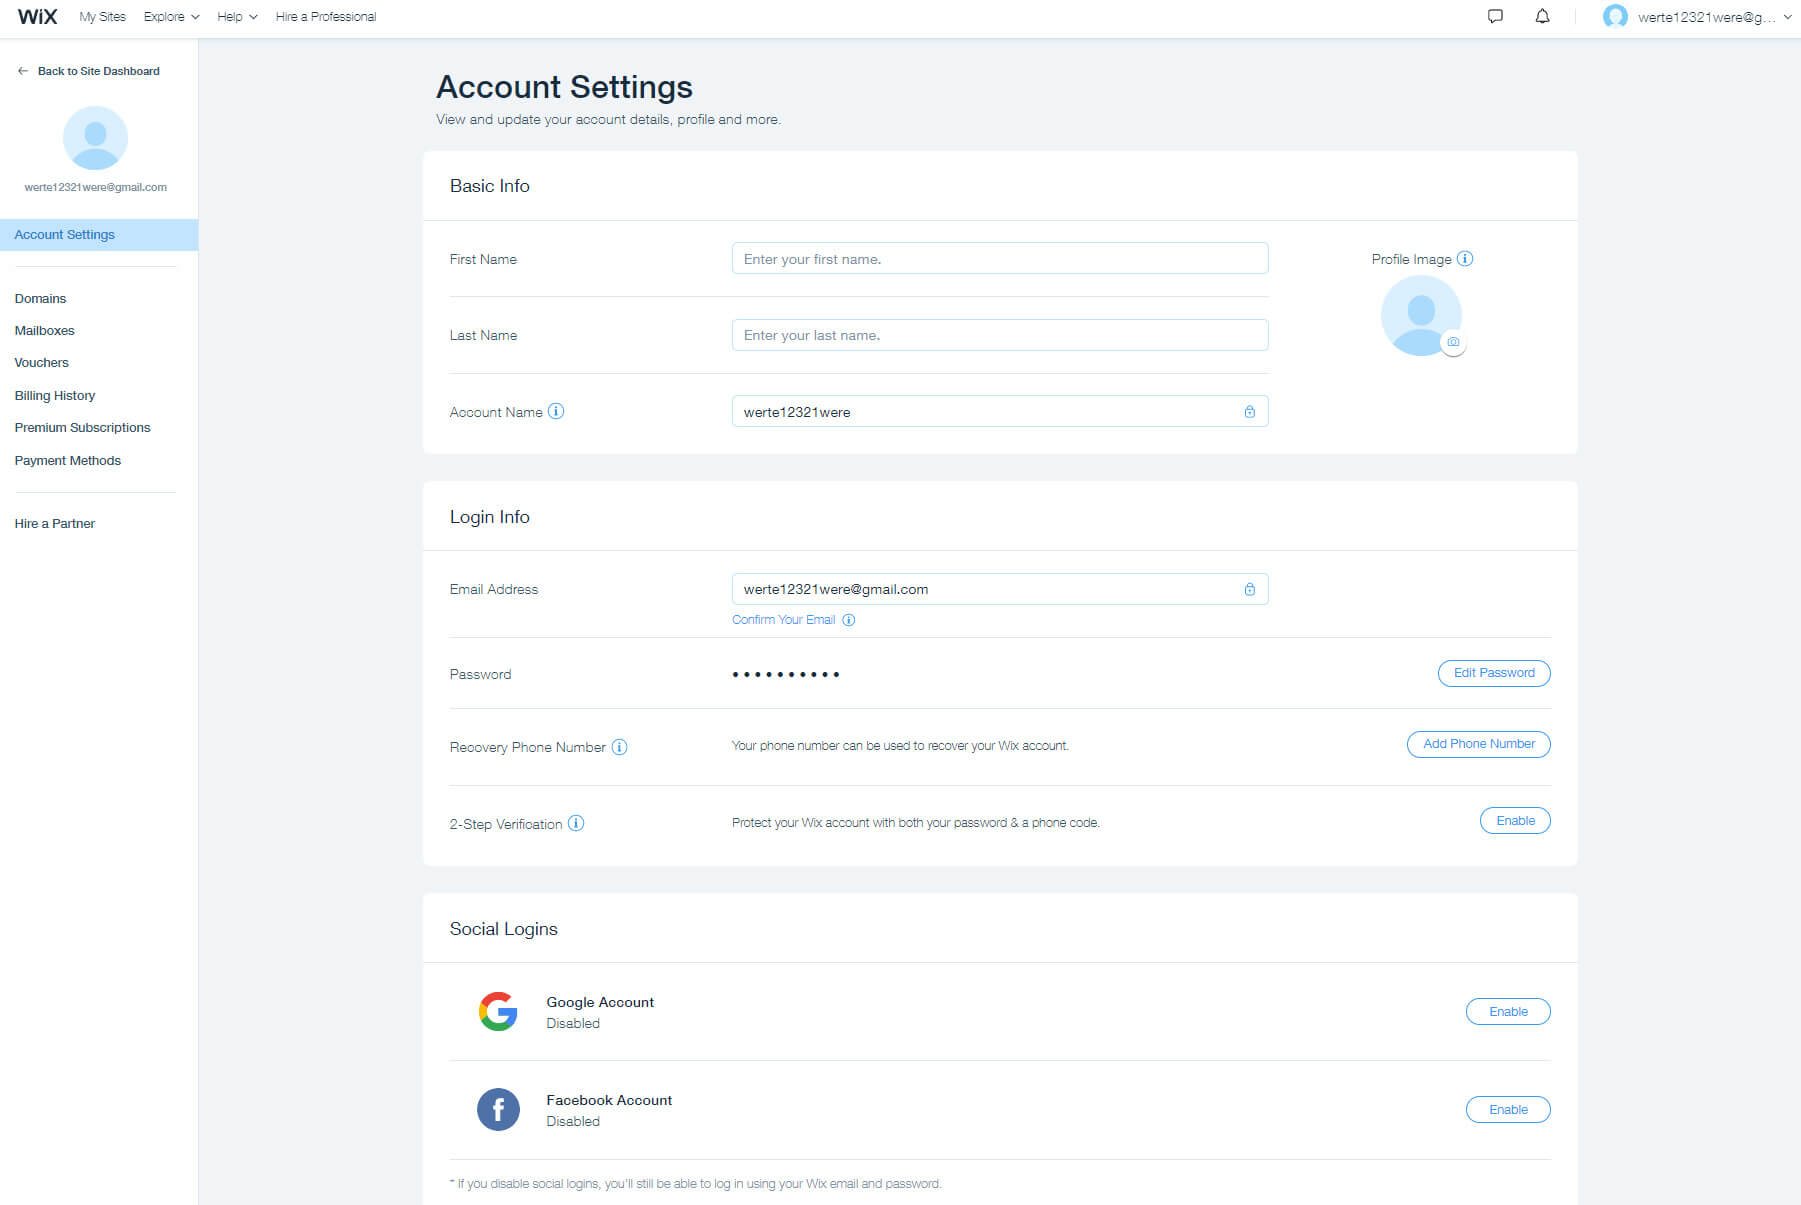
- Under basic info, change the Account name to anything you want.
The account name is the actual subdomain of your website. When you signed up, Wix created a custom account name according to your email address. However, you can change this to anything unique and available on the Wix network. Please note that if you have already published your site, changing this will also change how you access your site.
So, if you have already sent the link to your site to your friends, make sure you remember to share your new subdomain after saving changes.
Step #7: Optimize and customize your website
Your site should already look good and ready for the public. But don’t rush! You can still make it better and optimize it for mobile devices and search engines.
Mobile optimization
Wix is one of the rare free website builders that allow direct changes to mobile sites. Not only can you preview your site on those devices, but you can also change all the elements.
To start editing your site for mobile, click on the smartphone icon from the top menu. Then, just like when you edited your site earlier, go through the left-hand side menu to change menus and pages, background, and so on.
Here you will be able to find specific mobile tools. These will allow you to quickly add action bars, back to top buttons, welcome screens, and anything else a perfect mobile website needs.
Here’s another great thing about Wix – if you want to hide a specific element from showing on mobile devices, all you need to do is click a button.
Search engine optimization
To make sure that people will find your site on Google and other search engines, you should spend a few more minutes editing your pages. Adding specific page names, descriptions, and URLs will make them unique and easier to find online for particular keywords.
- Click on the first icon on the left-hand side menu.
- Choose one of your pages and click on the ellipsis icon on the right side.
- Choose “SEO (Google) option.
Step #8: Publish your website to make it live
If you have followed all of the steps so far, you should have a fully functioning website that already looks great. If you’re satisfied with the results and want to showcase the site to your friends and the rest of the world, all you need to do is publish it.
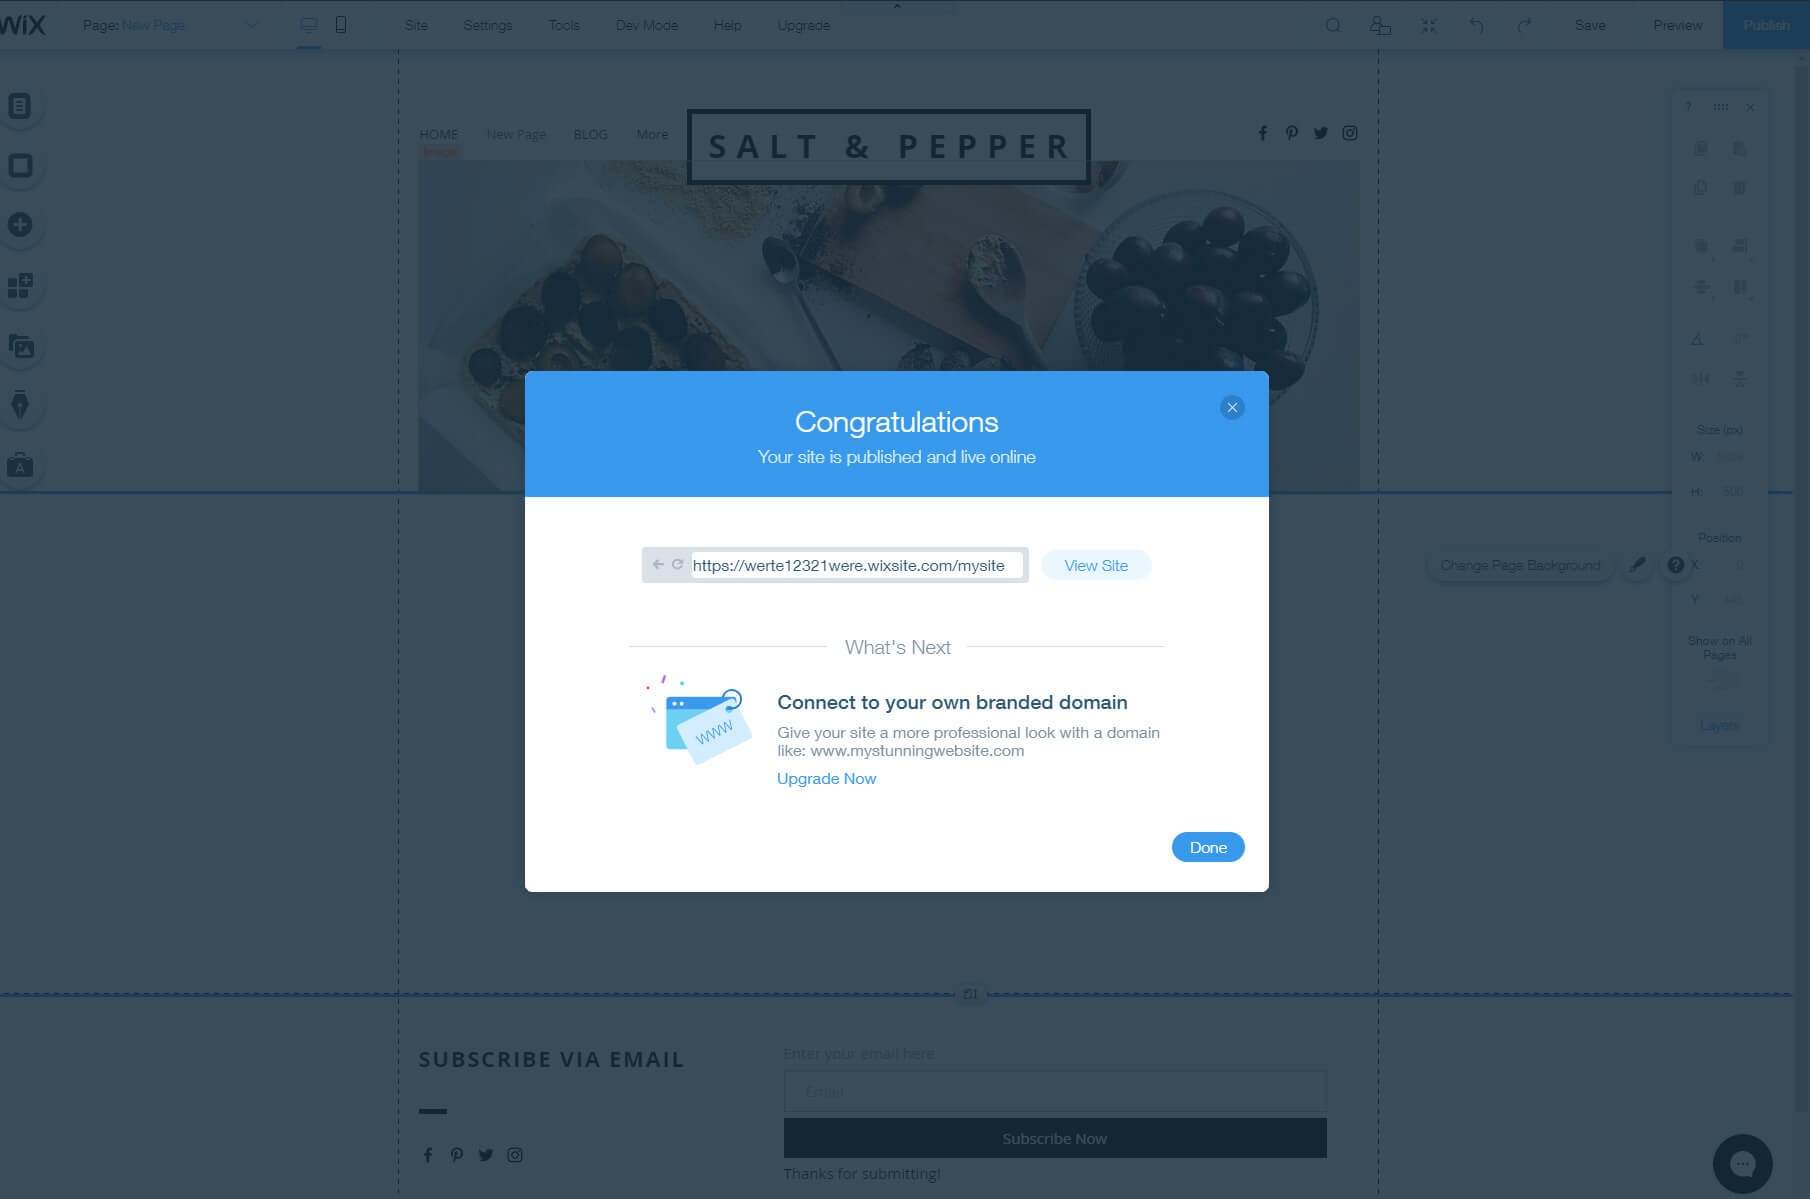
To do that, move your cursor to the top-right side of the screen where you will find the Publish button. Click on the button, and wait for a few seconds, after which a new popup window will appear and show you a success message. Here, you will also see the address of your site, which you can use to access it online.
FAQs
As long as you don’t mind showing Wix ads and having their subdomain as the address of your website, Wix can be free forever.
Yes, you can earn money with a Wix website. You can create an online store, where you can start selling physical goods, or services. You can also earn money by showing 3rd party ads or selling sponsored content.
If you create a free site with Wix, that means that you are using a free subdomain. Since this is their domain name, that means that your subdomain is Wix’s property. If you want to be the owner of your own domain, you should upgrade your plan to one that will allow you to connect a custom domain or purchase a new one.
Conclusion
No matter what kind of website you decide to create, Wix will allow you to play around with the editor until the website is ready to be published. Wix comes with one of the most user-friendly editors. Take your time to explore all of the elements, and don’t be afraid to change a few settings to see what Wix can do for you.
However, if you’re not that interested in the entire design process, you can leave the decision-making process to the Wix ADI and let their artificial intelligence create a site for you. In that case, all you have to do is change some text and images. Isn’t that awesome?
