
WordPress pages are the standard built-in post type that allows you to publish content onto your WordPress blog. However, the option of using pages wasn’t previously an option until WordPress released version 1.5 in 2005. Before that time, WordPress primarily functioned as a blogging tool that only let users write and publish posts. Eventually, users developed a need for different post types that would allow them to differentiate dynamic blog posts from static pages that rarely change.
Posts and pages seem similar, but they are entirely different. WordPress pages are timeless entities that allow users to build static website pages that are not listed in the blog archives. Unlike blog posts, you can’t assign categories or tags to pages.
What are pages in WordPress?
Like posts, WordPress pages are another post type that comes pre-built in WordPress.
We usually add content that doesn’t need to be updated often to pages. Pages represent static type content, like the “About Us” page, “TOCs”, “Contact us”, and “Write for us”.
Posts vs. pages
Pages and posts look identical. But if you look closely, you’ll see that they‘re used differently. By default, you cannot organize WordPress pages using tags or categories like in posts.
Pages are useful for publishing content that is static and doesn’t require social sharing buttons. For example, you don’t usually need to share your legal disclaimer page on social media platforms. Another difference between posts and pages is that by default, users cannot comment on pages. However, you can enable this feature, and we will cover that later in this article.
Pages can be organized in a hierarchical order. For instance, you can create subpages (child pages) under a page (parent page). However, you cannot organize posts in hierarchical order.
Before learning about how to use WordPress pages, let’s first look into how to create WordPress pages.
Adding a new page in WordPress
Creating pages in WordPress is a simple and quick process. If you’re looking to publish long-lived information on your site, but don’t know where to publish that content, this will resolve your issue.
In this article, you’ll learn how to create pages to upload content that doesn’t need regular updating and how to use WordPress pages. Here is a step by step complete guide to master creating WordPress pages.
How to create a new page in WordPress
Creating WordPress pages is nearly the same as creating posts. However, when you are creating a post, WordPress lets you select categories and tags while pages don’t. You can rearrange pages using a reorder number, but posts don’t have such an option.
Follow the these guidelines to create a WordPress page:
- To create a WordPress page, log in to your dashboard admin area using your login details (username and password).
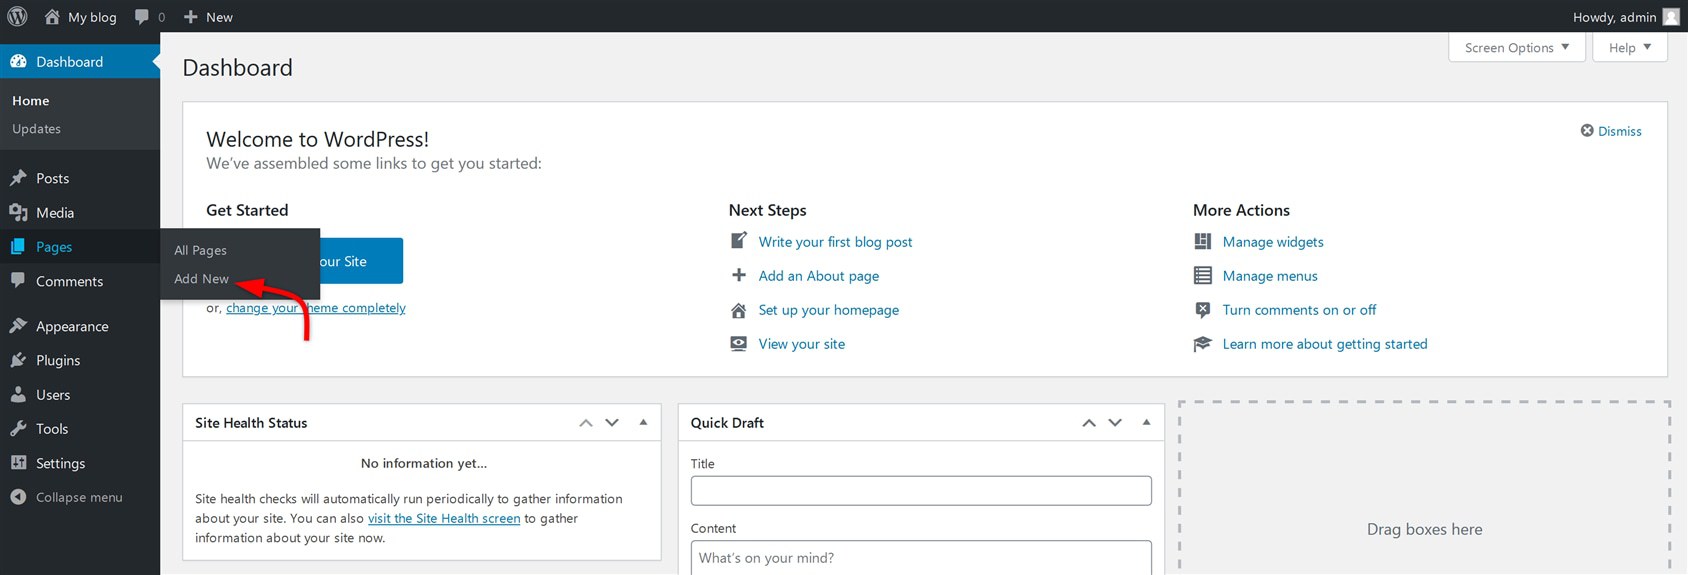
- Hover your cursor over the “Pages” menu item on the navigation menu located on the left-hand side of the Dashboard. Click “Add New”.
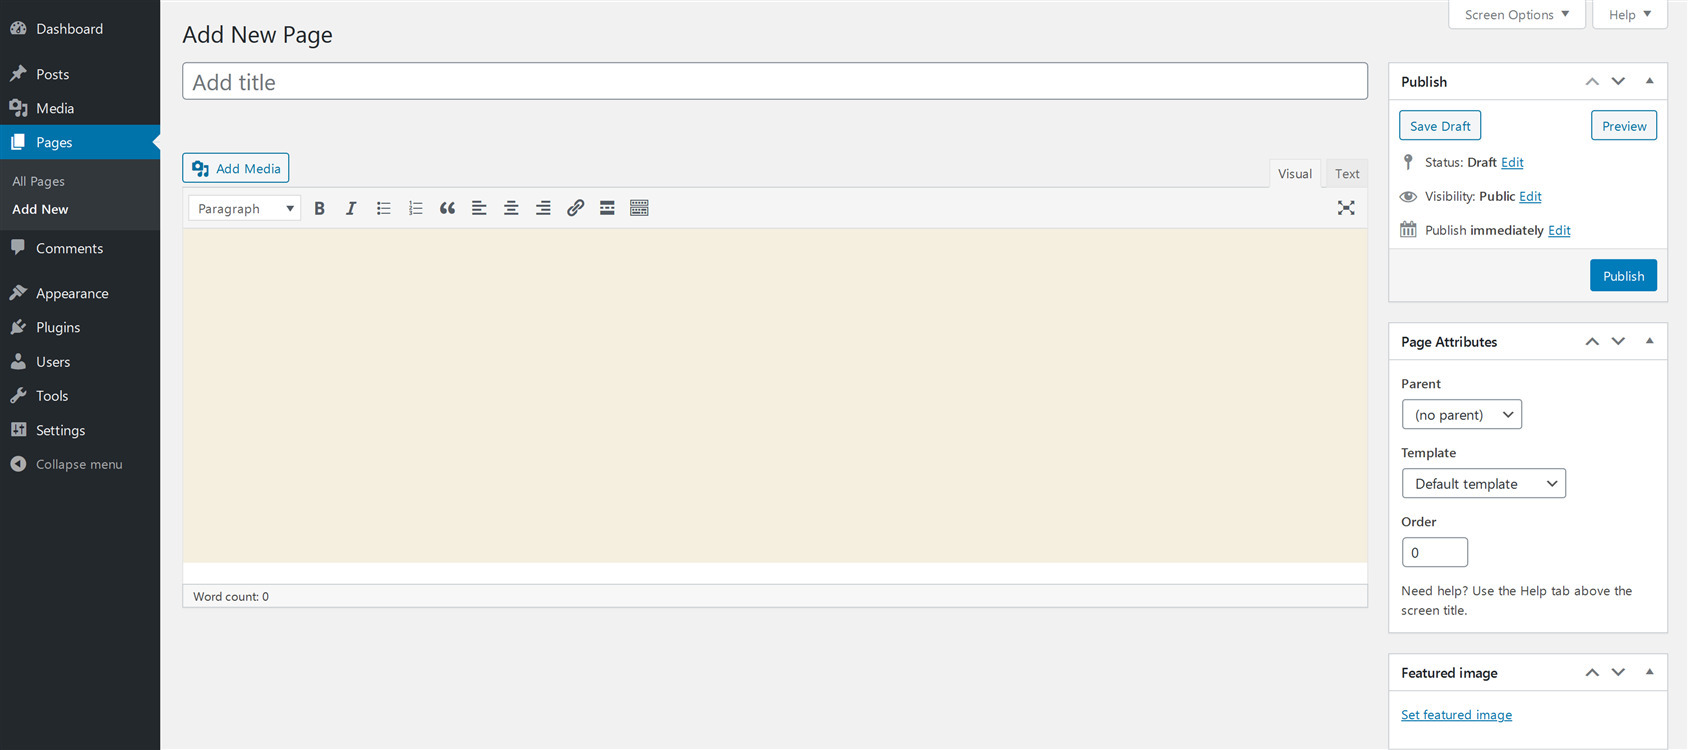
- You’ll then be redirected to the WordPress page editor. If you’re using an updated WordPress version (WordPress 5.0 and above), you’ll see Block/Gutenberg editor.

- However, if you’re using WordPress’s older version (WordPress 4.9 or below) or using a plugin that allows you to use the old classic editor, you’ll see that.
Add a title to WordPress pages
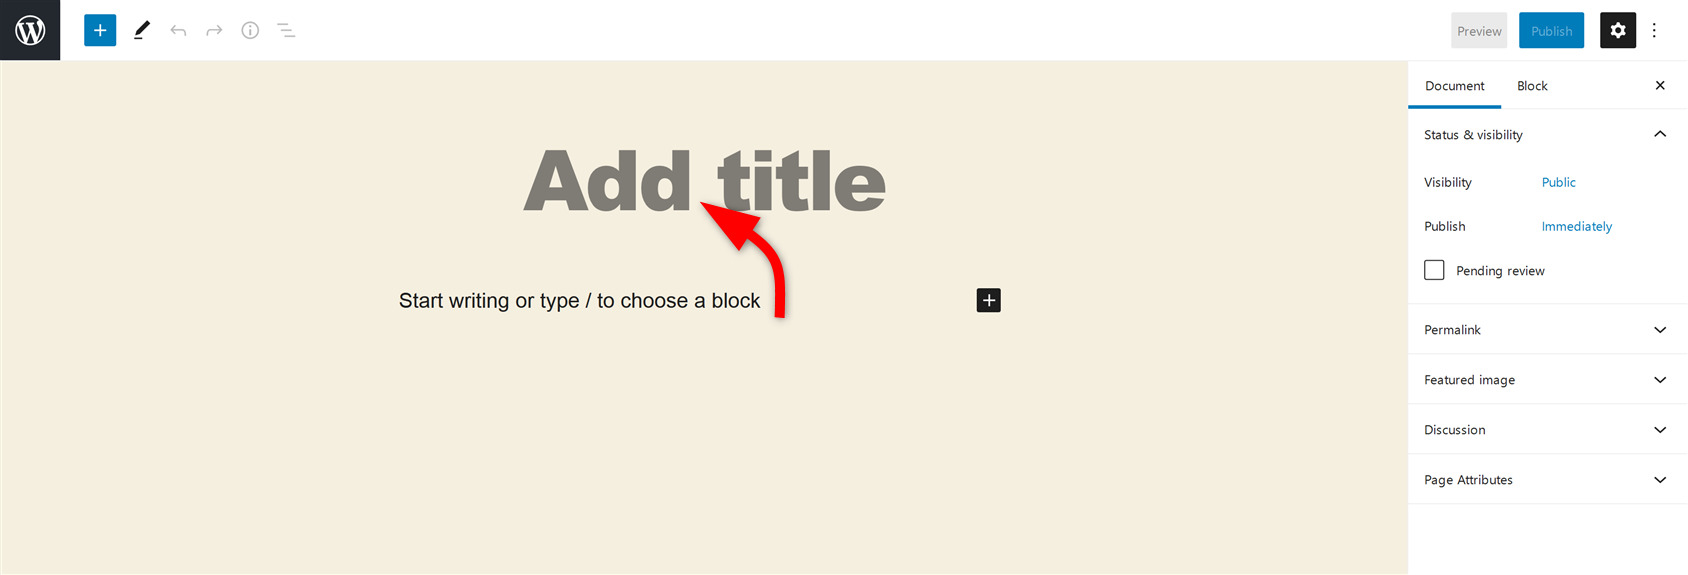
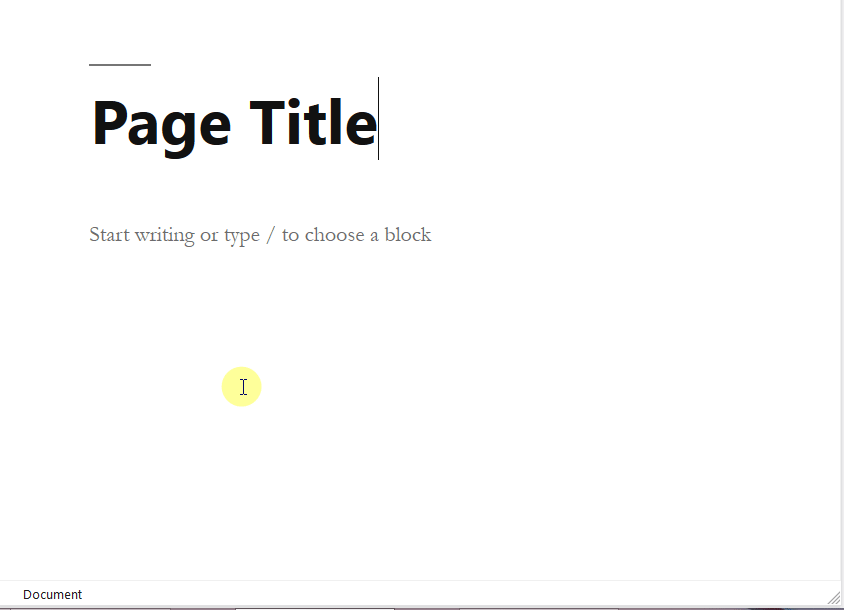
In the Block/Gutenberg editor, you’ll find a big white field at the center of your page with the words “Add Title”. Set a clear title for your page here, like About Us, Write for Us, or Privacy Policy.
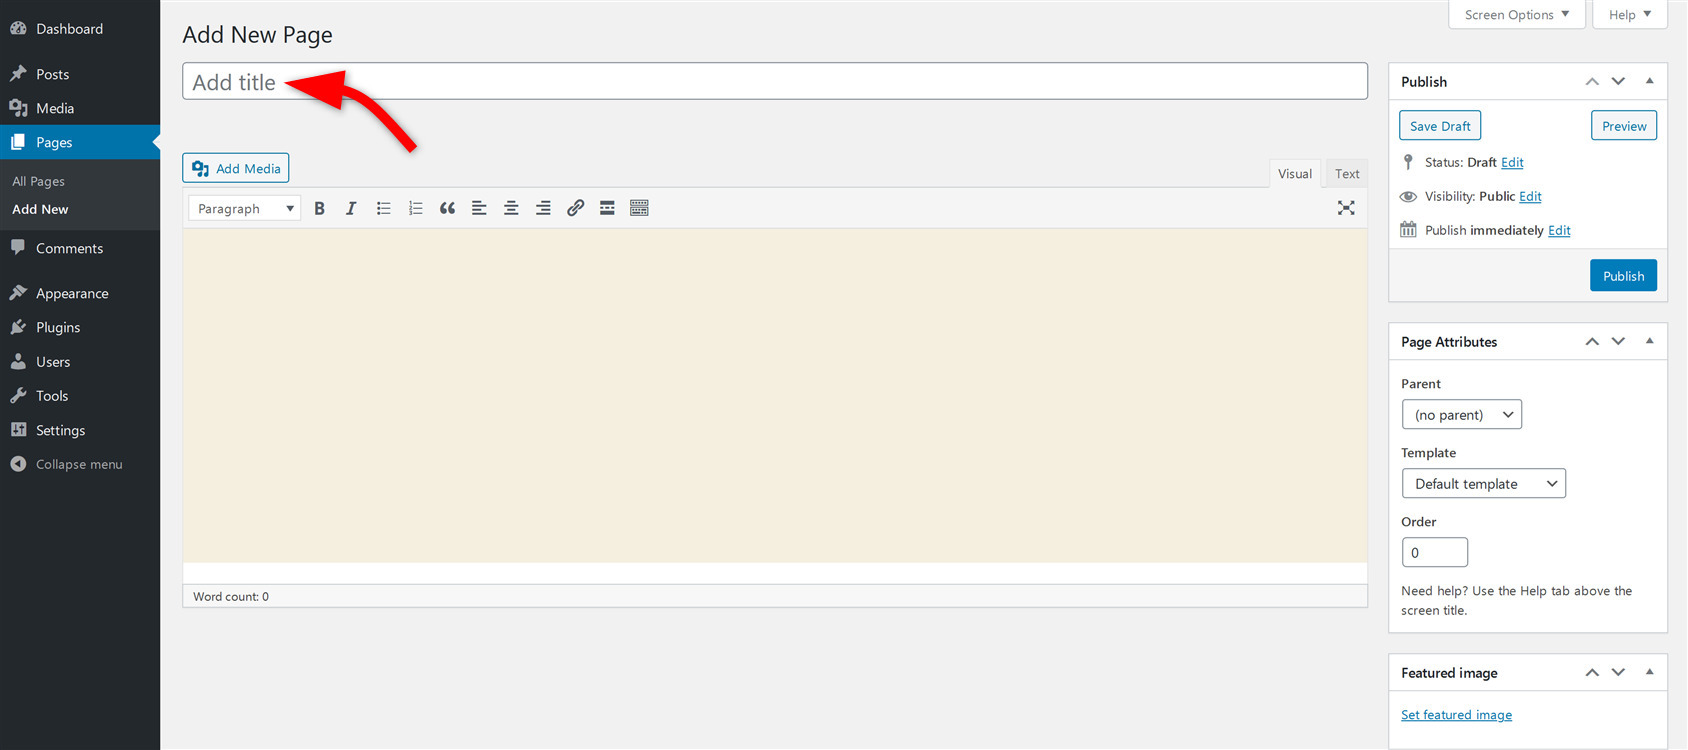
If you are using the classic editor, you’ll find “Add New Page” at the top, followed by the “Enter title here” text. Enter your page title into this title field.
Creating content in WordPress pages
After adding the title, the next part is to create content for the page. Here is how you can do that in both the classic editor and the Block/Gutenberg editor.
Create content using the classic editor
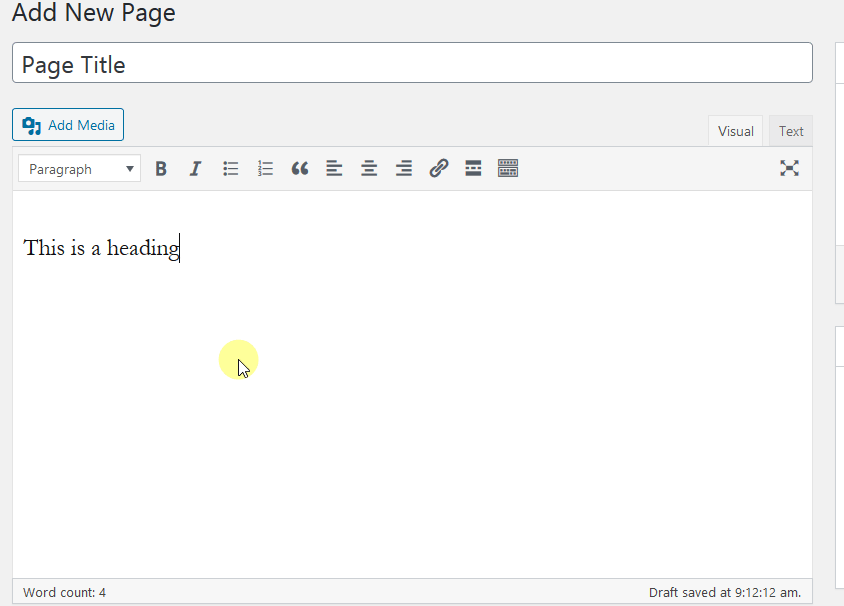
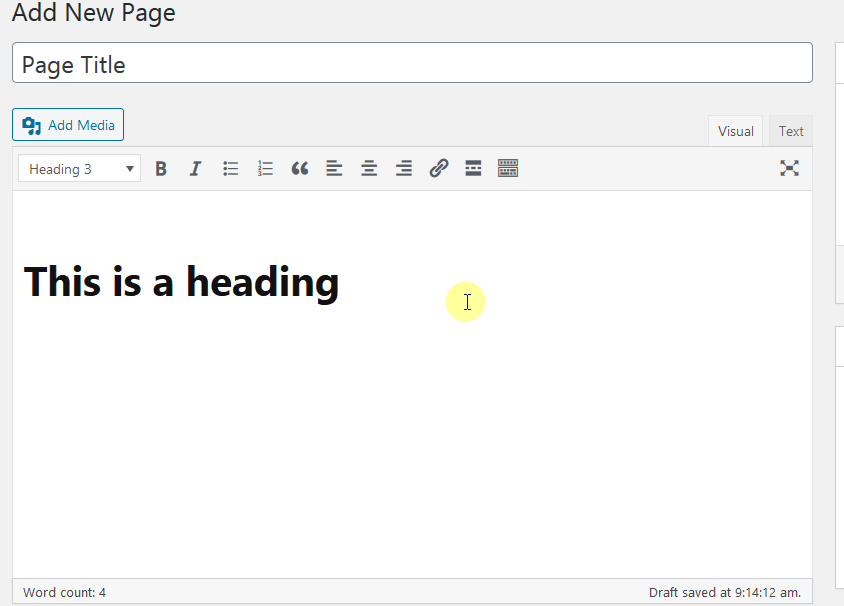
Start typing text in the text area provided by the classic editor. You can change the type of text you enter. By default, it is set as the paragraph type. To change the text type, click on the drop-down arrow (see image below), and you’ll see different text types such as headings (H1-H6). Choose the desired type.
Next to this drop-down menu, you’ll find a toolbar to format text. Here you can change the text style (bold or italicize), Add a list (Numbered or bullets), Add a quote, align the text (left, right, and center), insert a link, and a read more tag.

Click on the last icon on the formatting toolbar to change the text’s color, undo the previous action and other options.
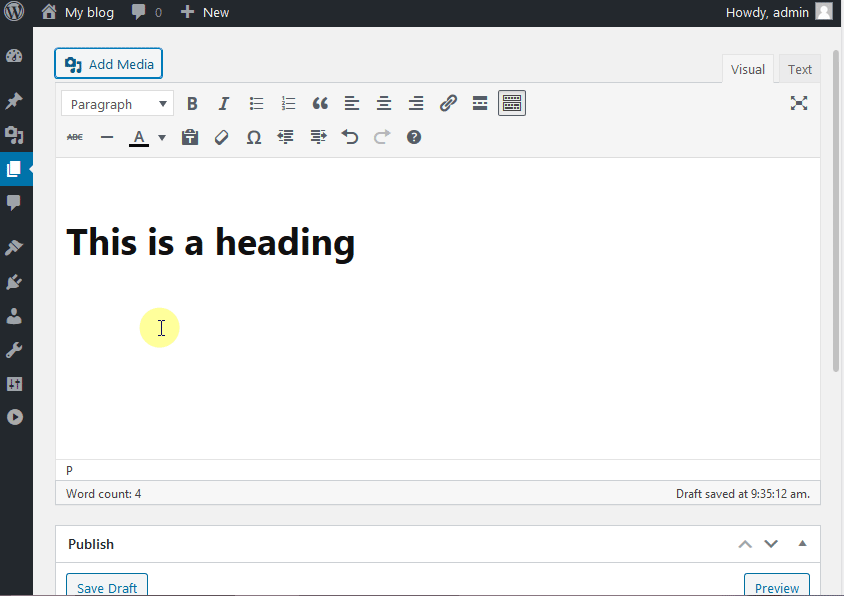
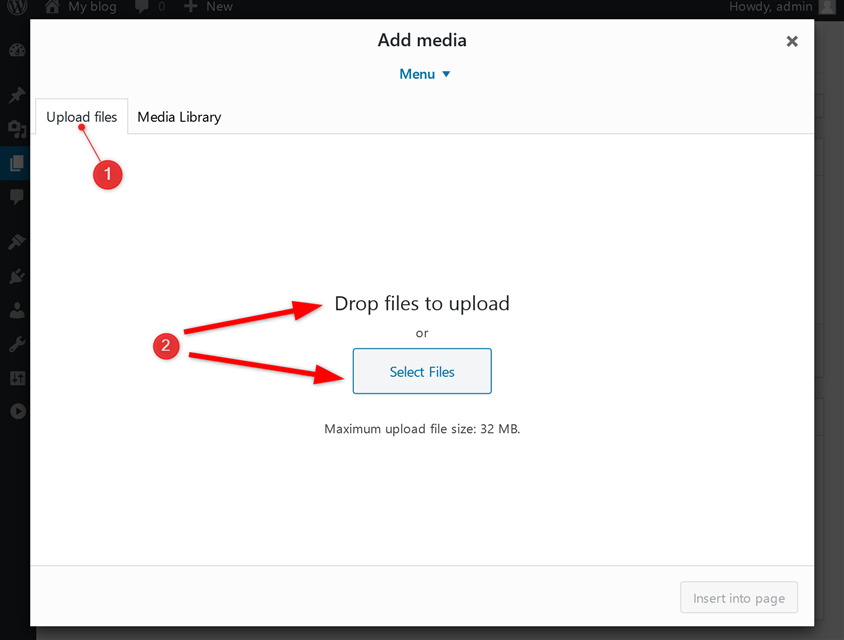
Click on the “Add Media” button to add audio, images, or videos to your WordPress page. When a user clicks on Add Media, a new window will appear. You can choose files from your existing media library.
You can also upload files from your computer directly via the “Upload Files” section. You can drag and drop files from your computer or can upload files using the “Select Files” button.
How to create the “About Me” page using the classic editor
Create content using Block/ Gutenberg editor
The Gutenberg editor functions like a page builder plugin. Because of this, adding media-rich pages is very convenient within the WordPress page editor. As the name implies, this editor uses “Blocks” to create pages.
You might wonder, what are blocks? A block is any content element that you use in the editor to create the page content.
Using this editor, you can quickly build complex layouts in WordPress without employing any builder or coding.
Click on the “+” icon to see the blocks available for creating content.
Here are the most used blocks that you can use to create content for WordPress pages in Gutenberg editor.
- Paragraph – this block is set as a default block type to create content for the editor.
- Image – the image block helps add images to the page in three ways, i.e., via upload, Media Library, or insert images using a URL.
- Heading – teadings play a crucial role in search engine optimization. They also help users organize content so that visitors can easily understand your content’s structure.
- Gallery – gallery blocks let you display multiple images in a rich gallery format.
- List – you have two options with List blocks. You can either add a bulleted list or a numbered list.
- Quote – this block will give any quoted text a visual emphasis.
- Audio – the Audio block allows you to add embedded audio to a WordPress page.
- Cover – this block allows you to upload an image or video with a text overlay. It works great for headers! You can either add an image from your existing media library or upload it from your system.
- File – with this block, you can add a link to a downloadable pdf file.
- Video – the Video Block lets you add an embedded video from the existing media library or upload a new one from your system.
How to set a featured image for WordPress pages
Using Classic editor
- While creating/editing the page in the classic editor, on the right-hand side of the classic editor, you’ll see the featured image option on the bottom of the editor.
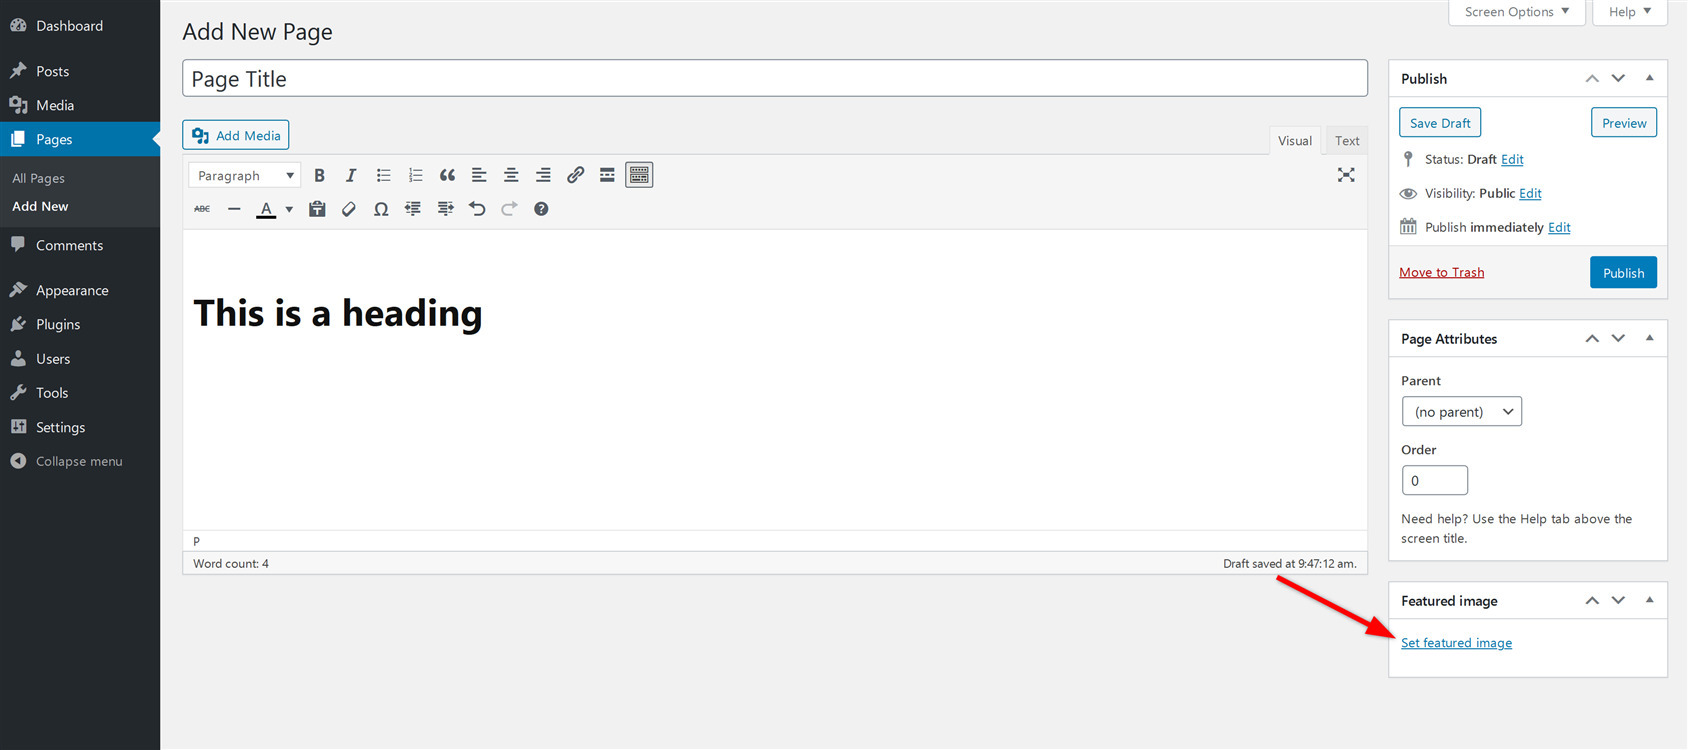
- Click on the arrow and select “Set featured image”. A new window will appear in front of you.
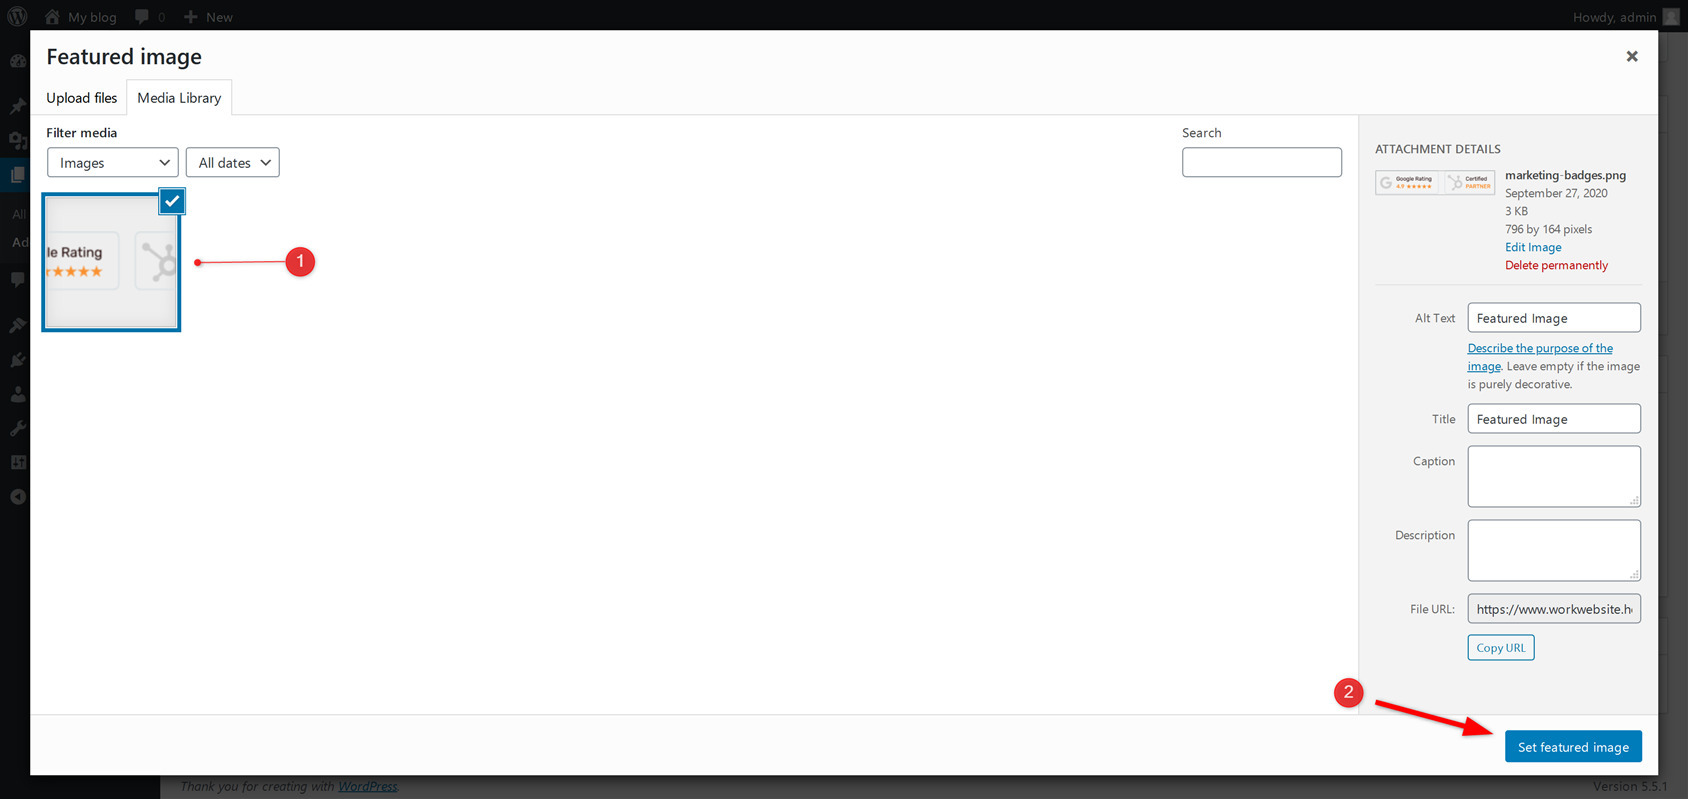
- Select an existing image from the library, or click on upload. Then you can either drag and drop files here, or click on select to upload a featured image directly from your system/computer.
- Don’t forget to add Alt Text which can help you with your SEO.
- After selecting the image, click on “Set featured image”.

Using Gutenberg editor
- While creating/editing the page in Gutenberg editor, you’ll see a tab named “Featured image”.
- Select “Set featured image” by clicking on the drop-down arrow. (Featured image option in Gutenberg editor)
- Then, select an image directly from your Media Library or upload an image from your system.
- After selecting the image, click the “Set featured image” button located on the bottom right corner of the window.
Organizing WordPress pages (parent/child relationship)
As we have already mentioned, WordPress pages cannot be classified using categories or tags. However, what if you have some similar types of pages and you want to organize them?
The answer to this issue is that WordPress allows you to arrange similar pages using the Parent Page and Child Page (subpage) arrangement. Using child pages (subpages), you can easily maintain the hierarchy of WordPress pages. In fact, you can build as many subpages under one main (parent) page as you want.
Follow our step by step guidelines below to learn how you can create and manage parent and child pages on the WordPress website. A parent page can be any standard page that you have already created.
Creating a child page in the classic editor
While creating/editing a page, look for the “Page Attributes” section on the right-hand side of the window. There you will find a drop-down menu labeled “Parent“. Click on it to choose the page that you want to set as a parent page for the page you are currently editing.
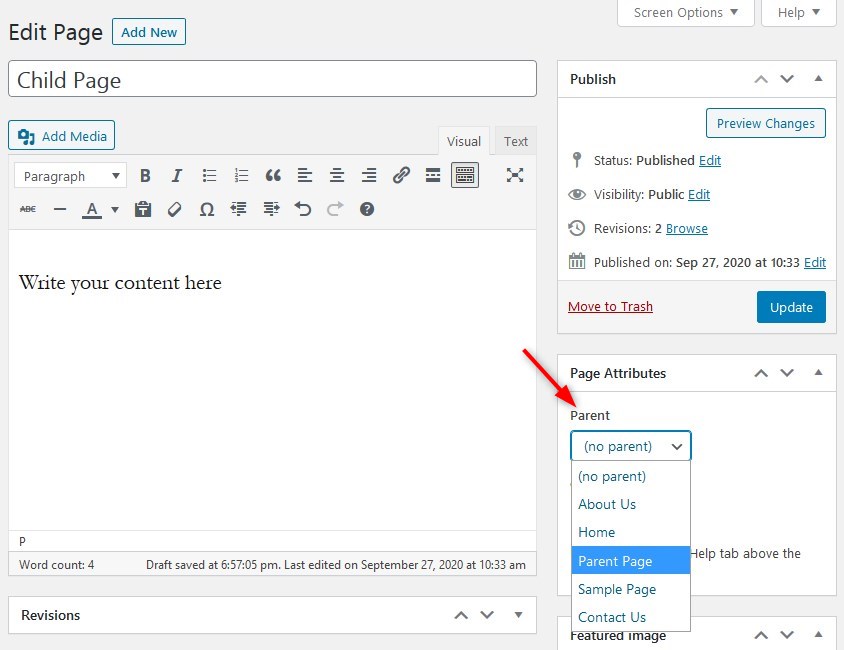
After setting the parent page, click on the “Publish” button to save the changes.
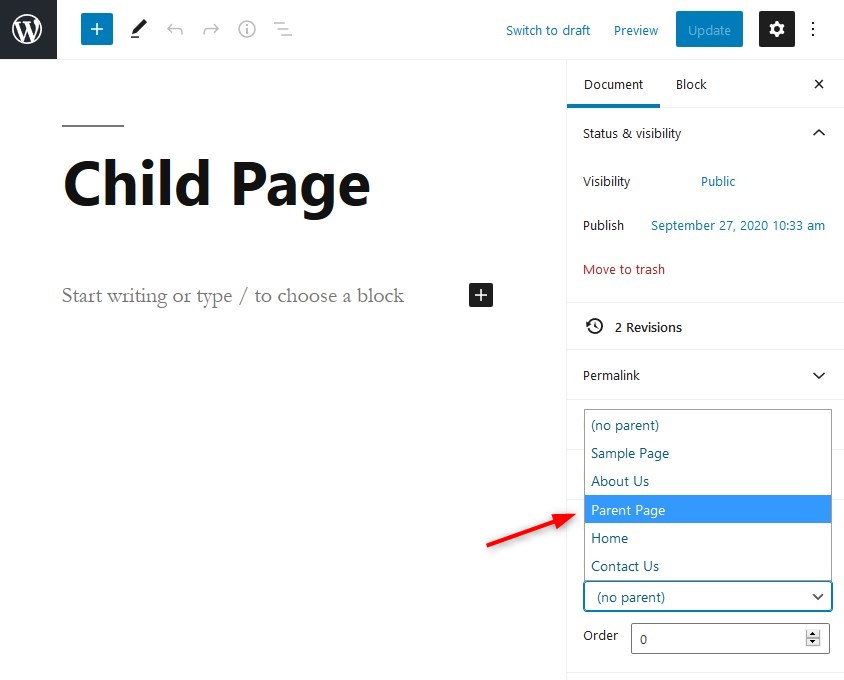
Creating a child page in Gutenberg editor
While adding/editing a page in the Gutenberg editor, under the “Document” section, look for a tab with the name “Page Attributes“. There you will find a drop-down menu labeled “Parent Page“. From the drop-down menu, select the page that you want to set as the parent page for the current page.
How to select different templates for pages in WordPress
Do you want to change page templates for a WordPress site? The first step is to access the dashboard admin area to build a new page or edit an existing one.
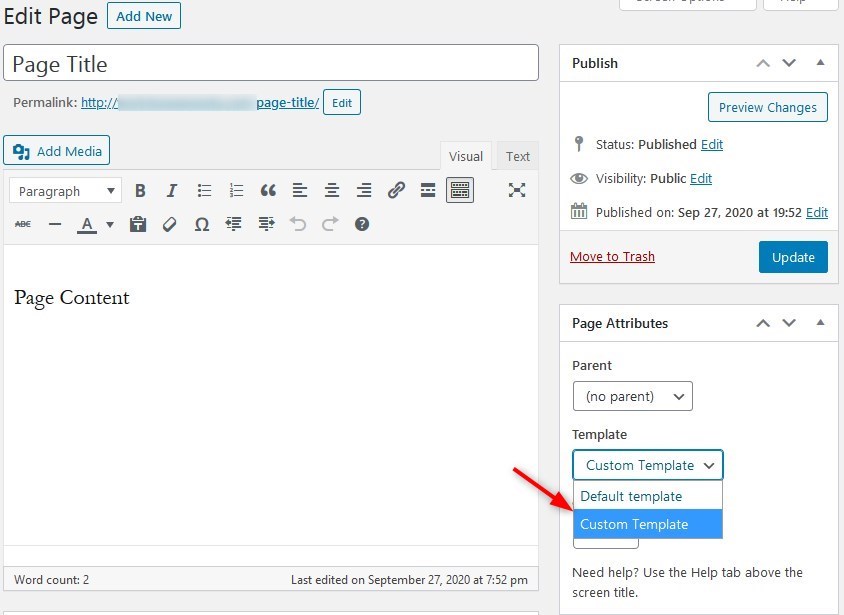
Change page template in classic editor
While using the classic editor, scroll down to the “Page Attributes” section on the right-hand side of the window, and locate a drop-down menu labeled as “Template”. Click on it to choose the Template that you want to use for your page.
Change page template in Gutenberg editor
In the Gutenberg editor, the option to change the page template is also present under the “Page Attributes” section, which can be found under the “Document” section.
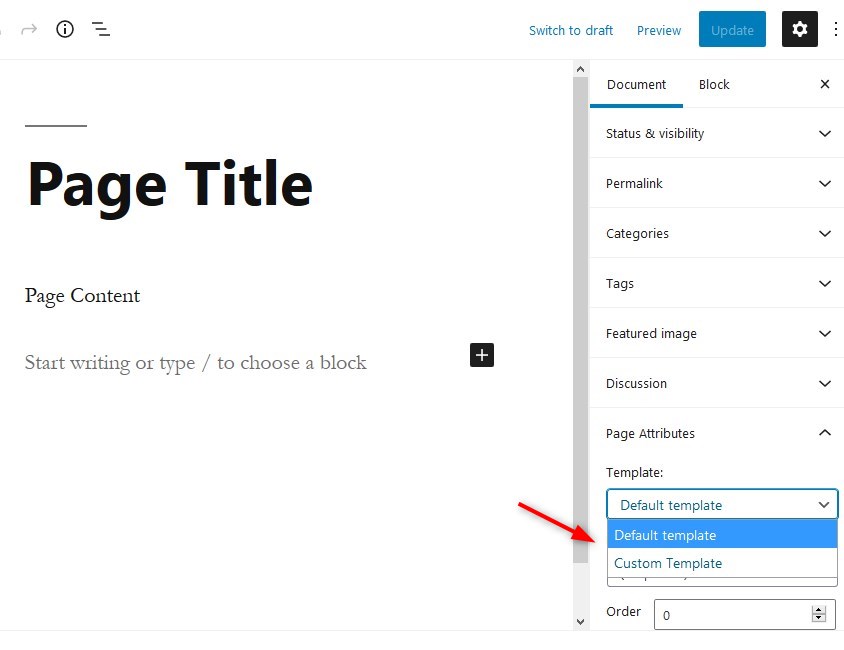
Please note that not every WordPress theme has multiple templates available for pages. The option to change the page template will not be available if there is just one template for the pages.
Reordering WordPress pages
Do you know WordPress allows you to reorder pages efficiently?
By default, pages in WordPress are ordered alphabetically. But what if you want to reorder pages and change which page comes first? You can reorder WordPress pages by assigning numbers.
How to reorder WordPress pages
- Go to your “Edit Pages” page.
- Hover the cursor over the page, and then click “Quick Edit“.
- You can change the order of pages by numbering them. Use number 1 for the first page, 2 for the second one, and so on. You can even use negative numbers like -1 or -2 etc.
You can also reorder WordPress pages by installing a free plugin such as Simple Page Ordering:
- Go to Plugins -> Add new.
- Search for “Simple Page Ordering”.
- Install and activate the plugin.
- Open Pages -> All Pages.
- Click on the page you want to move and hold down the mouse button.
- Move the page up and down until you get to its desired location.
- Release the mouse button to drop the page to its new location.
How to enable/disable comments on individual pages
Enable/Disable comments in the Gutenberg editor
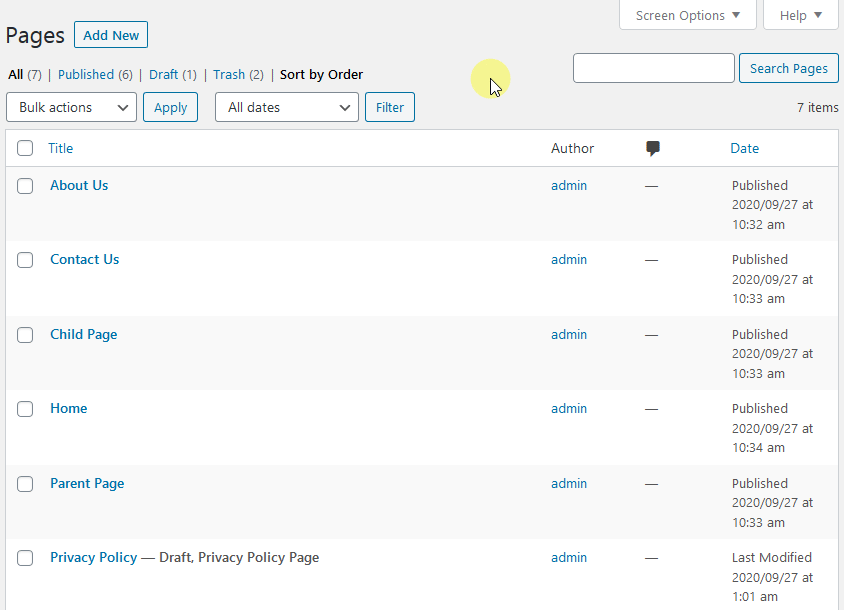
- While in your WordPress Dashboard area, hover your cursor over the “Pages” menu item on the left-hand side of the Dashboard and click on “All Pages“.
- Hover your cursor on the page for which you want to enable/disable comments. Click the “Edit” option under the page title. (Quick Edit also lets users enable/disable comments).
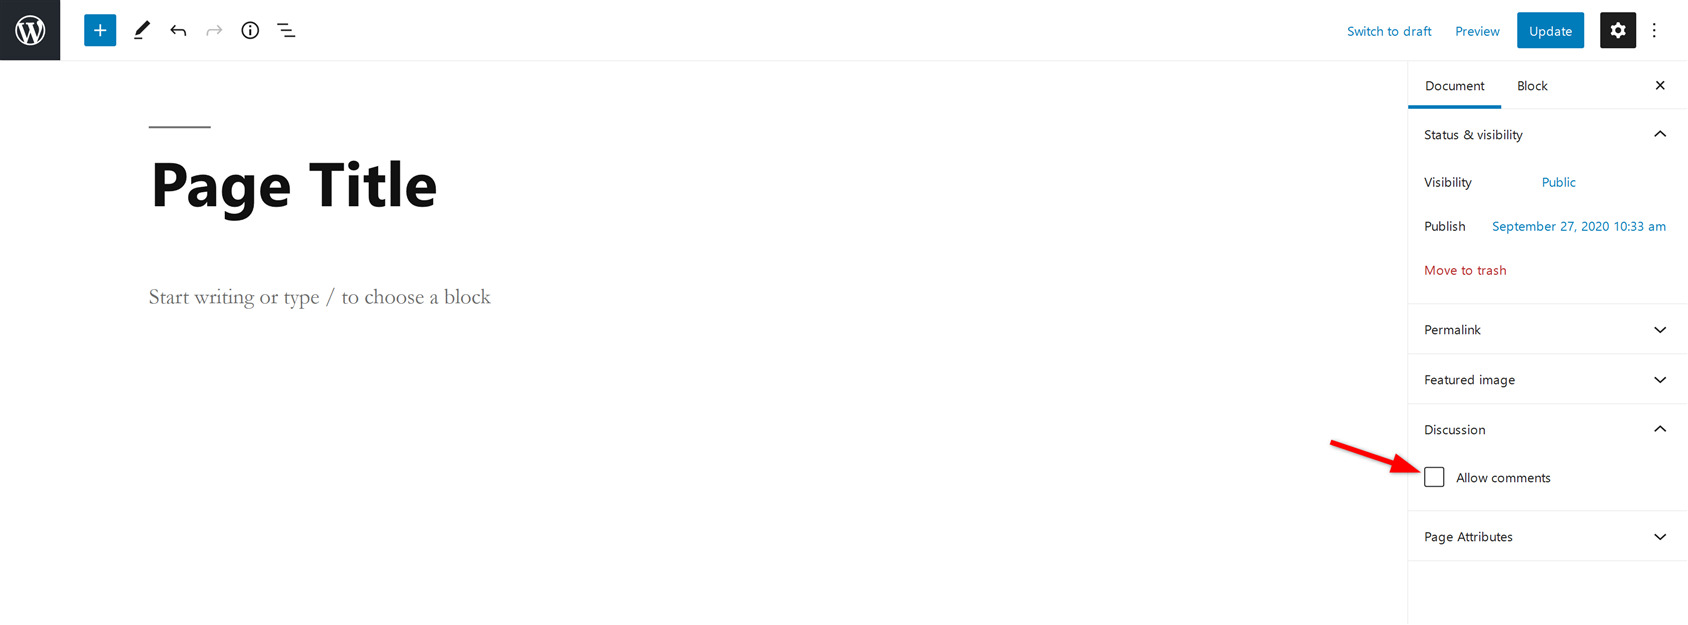
- Now click on the “Discussion tab” on the right-hand side of the Gutenberg editor.
- Check or Uncheck “Allow Comments”:
- Checked: Enables comments.
- Unchecked: Disables comments.
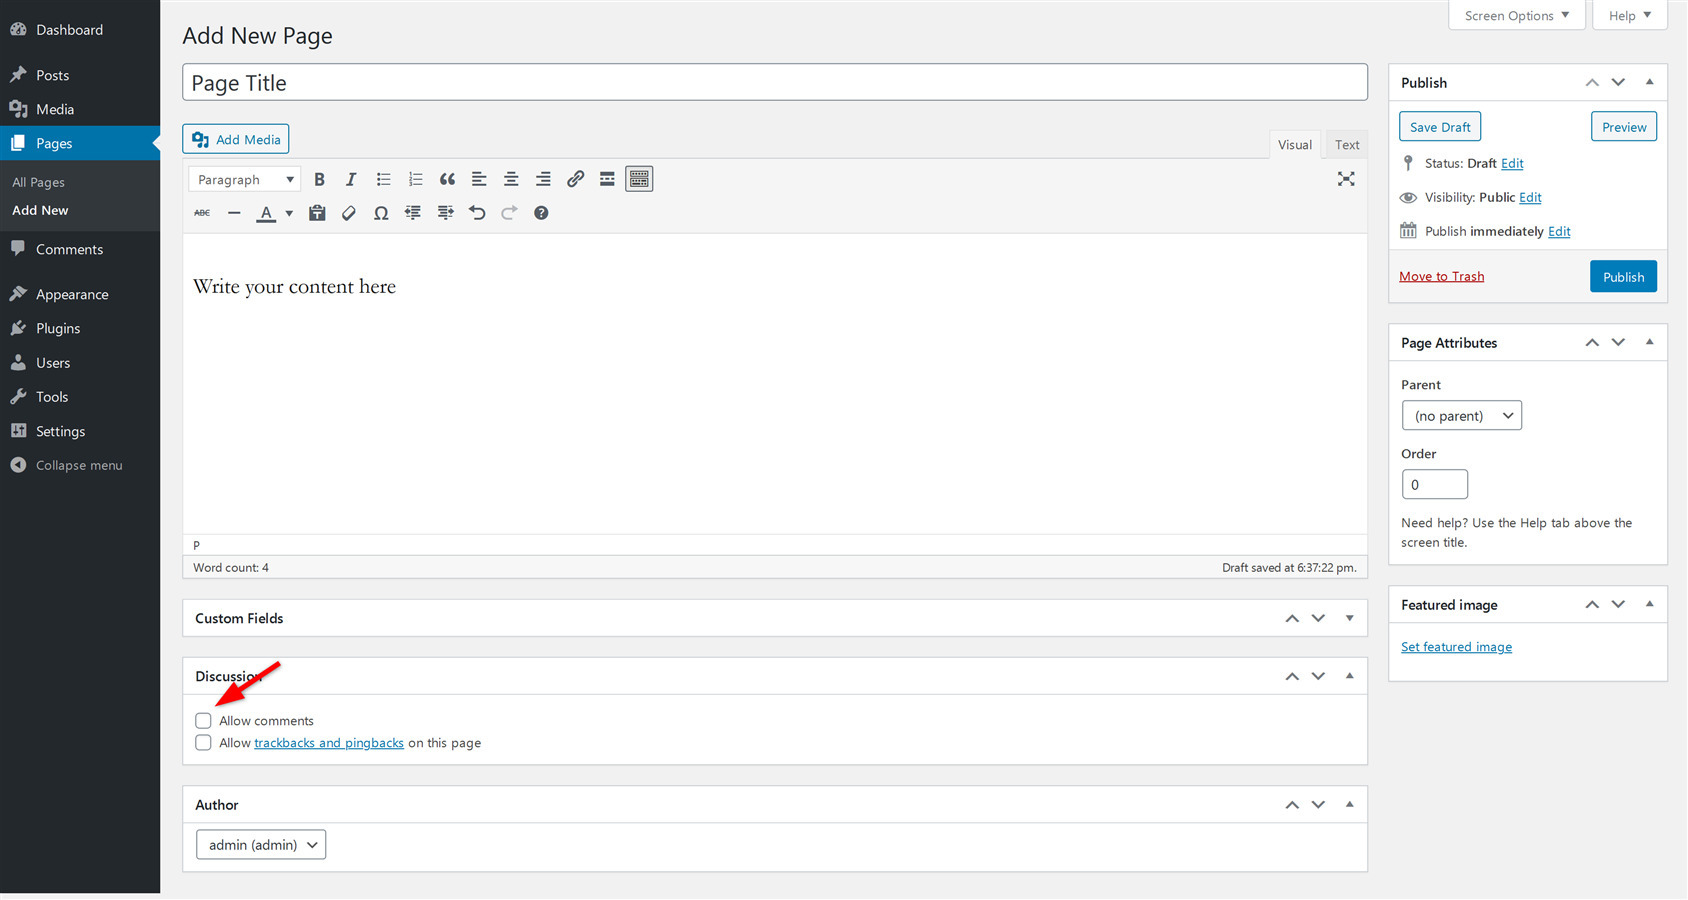
Enable/Disable comments in the classic editor
- While creating/editing the classic editor page, scroll down to the “Discussion” section.
- In the “Discussion” section, check or Uncheck “Allow Comments“:
- Checked: Enables comments.
- Unchecked: Disables comments.
Note: Remember, this setting works for upcoming comments. It does not help delete or remove existing comments on WordPress pages.
How to publish your WordPress page
After you have added all of the content and set the featured image for your page, it’s time to publish your page. Publishing a page in WordPress is really simple.
Publish WordPress page in classic editor
To publish the page while using a classic editor, just click on the blue “Publish” on the right-hand side of the window.
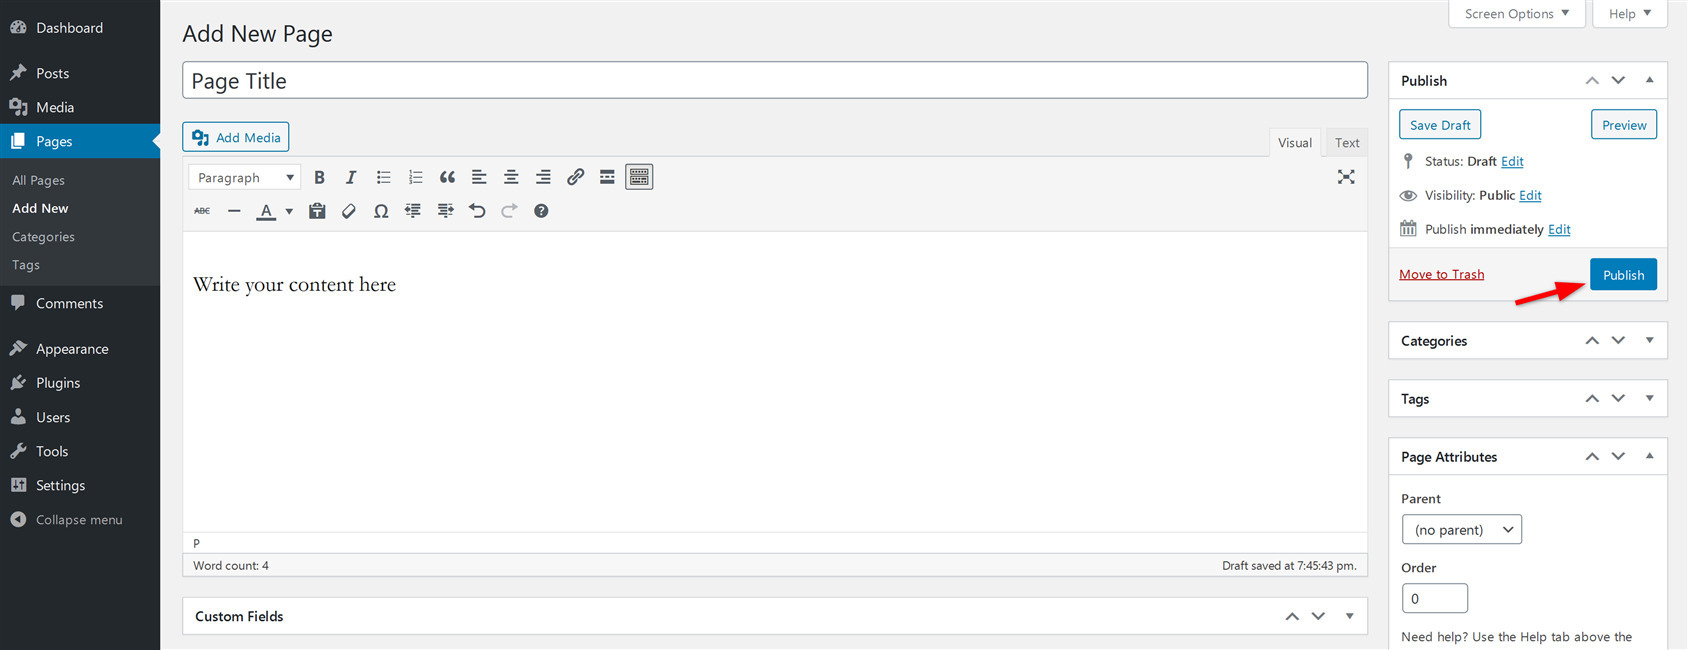
After clicking the “Publish” button, your page will be published immediately.
Publish WordPress page in Gutenberg editor
To publish the page while using the Gutenberg editor, click on the blue “Publish” button in the top bar on the right-hand side.

After clicking the “Publish” button, your page will be published immediately.
Note: If you don’t want to publish a page immediately, you can save the page as a draft and publish it later. You can also schedule the publishing of WordPress pages.
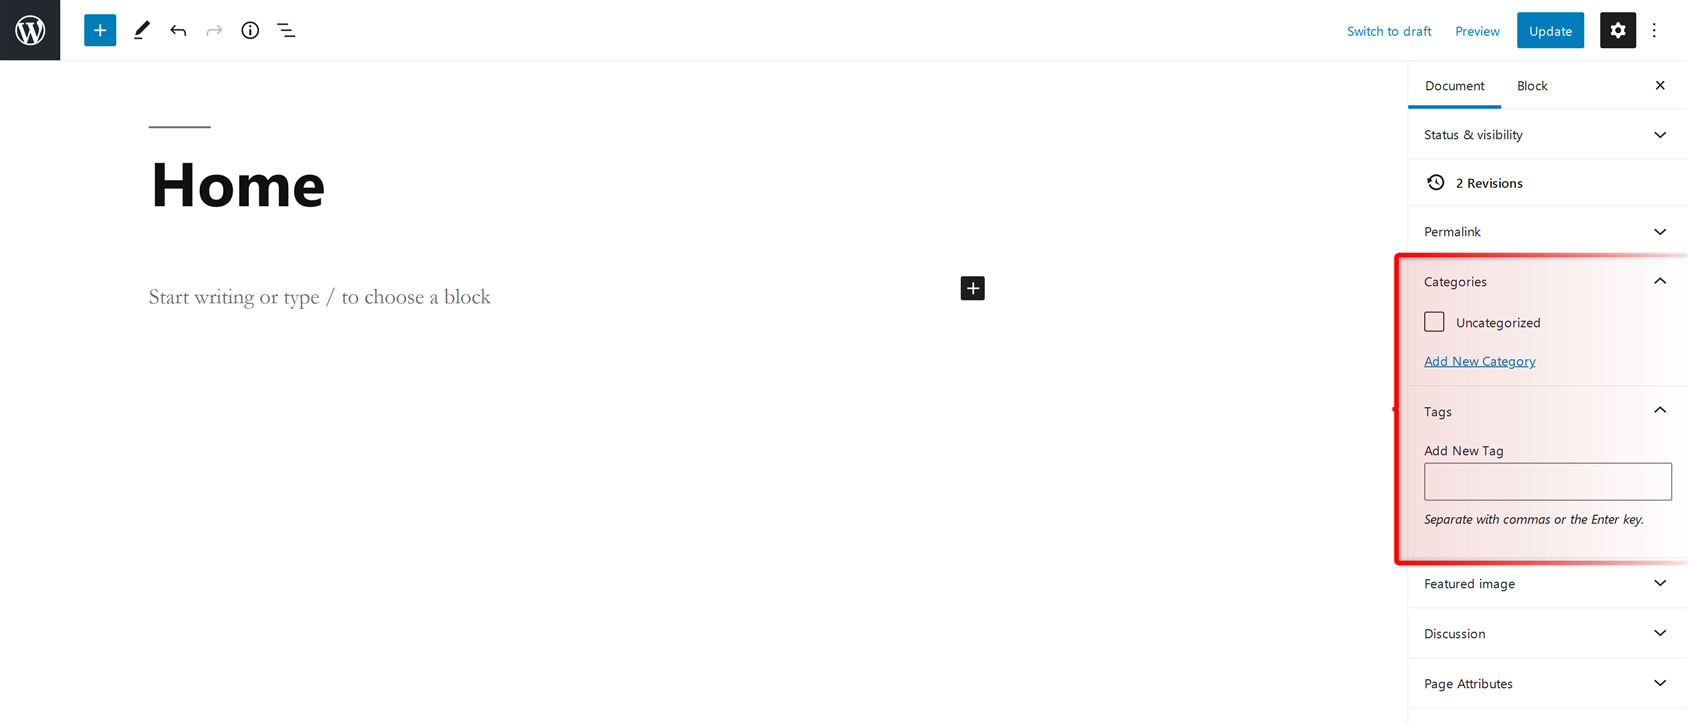
Bonus: How to add categories and tags to WordPress pages
By default, WordPress doesn’t let you add categories or tags to pages, as this feature is limited to WordPress posts.
However, you can add tags and categories using a “Create And Assign Categories For Pages” plugin.
Install and activate Create And Assign Categories For Pages plugin. Now create a new page or edit an already created page. You’ll see post categories and tags available for your pages now. It’s simple!
Conclusion
Remember, creating posts and pages are different, so if you want to assign categories and tags to your blog, creating posts will be the perfect choice for you. But if you’re also going to add content that needs to be accessed quickly, and doesn’t require frequent updates, choose WordPress pages.
