
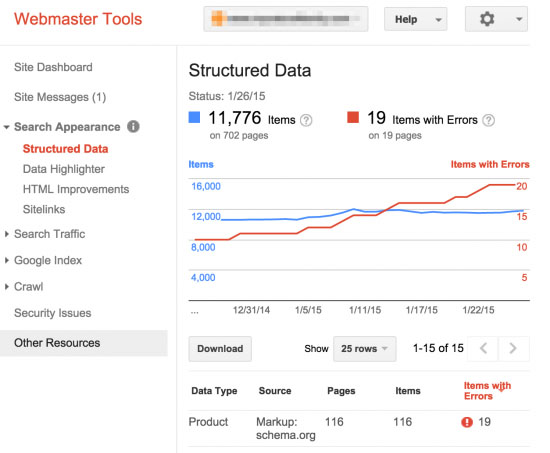
Google Webmasters Tools is a set of handy applications that can help you analyze your website and see how it’s dealing with the most popular search engine. Those tools will also help you manage your site in order to improve your SEO. If you’re serious about presenting your website to a broader audience, you shouldn’t postpone your visit to Google Webmasters Tools.
This service will allow you to see how your website is presented in the search engine results pages. You’ll be able to see search queries which are the most important for your website and you will even have the power of manually crawling your website as a Google bot which is something good if you’re just starting your life on Google. There’s much more you can do with Webmasters Tools, but before you can get access to all that, you will have to verify your ownership.
Add your site to Google Webmasters Tools:
- Open Webmasters Tools
- Sign in with your Google account
- Click on the “Add a property” button
- Enter your website’s URL and click continue
Now that you have entered the needed information, Google is ready to verify your website ownership. There are several different methods that you can use to verify that you actually have access to that URL and thus own the site.
Upload the HTML file:
Google recommends that you use this method in order to verify your site. After you have finished the above steps, Google will create a unique HTML file for you which you need to upload on your server:
- Download HTML verification file
- Upload that file to the root directory via FTP
- Open that unique URL in your browser (Google will give you the link which you just have to click on)
- Click “Verify” button
If you want to make sure that you stay recognized as the owner of the website, do not delete this file from your root directory.
Alternative methods:
If for some reason you don’t want to verify your account via the recommended method shown above, Google gives you several alternatives. If you have already signed in to Google Analytics, you can use the account to verify the site ownership, or you could use your Google Tag Manager account for the same purpose. Similarly, you can sign in to your Domain Name Provider which will prove that you really do own the domain.
The last verification method requires you to edit the meta tag:
- Open header.php file
- Copy and paste the code in between <head> and </head> tags. The code looks something like this:
<meta name="google-site-verification"
content="your_key_goes_here" />
- Make sure that content actually shows your verification key which is unique to you
- Save changes
- Click “Verify” button on Webmasters Tools pages
Just like with the first method, Google advises not to delete the meta tag from your header file. If you ever decide to use another theme on your WordPress site, don’t forget to copy and paste the meta information into the header.php file of your new theme.
Use SEO plugin:
If you are using any of WordPress’ plugins dedicated to SEO, like Yoast SEO, you have one more alternative verification method. Instead of adding the meta tag to your header, you can simply copy and paste the verification key into the plugin’s settings which are usually found under the “Webmasters Tools” section in settings.
In the end, no matter which method you have used to verify your website, you should be able to access the search console. On the homepage, you will be able to see your website. Click on the thumbnail or the link to view details and you can immediately start working on SEO improvement.
If you have more than one website, you can have them all under one account. Each time you need to verify a new website, you can use any of the methods to add your new website in Webmaster Tools. Then, you can choose which site you want to edit and you won’t have to navigate away from your account in order to analyze your other site.
The first thing you want to do after getting into Webmasters Tools is to add an XML sitemap of your site.
