
Every blog or website, including a WordPress one, needs a hosting provider. Once you decide whom you are going to trust, you will start a blog and install WordPress. As you probably already know, managing a site takes both time and some skill. WordPress can help you a lot with your blog, but when it comes to your server, you will need a different kind of help. And that’s where cPanel comes in to assist you.
cPanel is a Linux-based control panel designed specifically for web hosting management. This powerful panel consists of numerous tools that will help you manage your website from a lot of different aspects. It has a user-friendly graphical interface that is quite intuitive and even first-time users won’t have trouble performing specific tasks via cPanel. You can learn more about cPanel on its Wikipedia pages.
Since this control panel has become so popular that practically every hosting company uses it, sooner or later you will need to learn how to do some basic thing with it. Instead of going through each and every detail about this enormous panel, we’ll focus on WordPress beginners.
Introduction to cPanel
To log in to your account, you will have to enter username and password. This will be different from your WordPress credentials; account details are usually emailed to you right after you pay for your hosting. And after you log in, the fun can begin.
To log in to cPanel, visit https://www.yourdomain.com:2083 or https://server-ip-address:2083
The first thing you will notice is the homepage which is a home to all the accessible tools. On the left side, you will notice Stats widget where you can find all the basic details about your server. Here, you will be able to see your domain and the location of the home directory, information about the last login, info about your disk usage, mail account and several other statistics which are always good to know.
On the right side, you will find all the tools grouped into several categories. These categories can be dragged and dropped in order to rearrange them, and you can find some really useful things for your WordPress site. So, let’s break down the cPanel into those categories.
cPanel files section

All the tools you will need when working with files will be found in this group. For starters, here you’ll be able to control FTP accounts which you may need for manual WordPress installation. You can easily add new accounts, change passwords, control quotas and do practically everything FTP-wise. When you work on a bigger project, sometimes you will need to monitor FTP Connections and see who is connected to which FTP account. If you follow FirstSiteGuide, you know that we always emphasize how important is to have a secure website. You will want to scan your website on a regular basis and do everything you can to protect your WP site through themes and plugins, but sometimes you will have to analyze FTP access to your site.
While you can hide and protect WordPress directories by modifying .htaccess file or installing plugins like WP Hide and Security Enhancer, you can use cPanel to lock any folder you want. Simply open the Directory Privacy folder, choose any folder, and put a password to it. Cool, isn’t it?
In this category, you will also find a simple backup tool that can sometimes be a lifesaver. Just through several clicks, you’ll be able to download the entire content of your server. This means that you can easily download the entire WordPress folder and transfer it to another hosting company or install it locally for further development. If you want to only backup specific files and databases, you will be able to select them instead of downloading the entire site. Of course, the backup tool will also let you restore a backup.
When it comes to images, you probably already know that WordPress can be packed with numerous gallery plugins and image tools to help you manage small pictures or the entire photo collections. You can also install some of the best premium themes dedicated to photography, regenerate additional image sizes or change the way WordPress compresses your JPEG images, but sometimes it is just enough to use Images cPanel tool which will help you create thumbnails from all images in a selected folder, scale them or even convert them to a different format.
How to upload themes/plugins via File Manager
If you don’t have an FTP access and you need to upload themes and plugins files to your server directly, you can do that through the cPanel:
- Navigate to Files category and open File Manager tool
- Open public_html -> wp-content where you will find “themes” and “plugins” folder
- Open the folder
- Drag and drop theme/plugin files
How to create a new FTP account
- Navigate to Files category and open FTP accounts tool
- Choose a username
- Choose a password
- Choose top-level directory for that account – for example, if you choose public_html/wp-content/themes that account will only be able to access the themes directory
- Put a quota on the account if you need to
- Click Create FTP Account button
How to create a quick backup
- Navigate to Files category and open Backup Wizard tool
- Click Backup button on the left side
- Choose a Full Backup or select specific folders, databases or email forwarders and filters
- Click Generate Backup if you have chosen a Full Backup or select a button for other backups
- Click on a link to download the backup and save it locally
How to restore a backup
If you already have a backup file on your computer, you can quickly restore them using Backup Wizard tool:
- Navigate to Files category and open Backup Wizard tool
- Click Restore button on the left side
- Select restore type (home directory, MySQL databases or email forwarders and filters)
- Choose a file from your computer
- Click the Upload button
How to create thumbnails from images
- Navigate to Files category
- Select Images tool
- Choose Thumbnailer
- Select the directory with images you wish to convert
- Enter the percentage by which you want to shrink the images
- Select the Keep Aspect Ratio checkbox
- Click Thumbnail Images button
How to scale images
- Navigate to Files category
- Select Images tool
- Choose Scaler
- Navigate to a folder and select an image
- Set the dimensions
- Select the Keep Aspect Ratio checkbox
- Select the Retain a copy of the old image
- Click Scale image button
How to convert an image to a different format
- Navigate to Files category
- Select Images tool
- Choose Converter
- Browse to a folder and select an image
- From the menu, choose which format you wish to convert an image to
- Click Convert
cPanel databases section
Practically everything in WordPress is using databases. You will need to create one before you can install WordPress (don’t worry; if you’re using an installer like the one we are about to mention below, you won’t have to do that manually), and a database will keep up filling with new tables for every theme and plugin you’re using, for every post and page you publish, for every comment, user, etc. WordPress will ask you to name your database during the installation process, and you will have to choose a database prefix which will be used for all the future table in that particular database. While it might sound benevolent, database name and prefixes can be important factors in your future site’s security, so make sure they are unique. If you already have a WordPress installed, you can still change database prefix.
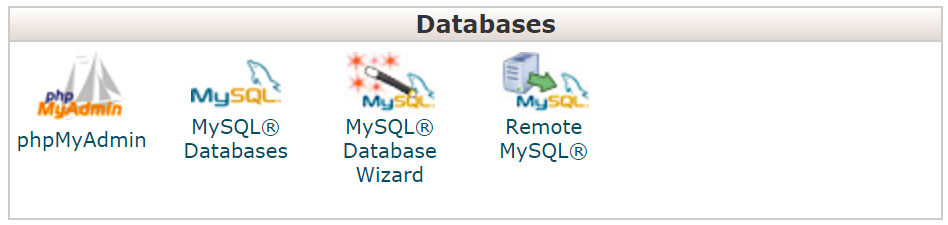
cPanel allows you to manage databases. To be more correct, one of the tools at cPanel’s disposal is phpMyAdmin. This is a free (open source) tool which is used for database management. It will allow you to create, edit and delete databases and their tables, and do so much more. You will be able to directly change things in WordPress through databases. For example, if a plugin used your database to store settings in a table, you will be able to change or reset everything through phpMyAdmin. If you want to reset a WordPress database, you don’t have to do that with a manual query – you can use a free plugin instead.
Database category will also let you use MySQL databases and MySQL Databases Wizard which will also help you in managing databases. If another service or application needs to work with MySQL remotely, you’ll be able to set up everything via cPanel.
How to create your first database
- Navigate to Databases category
- Select MySQL Database Wizard
- Fill in the name of your new database and click Next step
- Choose a username you wish to use and set a password
- Click Create User button
- Select privileges and click Next step
How to create additional databases
- Navigate to Databases category
- Open MySQL Databases
- Fill in the name of database (up to 64 characters, including the prefix)
- Click Create database button
How to create a table in the database
- Navigate to Databases category
- Open phpMyAdmin
- Select a database from the left side
- On the bottom, you will find Create table tab
- Fill in the name of your table and select the number of rows it will have
- Click the Go button
- Enter fields’ names and their properties
How to backup a database
- Navigate to Databases category
- Open phpMyAdmin
- Choose the Export tab
- Choose a method (quick or set options in the custom method)
- Choose a format for the database
- Click Go button which will save the database to your computer
How to import a database
- Navigate to Databases category
- Open phpMyAdmin
- Choose the Import tab
- Click Choose File button
- Select database format
- Click Go button
Allow remote access to your databases
- Navigate to Databases category
- Open Remote MySQL
- Add access host (domain name or an IP address)
- Click Add host button
cPanel domains section

If you have more than one domain that you want to use with your WordPress site, cPanel will have several very important tools that you can work with. By using Addon Domains you will be able to include a new domain that will be stored as a subdomain of your site. If you want a new website without having to purchase a new domain, you can use Subdomains. A simple tool in cPanel will let you quickly create a new subdomain so you can, for example, create a WordPress blog on your business site and simply move it to blog.yoursite.com which will act as a completely new site. You can do the same to host your other websites, and you can use one for a development or a demo site, to name an example.
If you have transferred your website from one domain to another one and you wish to keep both of them, you will be interested in the Aliases tool. This simple tool will let you connect two domains so that you access the same site from both of them. For example, if you had your blog accessible from www.yourblog.net and now you have purchased www.yourblog.com one, you can keep both domains linking to your site.
If you want to redirect one domain to another, Redirects tool is here to help. Decide if you want a temporary or a permanent redirect, add domain names and you’re done.
How to create an Addon Domain
- Navigate to Domains category
- Select Addon Domains tool
- Enter domain name (cPanel will automatically populate the rest)
- Choose if you wish to create an FTP account for the new addon domain and fill in the details
- Click Add Domain button
How to create a subdomain
- Navigate to Domains category
- Select Addon Domains tool
- Enter subdomain name (for example: “blog”)
- Click Create button
How to create a new alias domain
- Navigate to Domains category
- Open Aliases tool
- Fill in domain name
- Click Add domain button
How to redirect a domain or a web page
- Navigate to Domains category
- Open Redirects tool
- Choose a redirect type
Permanent (301) — notifies visitors’ browser to update its records
Temporary (302) — does not notify the visitor’s bookmarks - Select a domain which you want to redirect
- Fill in the URL where you want that domain to be redirected
- Select if you want to redirect visitors coming from “www” or without it
- Choose wildcard if you want to redirect all files from one directory to the same filename in the new directory
- Click Add button
cPanel email section
If you haven’t had much experience with managing websites and web technologies, you were probably wondering how some people had custom email addresses instead of popular ones like Gmail. Once you have your own domain, you will be able to create such email addresses for yourself. cPanel will be much of a help here because you will get to create custom addresses in several simple clicks through the panel.
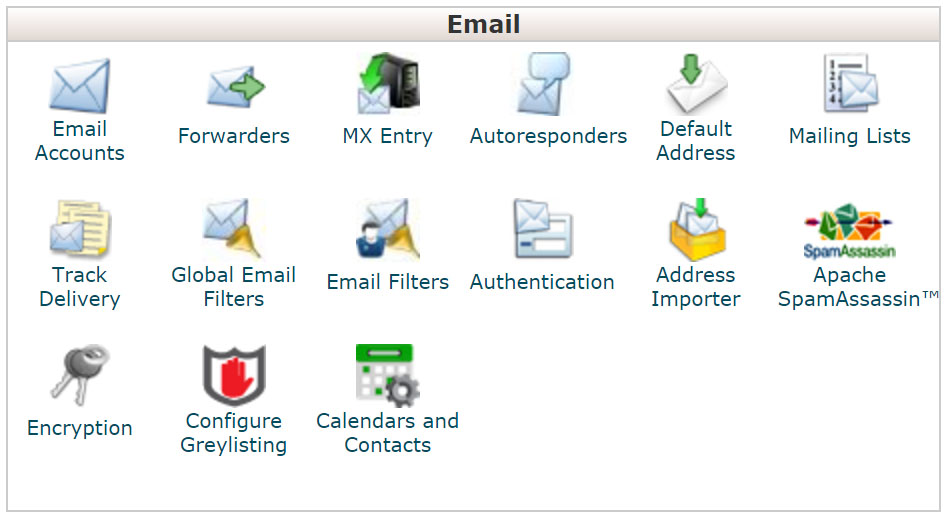
Let’s say that you want to create a new email address for your WordPress blog where people will be able to contact you, and an additional address for each author working on your site. All you have to do is to open the tool from the cPanel and add new accounts. You get to choose the format of email addresses and you need to set passwords. Decide if new email accounts will be unlimited or add maximum quotas to each of the accounts. While this will depend on you, it will also depend on the hosting plan you’ve chosen. The good thing about all this is that cPanel will connect you to a webmail where you can instantly open and check for new emails.
As you might have expected, this is only the beginning. If you need more work around email accounts, cPanel will let you do much more. For example, you can easily set up a forwarding system so that emails from a specific account can be automatically forwarded to another one. If you can’t access your email for some time, like when you’re on your vacation, you will be able to set Automatic Responders through another tool in cPanel.
Depending on your hosting, here you will find a Anti-Spam tool which will fight spam even before it gets to your inbox. If you need more flexibility, MX Entry will let you reroute a domain’s incoming mail to a specific server which can act as a backup.
Here you create email filters, import contacts, create mailing lists, manage encryptions, and much more.
How to create a new email account
- Navigate to Email category
- Open Email Accounts
- Fill in account name (email) and password
- Choose quota for the account
- Click Create Account button
How to access Webmail app
You can access your webmail application from the cPanel:
- Go to Email category
- Find Email accounts tool and open it
- Scroll down and find Access Webmail link
- Log in with your credentials
Or you directly access the Webmail application by opening https://yourdomain.com:2096
How to add your new email account to a desktop application
If you want to receive and send emails from your desktop application, you will need to configure it properly. Luckily, you only need to know one detail about your email, and that is the mail server address. In most cases, your mail server will be mail.yourdomain.com, and you will need your full username ([email protected]) and password. It is a good idea to check the My Server Requires Authentication option. If your email doesn’t connect successfully, it is possible that the hosting company changed something so it’s best to ask them for details or check the email you received after paying for the hosting. Hosting companies are usually thorough so you will have all the important details in the email.
How to forward emails
- Navigate to Email category
- Open Forwarders tool
- Click Add Forwarder
- Fill in email address to forward and choose a domain
- Fill in the address where you want to receive forwarded emails or choose to discard email and send an error message to the sender
- Click Add Forwarder
cPanel metrics section
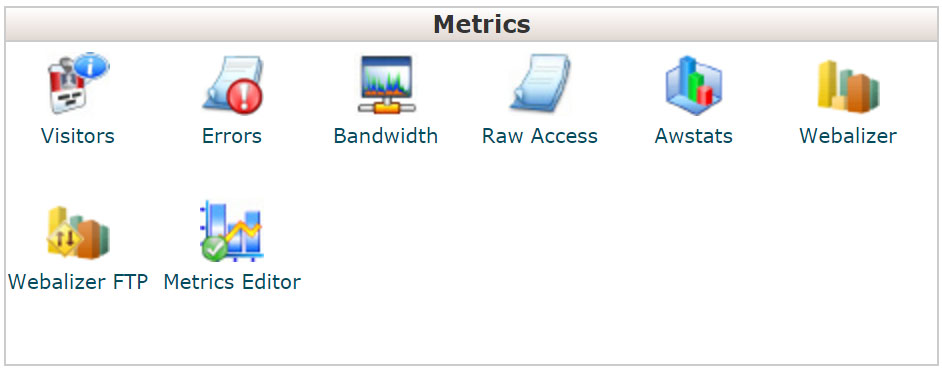
Once you start getting the first visits to your site, you will have to start analyzing data. For starters, you will want to keep your eye on Bandwidth. This great tool will show you the bandwidth usage of your site. You will get to see graphs and numbers which represent bandwidth usage which will tell you the data amount being transferred over HTTP, IMAP, POP3, SMTP, and FTP. Depending on your hosting plan, you might have limited resources so it will be important that you know the stats. If you reach the threshold on a limited plan, your website might stop showing up for a new visitor. Once that happens, it probably means it’s time for a hosting upgrade.
The visitor’s function will show you up to 1,000 last visits to your site. Awstats and Webalizer tools will tell you details about visitors by using visual aids, but if you don’t need graphs and a user interface, a Raw Access tool can export information about your visitors in a simple text file. These tools can be a good start for beginners, but if you want to track your visitor in more detail, you will want to start using Google Analytics. Since you can have Google Analytics displayed directly on your WordPress dashboard, you won’t have to log in to cPanel just for that.
No matter how much you try, there will always be errors on your site. With the Errors tool, you will be able to see the last 300 errors which may include broken links and missing files. While the tool can be quite helpful, you can do much with the WordPress plugin. For example, you can check broken links automatically.
In the end, you can set up stats programs with Metrics Editor. If you are allowed to do so (depending on your server privileges), you’ll be able to choose which statistics you want to be displayed in the other stats tools.
cPanel security section
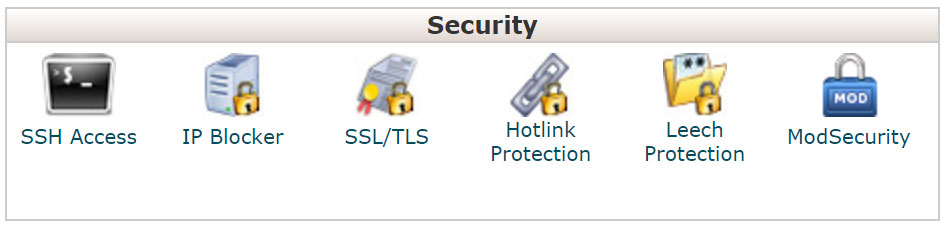
You already know that you must do everything in your power to make your new blog safe. You don’t want malicious software and hackers to get their hand on your site so you will have to take care of it. cPanel will let you manage your Secure Shell keys (SSH). SSH is a cryptographic network protocol for operating network services securely over an unsecured network. You can learn more about it on the Wikipedia pages.
How to block IP addresses
Sooner or later, you will become a target of spam or hacker attacks. They will keep leaving unwanted comments on your WordPress site or even try to log in to your dashboard constantly. In that case, you might want to block that specific IP. It is really easy to block any IP address from accessing your site:
- Navigate to Security category in cPanel
- Open IP Blocker tool
- Add IP address or domain which you want to block
You can use any of these formats to block IP:
- Single IP Address: 192.168.0.1
- Range: 192.168.0.1-192.168.0.40
- Implied Range: 192.168.0.1-40
- CIDR Format: 192.168.0.1/32
- Implies 192.*.*.*
How to enable Hotlink protection
Consider hotlinking as content and bandwidth stealing. If you don’t protect your site, everyone on the Internet will be able to steal from your and link directly to your files. That means that everyone can steal your files and in the addition, they’ll be using your bandwidth! For example, someone might steal an image from your site by linking directly to it. This method would show your image on their site by using the bandwidth which you pay for. So, how to stop hotlinking via cPanel?
- Navigate to Security category in cPanel and open Hotlink Protection tool
- Click the Enable button
- Add URLs to allow access
- Choose formats you want to block direct access for (example: jpg,jpeg,gif,png,bmp)
- Click the Submit button
Hotlinking can slow down your site and you can actually lose money if you don’t act on it.
How to enable Leech Protection
If you are using WordPress accounts to allow registered users to have access to a specific area on your site, you will want to additionally protect your website. If you have somehow limited the access (maybe you wanted only a specific number of users to register or users have to pay for the account), users might share their accounts to allow others access to the limited zone of your site. You can prevent that by activating Leech Protection:
- Open Leech Protection tool from the Security category
- Select a folder you want to protect
- Set up the protection by choosing the following:
- Number of Logins Per Username Allowed in a 2-Hour Period
- URL to Redirect Leech Users to
- Choose an email address where you want to receive alerts
- Choose if you want to disable compromised accounts
- Click the Enable button
What is ModSecurity and how to enable it for your domains
ModSecurity is a free Apache module which is used to stop hacker attacks. This module is actually a set of rules; it scans requests that are coming to your site and opposes them to the rules. If a request is valid, the website will work normally. If the request represents a threat to your site, ModSecurity will block it.
We suggest that you enable ModSecurity and here’s how to do it:
- Navigate to the Security category and open ModSecurity tool
- Find your domain in the list of available domains
- Click the On button
cPanel software section

Depending on the hosting company you are using for your WordPress website, there will different applications waiting for you under the Software category. Among many CMS, forum, and e-commerce software you can install, most modern hosting companies will have WordPress on the list.
How to install WordPress using Softaculous
- Navigate to Software category
- Open Softaculous Apps Installer (or find its widget on bottom of your cPanel)
- Choose WordPress and click the Install button
- Fill in all the necessary information (domain, directory, admin username, email, and password)
- Click Install
If the provided information was correct, Softacoulus Apps Installer will install WordPress in the specified directory and you will be able to see your new installation on the list. You are done! You can now visit your new website. To get to the dashboard, you will have to log in to your new site by navigating to www.yourdomain.com/wp-login. Here you should enter the admin username and the password you used during the installation process and you can finally start working on your WP site.
cPanel preferences section
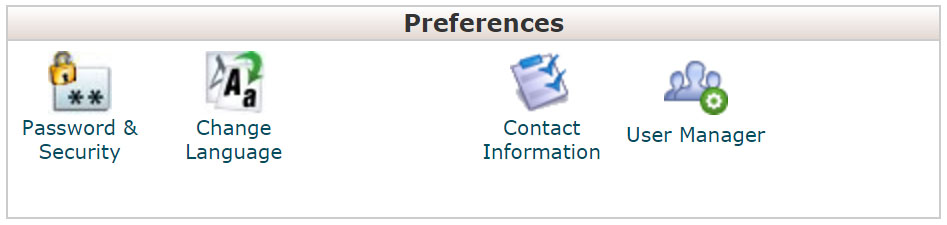
Preferences are directly connected to your cPanel account. Here you can manage your and other users’ accounts, change the language of your cPanel and modify contact information.
How to change your cPanel password
Creating a good, strong password for your cPanel is imperative. As you can see from this article, cPanel is a place where you control your website and your server in very details. You can only imagine what would happen if your cPanel account was compromised. Before you continue working on anything further, make sure that you change your password:
- Go to Preferences category and choose Password & Security tool
- Type your old password
- Type your new password and make sure it’s strong (you can use password generator here instead of sending the password to the gym)
- Click the Change your password now! button
If your server doesn’t have an SSL certificate signed by a recognized authority and you’re using Windows Vista, 7 or 8 via clear text/unencrypted connection, you will have to enable Digest Authentication.
How to change the language of the cPanel
In most common cases, your cPanel will be set to English. If you want to use it in any other language, you can quickly change it through the preferences:
- Navigate to Preferences category and choose Change Language tool
- Select a language from the list
- Click Change button
How to change Contact Information
- Navigate to Preferences category and choose Contact Information tool
- Enter email addresses where you wish to receive notifications
- Check and uncheck notifications you would like to receive
- Click Save button
How to add a new user
- Navigate to Preferences category
- Open User Manager tool
- Click Add User button
- Fill in all the details about the new user
- Click Create button
4 comments on “The Ultimate cPanel Guide for WordPress Beginners”
Leave a Reply

Thanks for sharing a clear and in depth article on c-panel.
I’ve used WP for years, but you filled in a lot of holes in my knowledge. Thank you so much!
Thanks Richard!
Excellent Guide. You covered every bit of CPanel.
Thanks for sharing.