When your blog is well written enough to engage your audience, why do you need to add media files to your WordPress articles? Media files are something you shouldn’t miss including on your site. Pairing information with pictures and videos helps your audience to understand written words quickly and without any ambiguity or confusion.
Consider adding photos and videos to articles for the sake of your readers, even if you aren’t a fan of them personally. After all, “a picture is worth a thousand words.”
A user can easily and quickly digest a relatively boring blog post when it is combined with attractive images to make it more interesting. Let’s explore the details about how to add media files to web content.
What is the WordPress media library?
As the name suggests, the WordPress media library is a set of all of the media files users upload to the website to design catchy blogs for readers.
By default, you can upload media files into the library that include images, videos, audios, PDF’s, word documents, excel spreadsheets, PowerPoint presentations, and Adobe Photoshop documents.
You might be wondering how media files are beneficial for a WordPress site. Read on to learn more.
How are media files important?
Adding media files to your content not only makes your content interesting but also helps in search engine ranking. Google and other search engines will give you extra points for having media-rich articles. How can you add media files to a WordPress site? We’ve got you covered.
[VIDEO] Using the Media Manager: ► Subscribe for more useful videos
How to access WordPress media library | media library screen features
Here we’ll elaborate on how to use the WordPress Media Library, including how to drag and drop files to add to the media library, image editing, adding alternative text, and creating a gallery in both classic and Gutenberg editor. Let’s get started!
The first step is to access the media files section on your WordPress dashboard screen. Let’s see how you can access that.
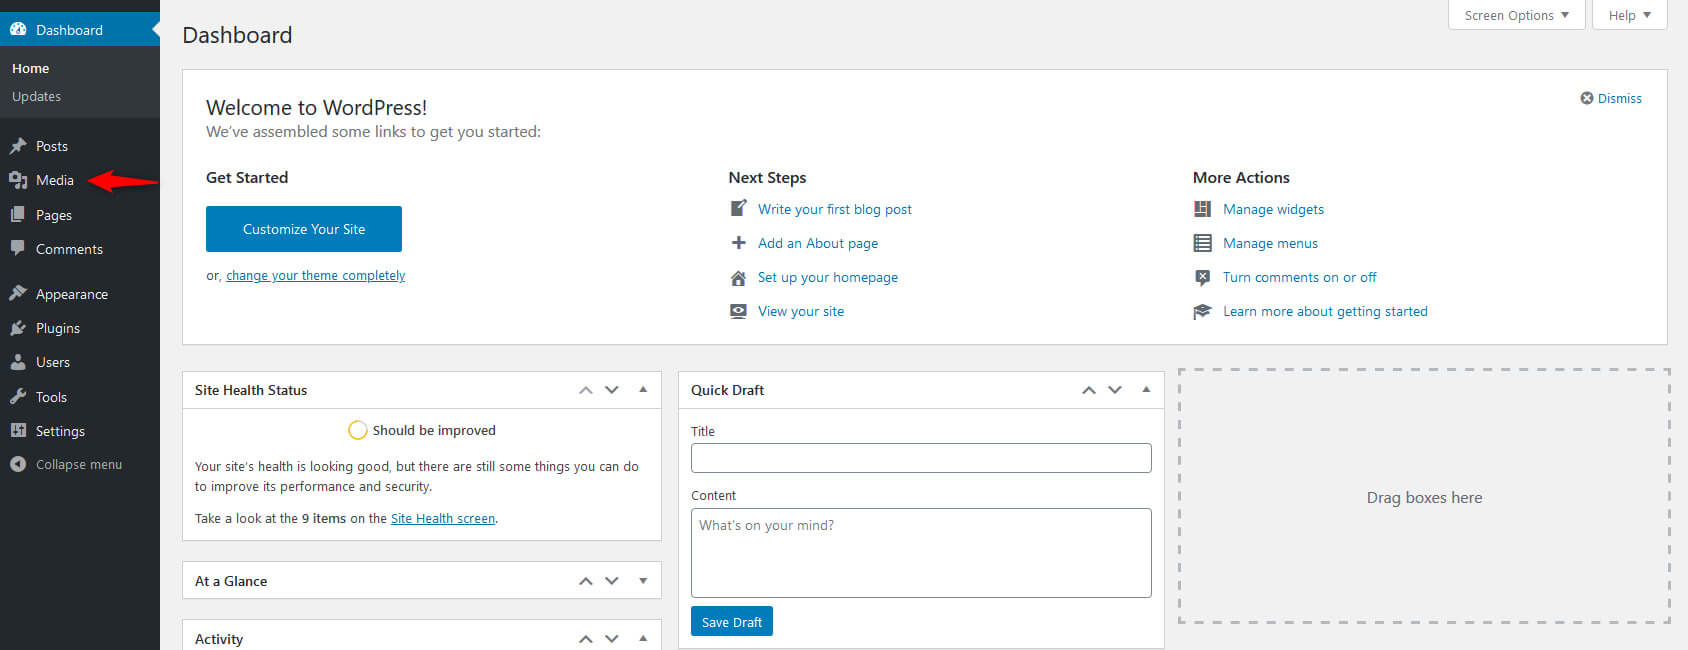
To access the Media library, Log into your WordPress website using your username/email and password. While on the dashboard screen, click on “Media” on the left-hand side of the dashboard screen.
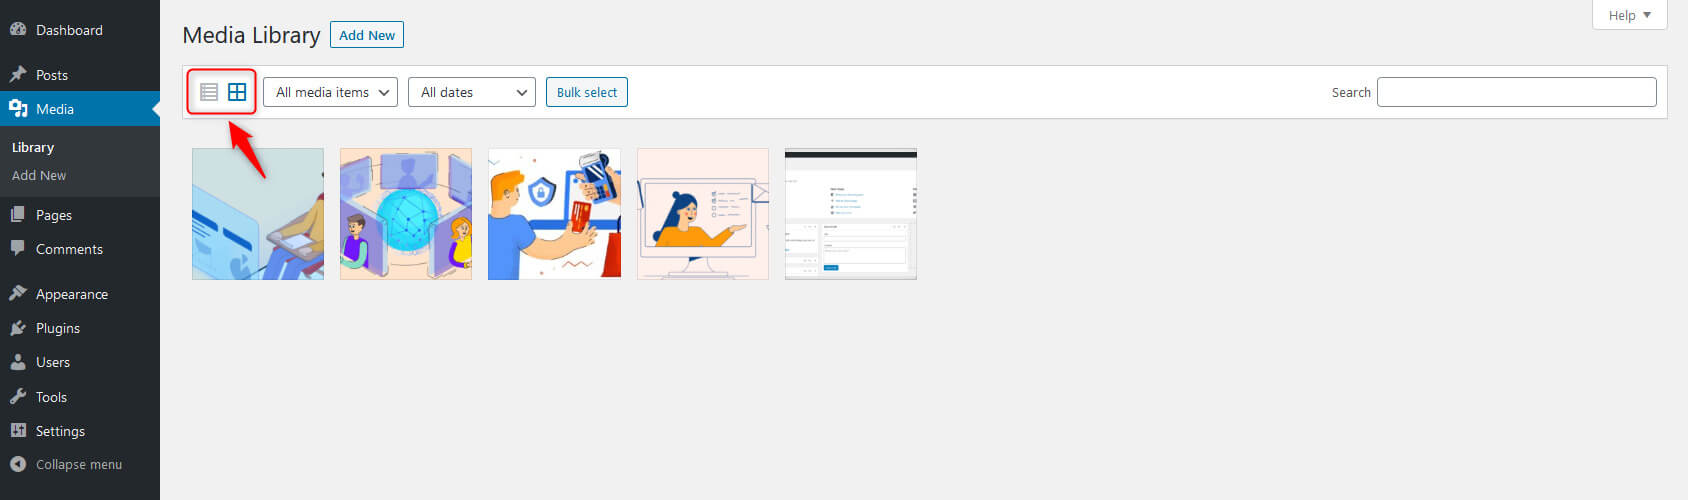
On the media screen, you’ll see a menu with some basic options.

Click on the icons you see to the left of the “Media Type” drop-down menu to determine whether you want to view media files in a list or a grid view:
You’ll see two drop-down menus here that allow users to filter media library files by type or by the dates they were added to the site.
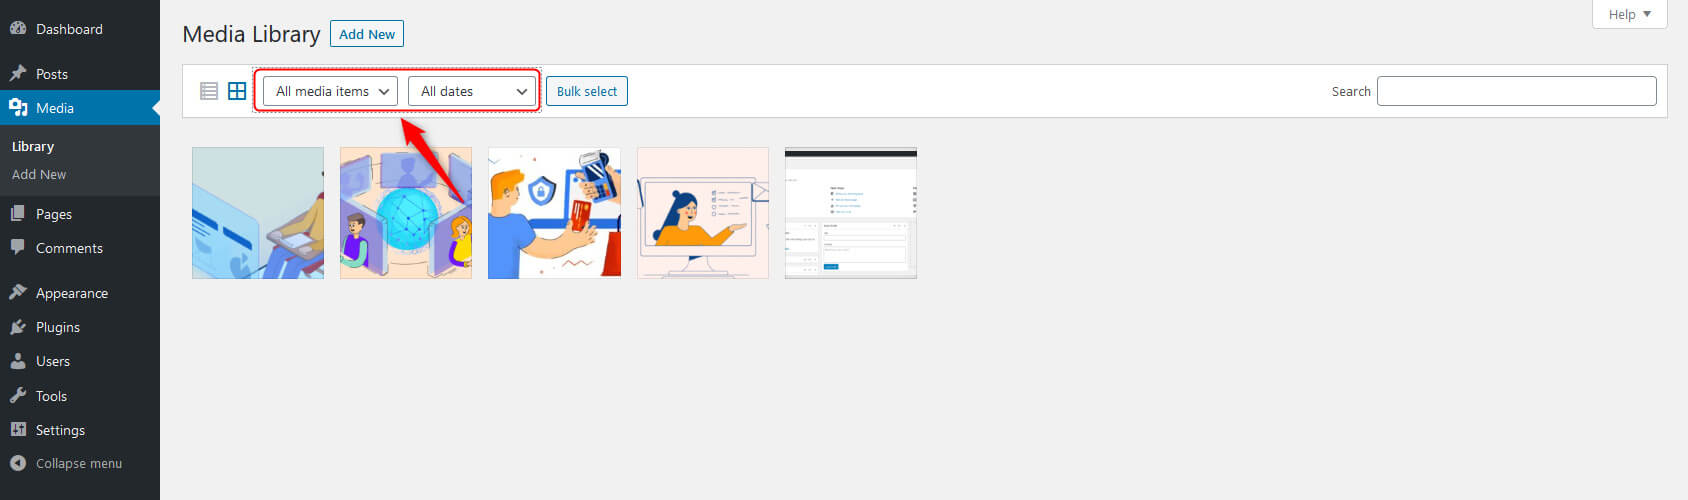
Next to these menus, the “Bulk Select” button helps the user to delete files from your WordPress library. Click on the button and select the files you want to delete and then click on the “Permanently Delete” button to continue deleting files.
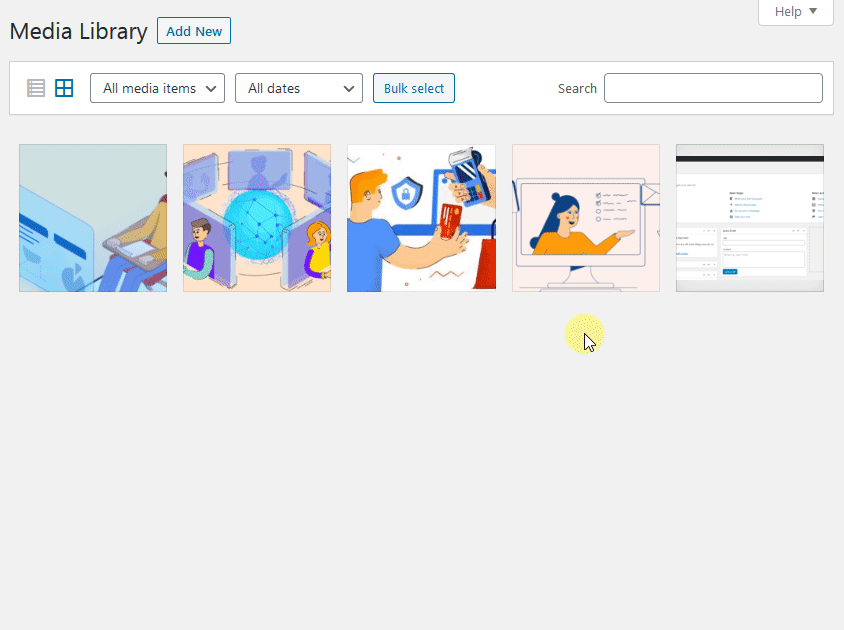
Finally, you’ll find a search bar to look for specific files by name on the right side.

How to Add/Upload a media file to WordPress media library (WordPress Admin Menu)
Do you want to upload media files to a WordPress site? In that case, you must have user access (Admin, Editor, Author, or Contributor) to add images on the website.
Follow the steps below to upload media files:
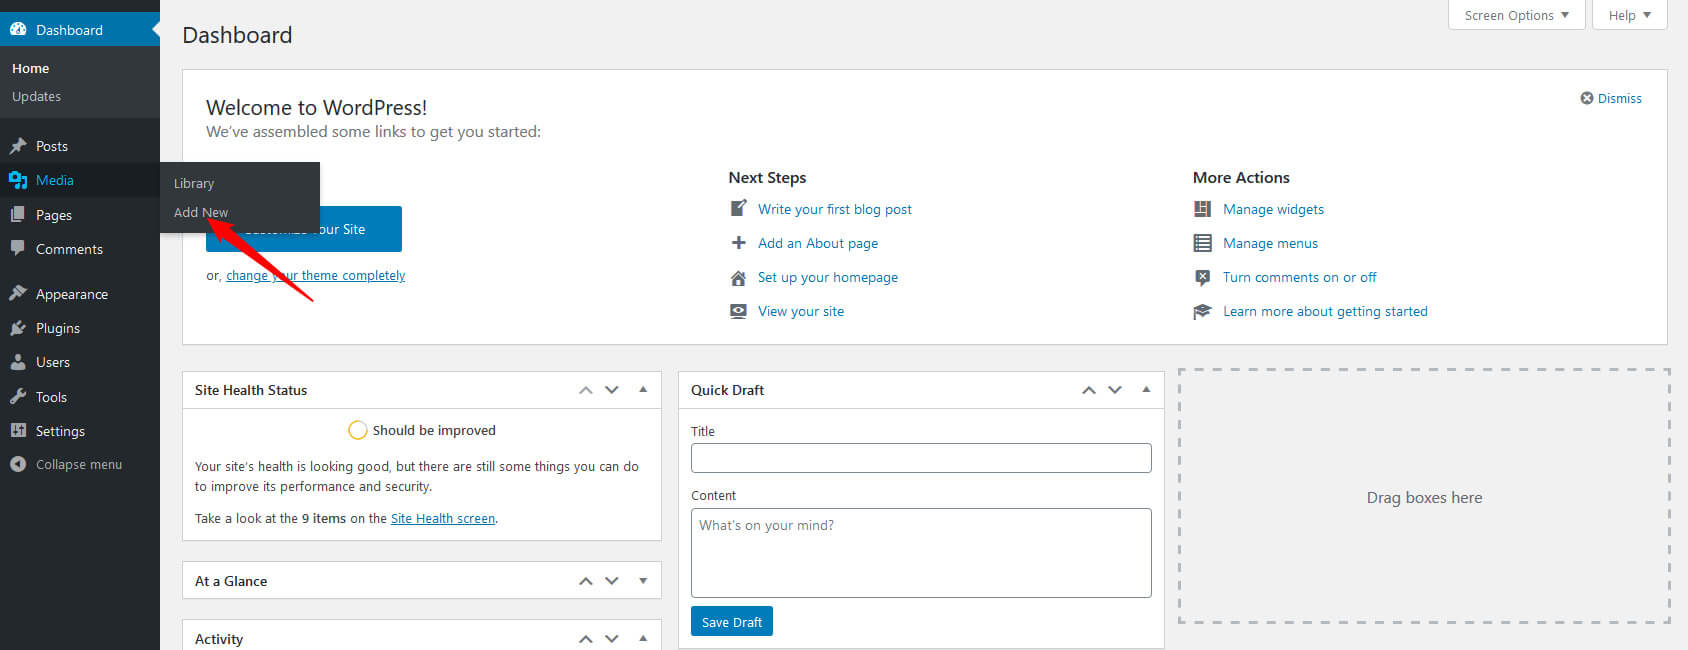
- Hover your mouse over the “Media” menu item located on the left-hand side navigation menu and click on “Add New” (Media > Add New) or click on the Add New button on the top of the dashboard screen and select “Media.”
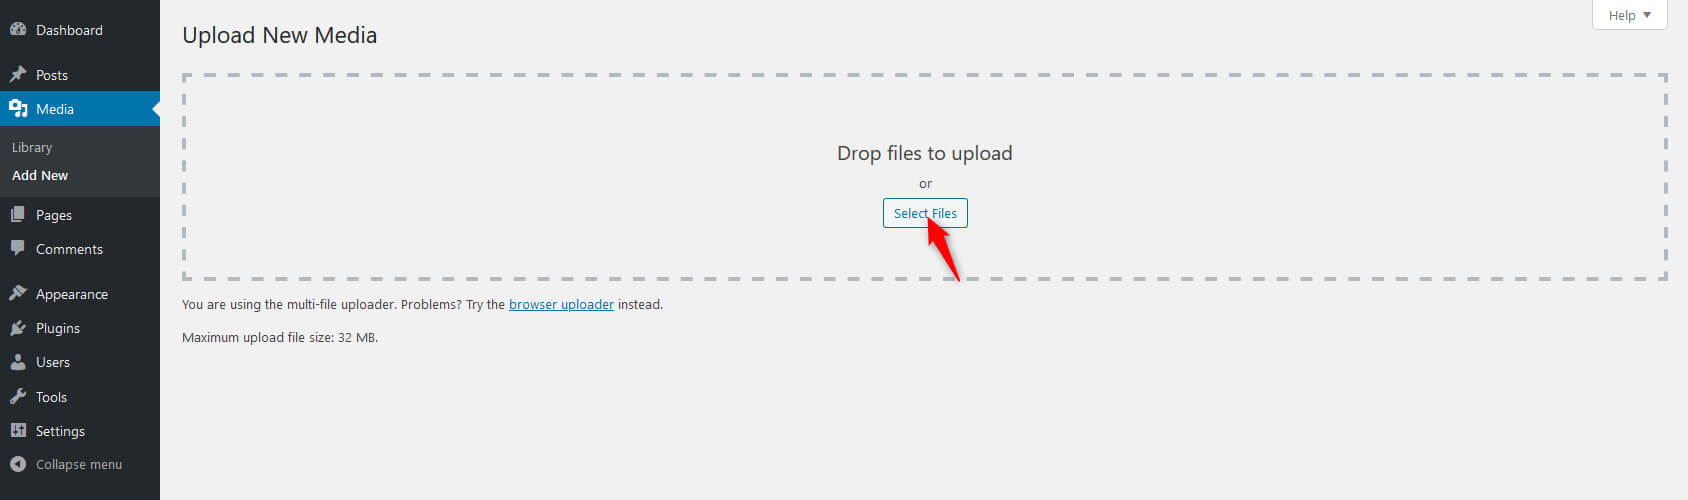
- Now drag and drop the media files inside the dotted lines area marked Drop files to upload. Your file(s) will be uploaded instantly.
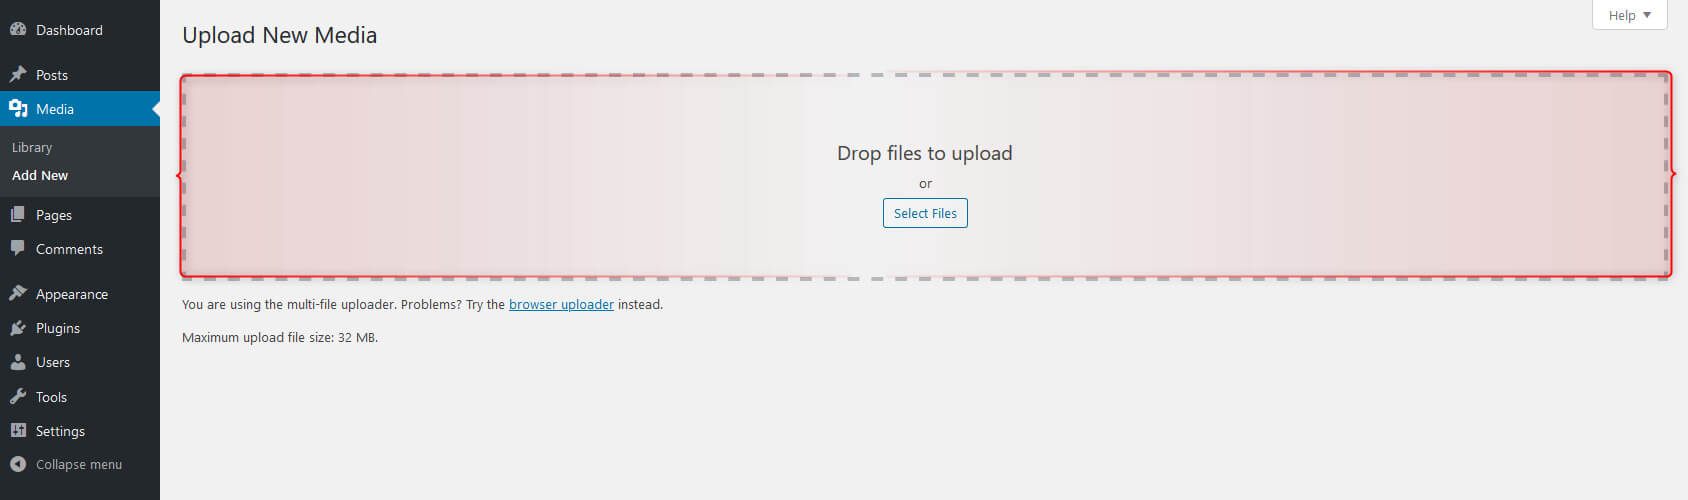
- Alternatively, click on the ‘Select Files’ button. A dialog box will appear. Browse files from your computer to upload and click on open. Once selected, you’ll see the file below the file uploader section with the rest of your Media.
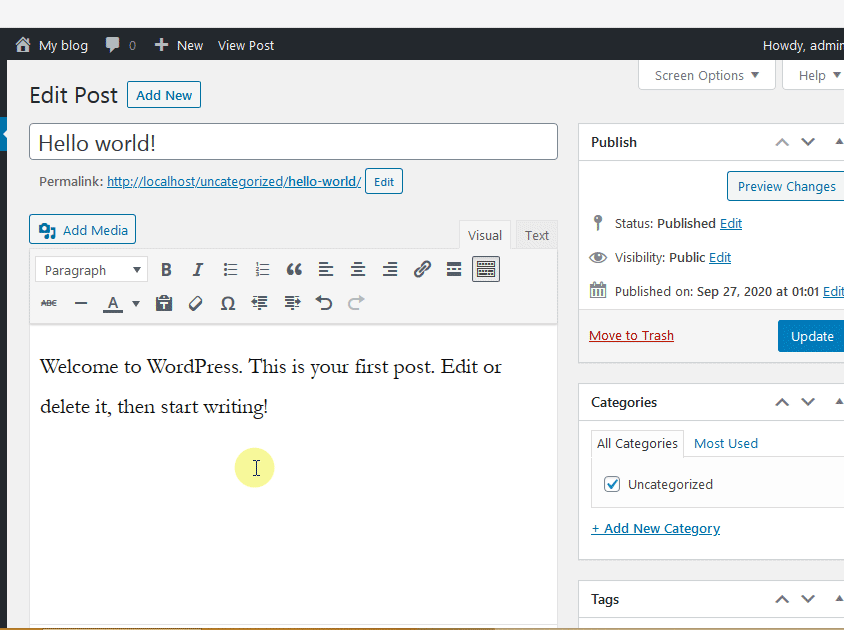
How to add media to WordPress post (Classic Editor)
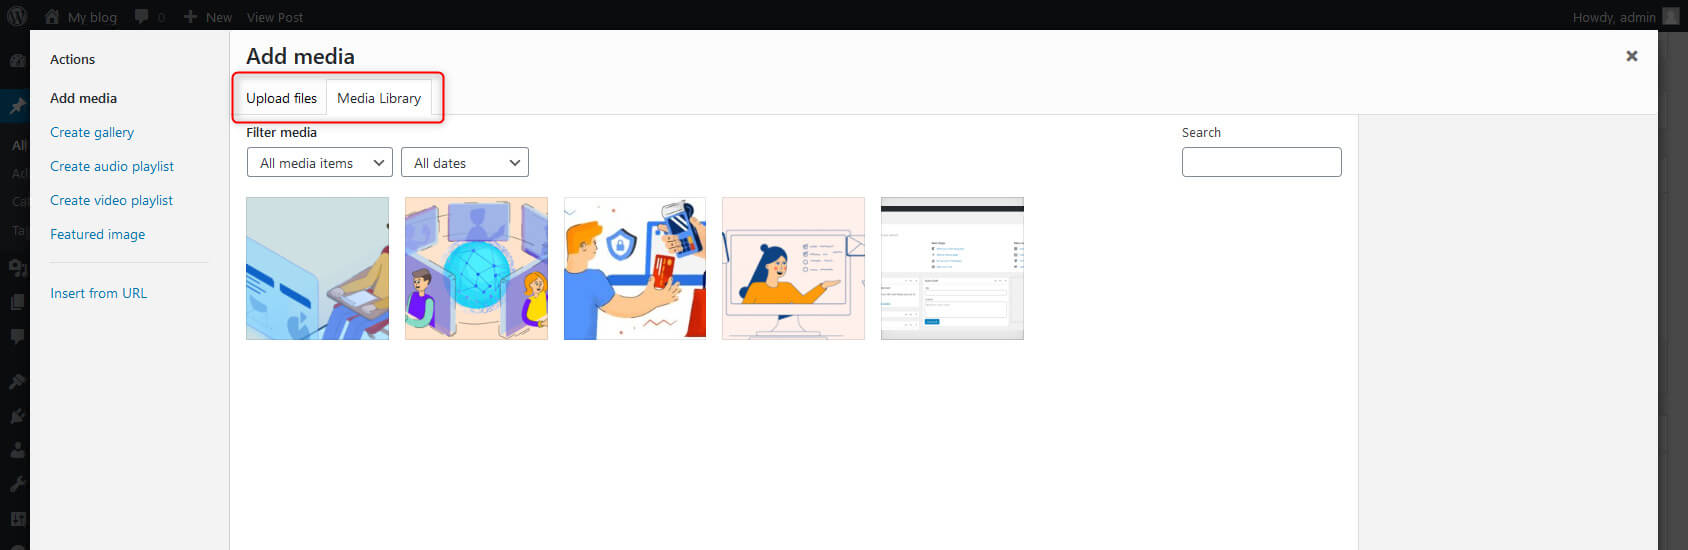
You can also add media files to WordPress’s classic editor directly while creating a post or a new page. A new pop-up window will appear when a user clicks the “Add Media” button on top of the post edit screen. You can choose a file from the media library or upload files from your system.
Let’s see how a WordPress user can add media from the classic editor screen:
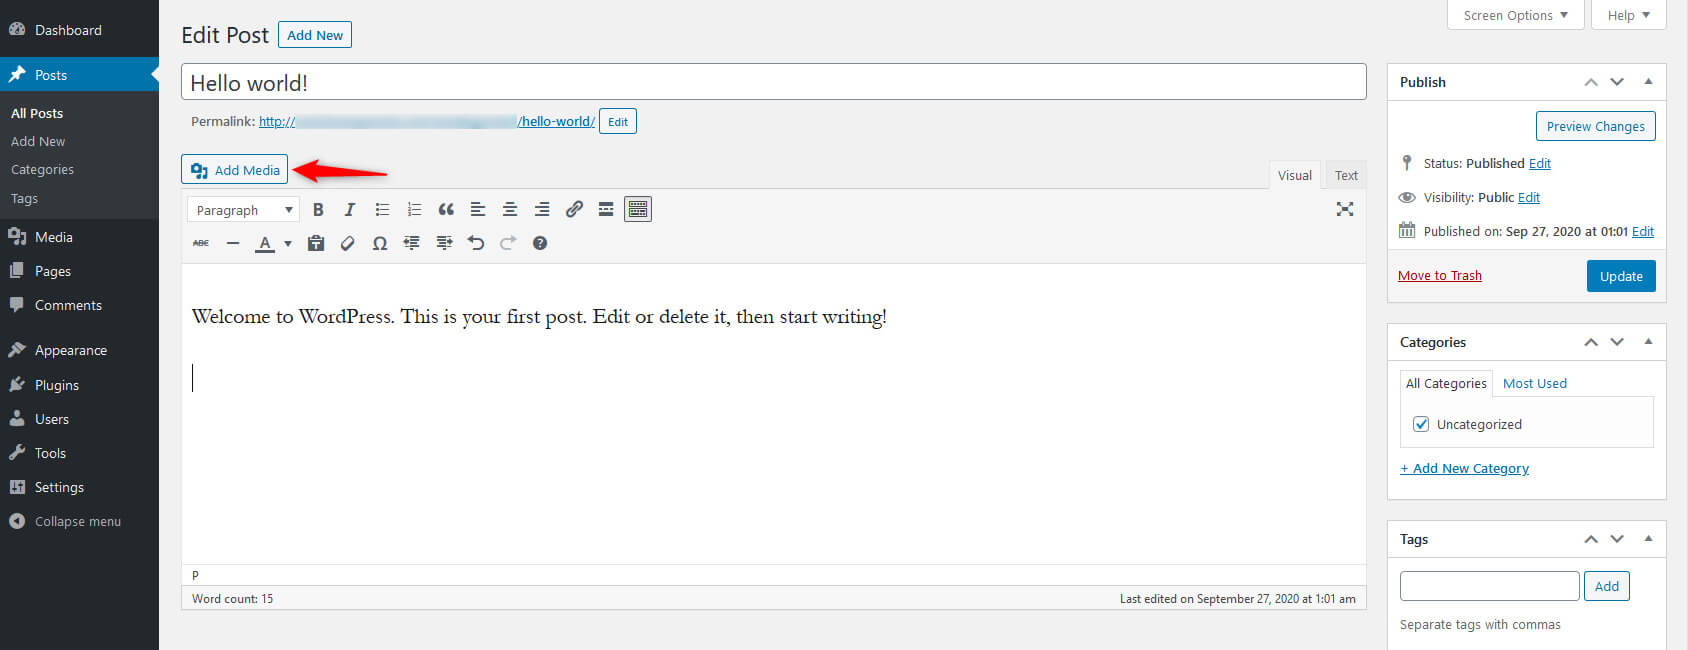
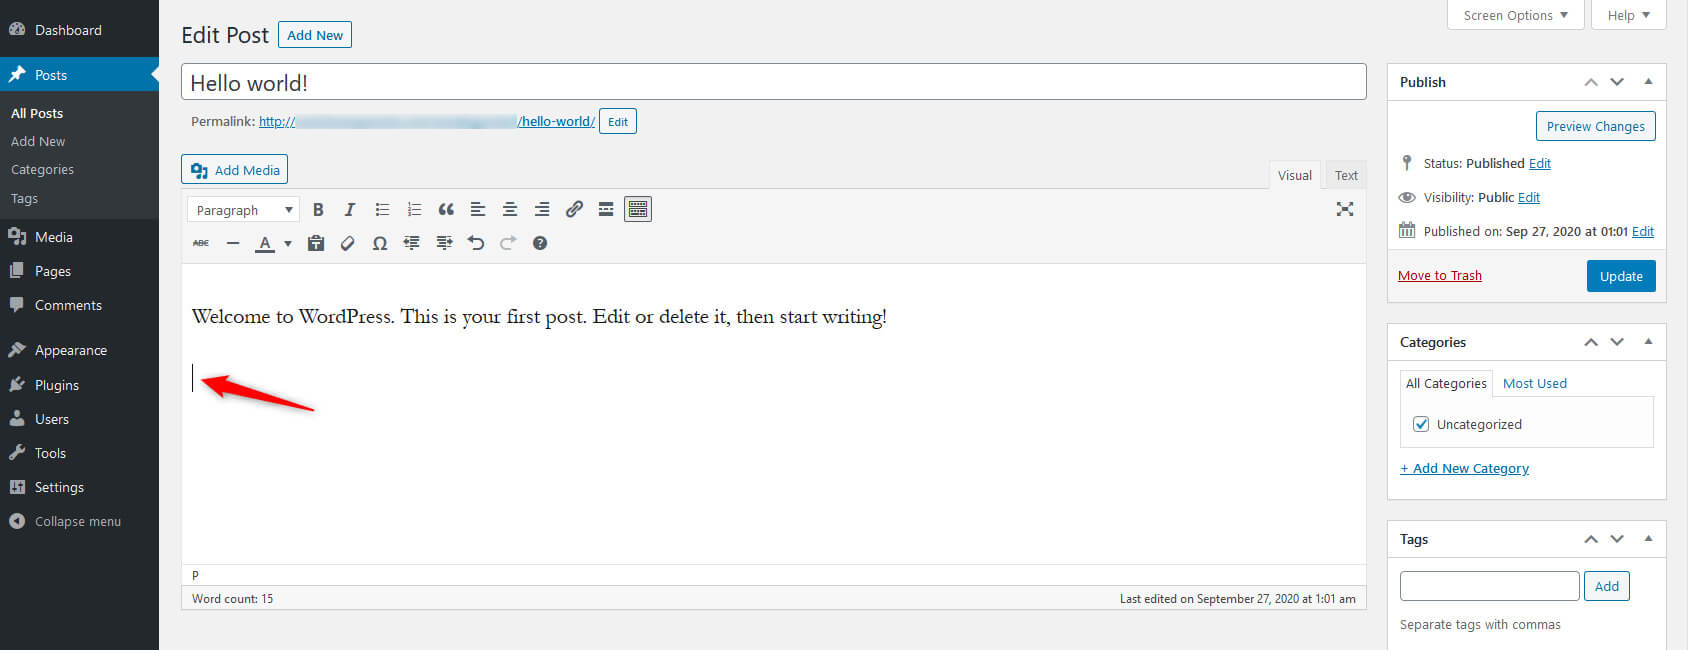
- Place the cursor where you want the image to appear in the article.
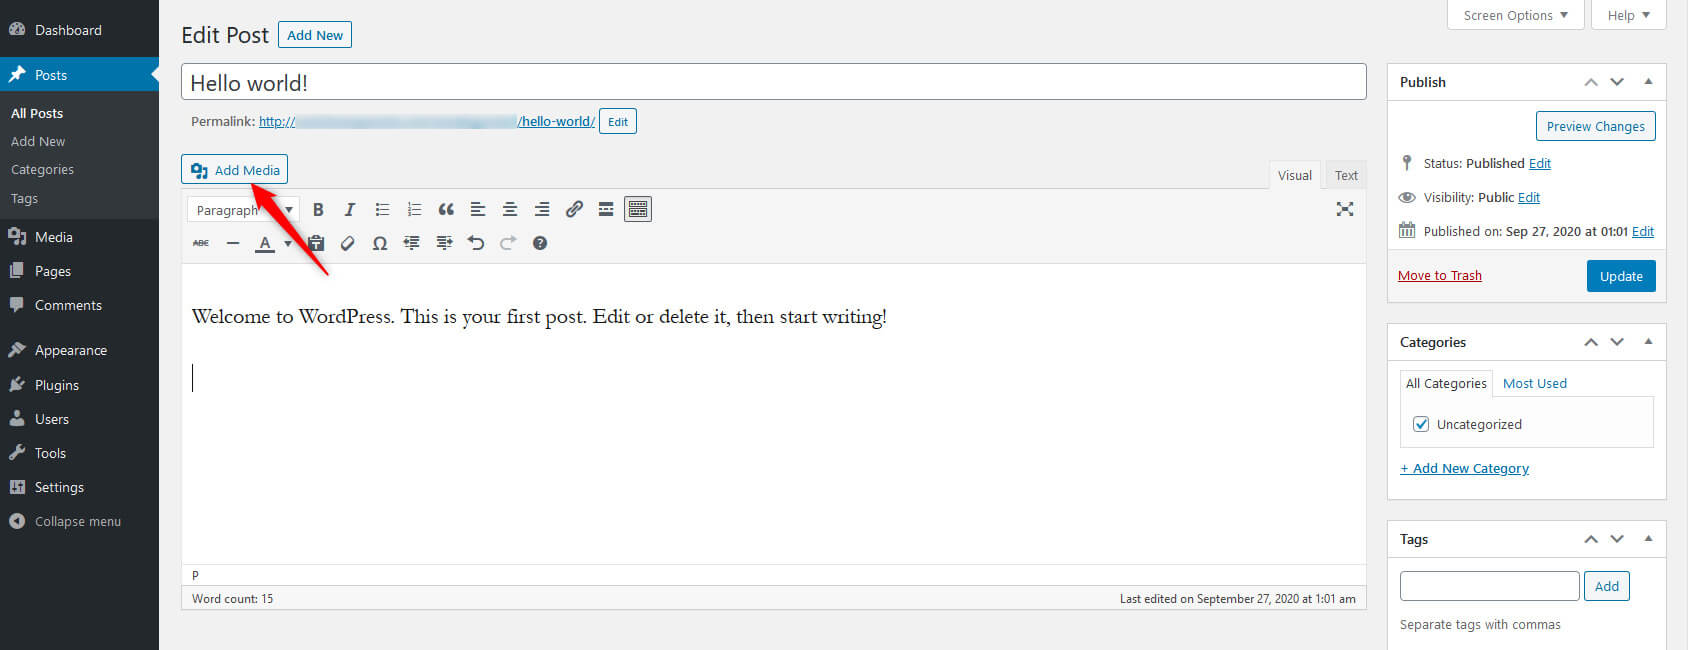
- Click the “Add Media” button on top of the editor screen.
- Upload or Choose an image/media file from the existing Media Library.
- You can edit the image and its details if necessary.

- Click on the “Insert into post” button.
Although the screen looks pretty much the same as the one you open through the WordPress admin menu to add new media, you will notice that the left side has a few action buttons.
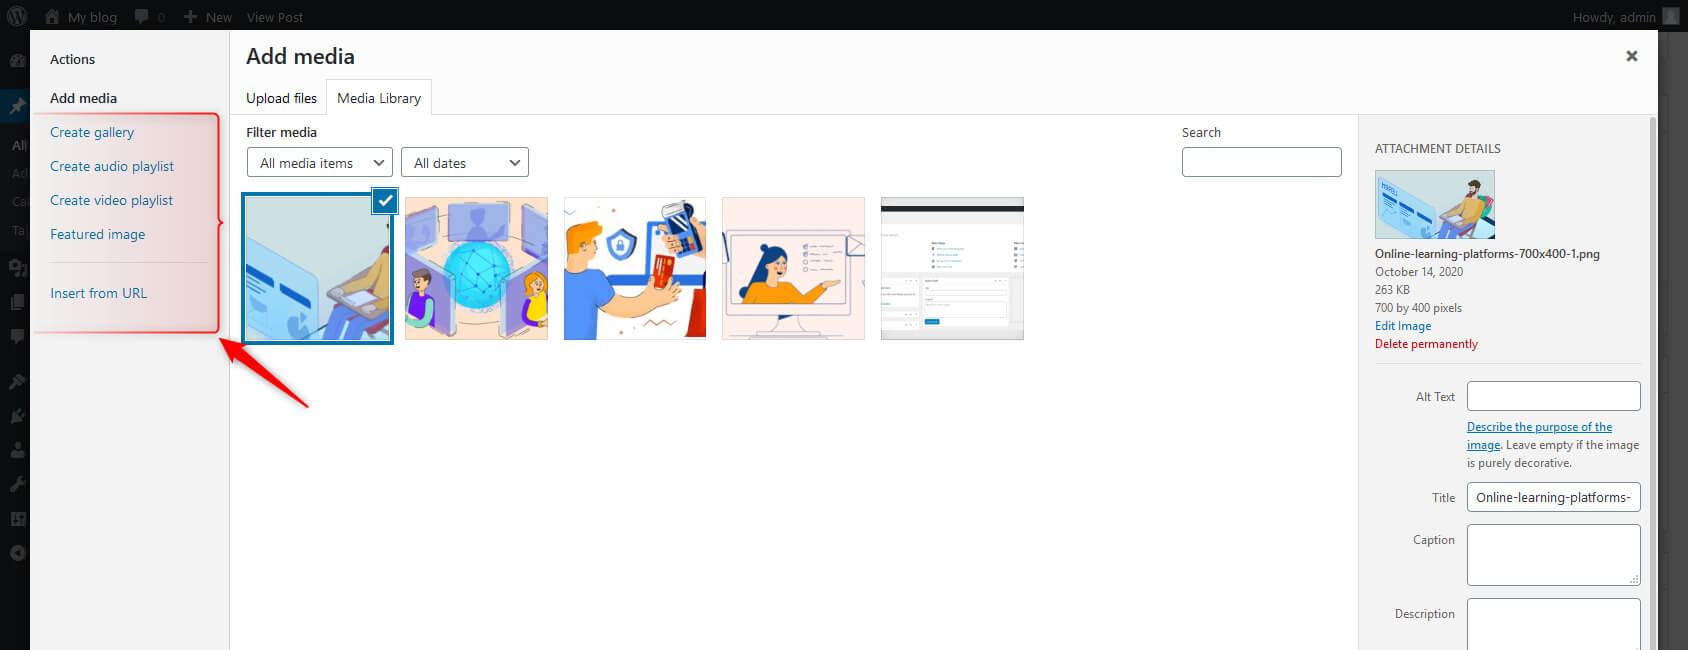
Here you’ll see the following action buttons on the left-hand side of the screen:
- Add Media
- Create Gallery
- Create Audio Playlist
- Create Video Playlist
- Featured Image
- Insert from URL
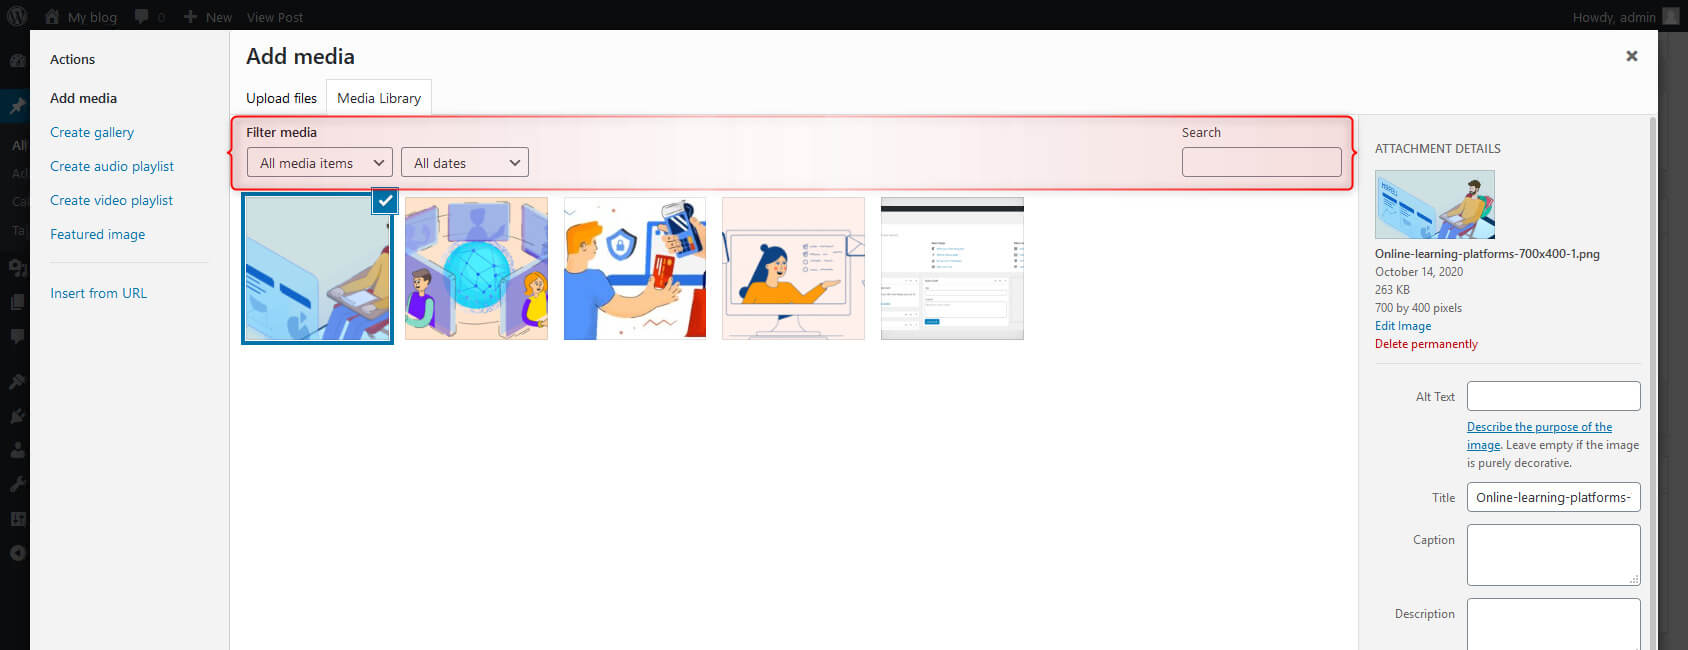
You can also see media library screen features here. You can select the media type, filter the media by date, or search file by entering the file name mentioned earlier.
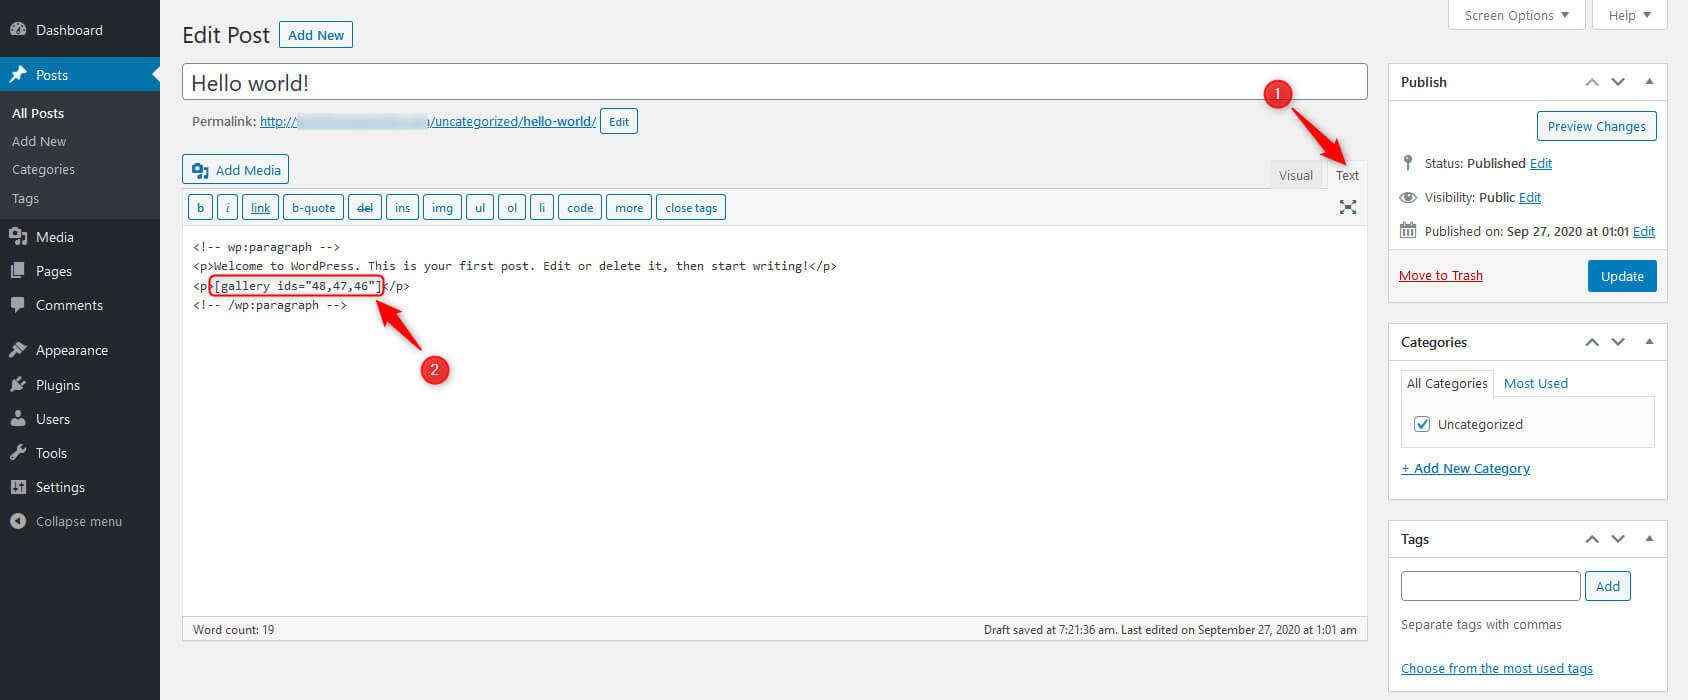
Create a gallery
WordPress allows you to create a gallery. To do this, you can select multiple images and add them to your post. WordPress will then create a collage of the selected media and display them in the post.
If you are employing the visual editor, you will see all of the grouped images, and you can click on them. If you do so, two new icons will appear, allowing you to edit and remove the gallery.

If you switch to the Text editor, you will notice a
shortcode in the same place. After WordPress version 3.5, the gallery shortcode can be extended with numerous parameters to let users modify it manually.
Since working with the parameters requires some understanding of coding, we’re skipping that for now. But if you want to know more about this feature, please read more about it on the official WordPress Codex pages.
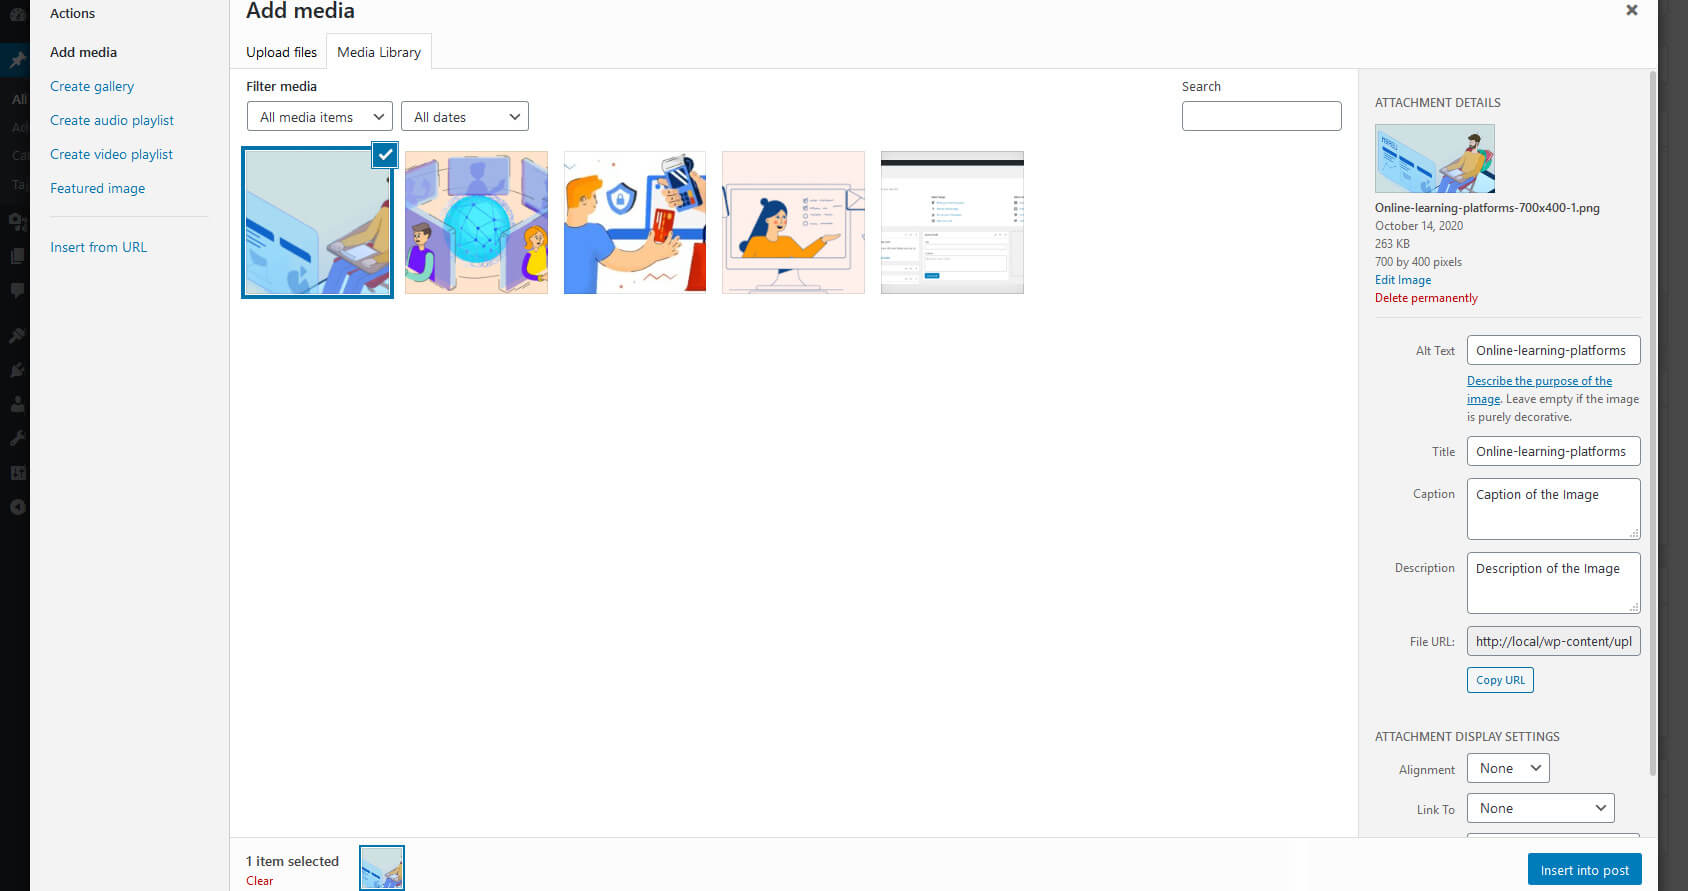
How to edit image attachment details (Classic Editor)
Before moving into the details about how to edit an image in a WordPress site, let’s learn how to change image attachment details. This will help you to organize media files on your site. It will be beneficial to your visitors and search engines to have all of this extra data about your site’s media files.
- Select an image from the library.
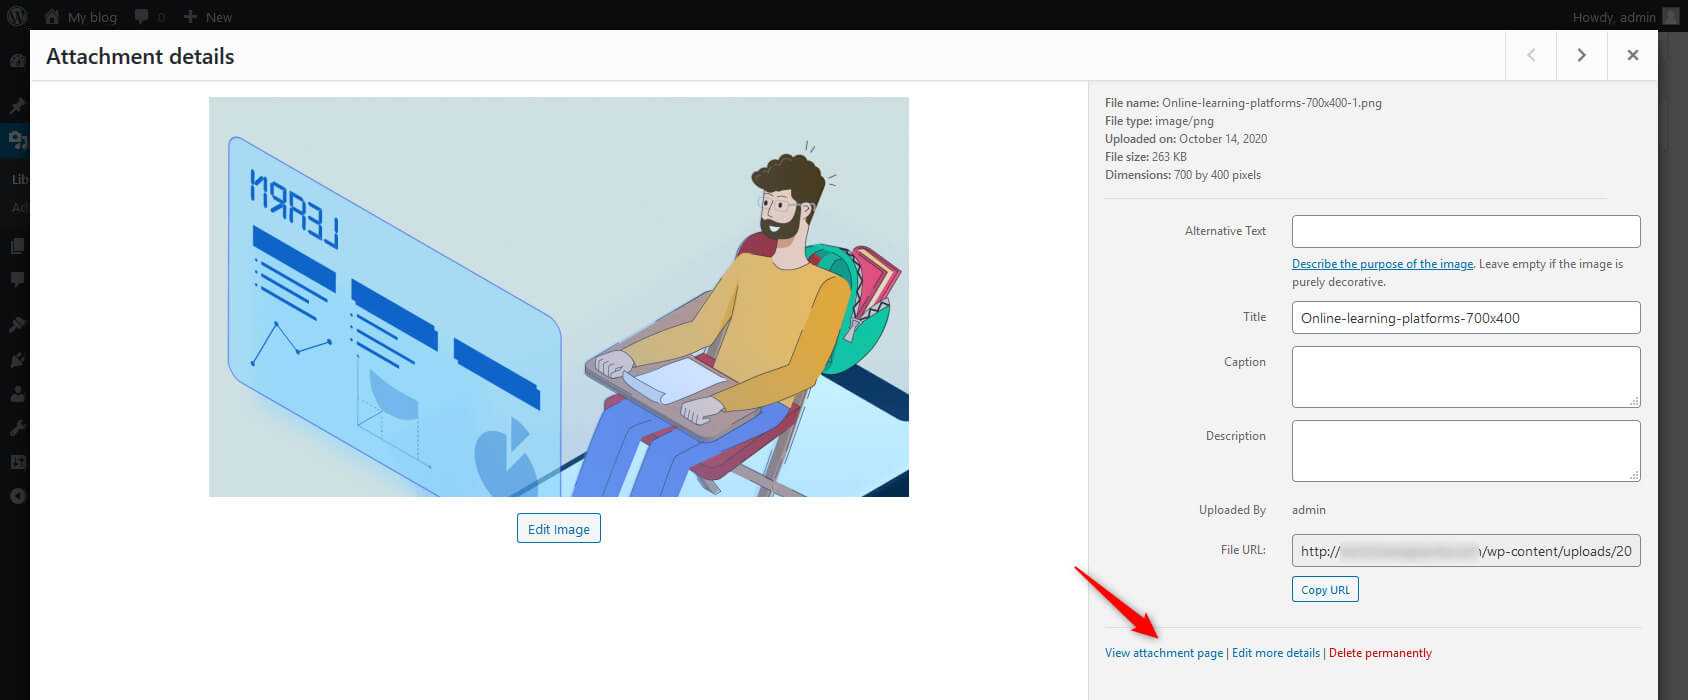
- You’ll see a window on the right-hand side, stating image name, media file type, upload date, file size, and dimensions.
- Below these details, you’ll see the Alt Text tab (shown to those users who can’t open the photo). Write the alt text of your image or any media file stating the purpose of your image. Set a title for your image, add a caption to your photo, and write a catchy and search engine friendly description.
- Below that, you can see the URL of your image. You can copy that by clicking the “Copy Link” button.
- From the “ATTACHMENT DISPLAY SETTINGS,” you can set image alignment. You can also link the image to a media file, custom URL, or attachment page. You can change image size as well (Thumbnail, medium, large, and full).
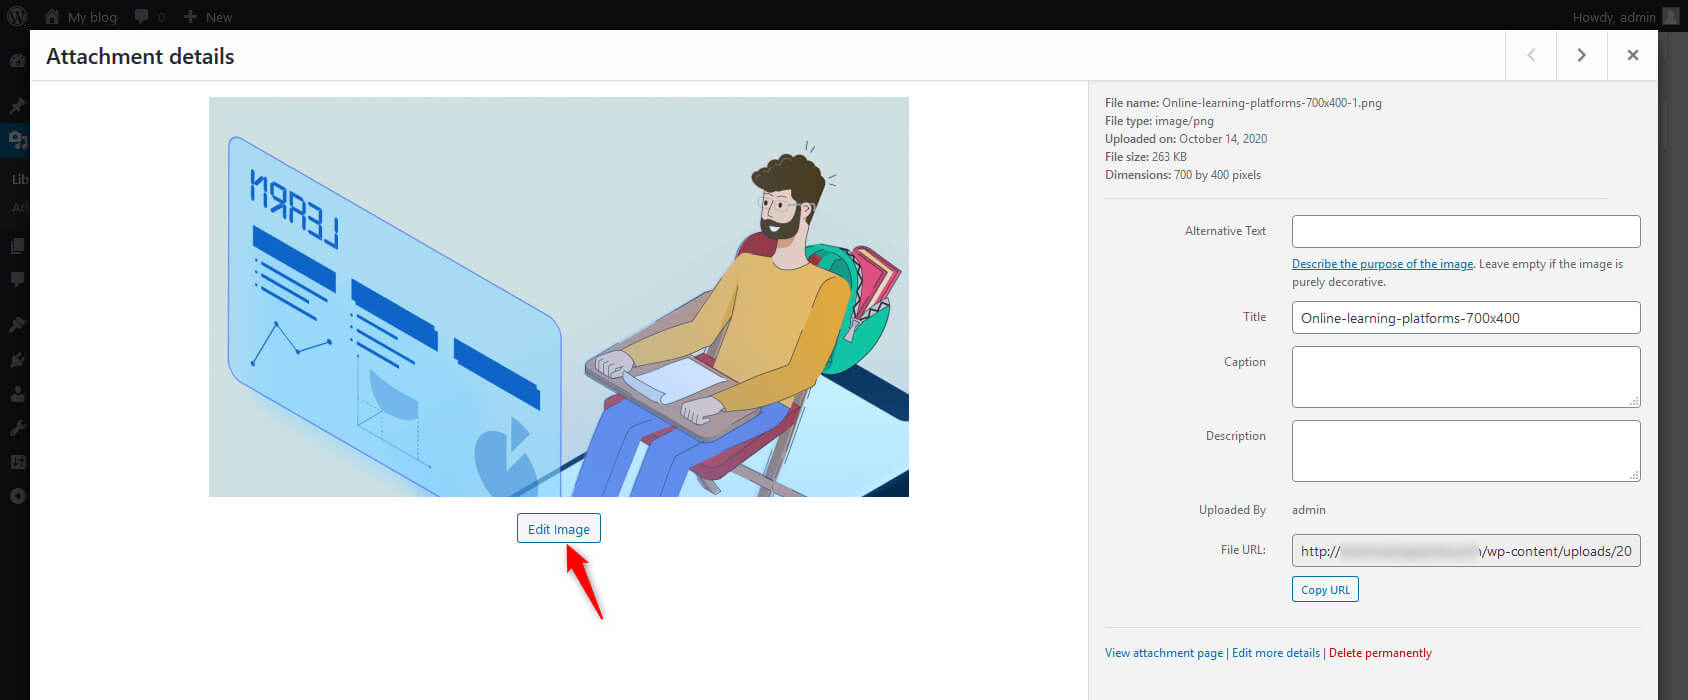
How to edit an image
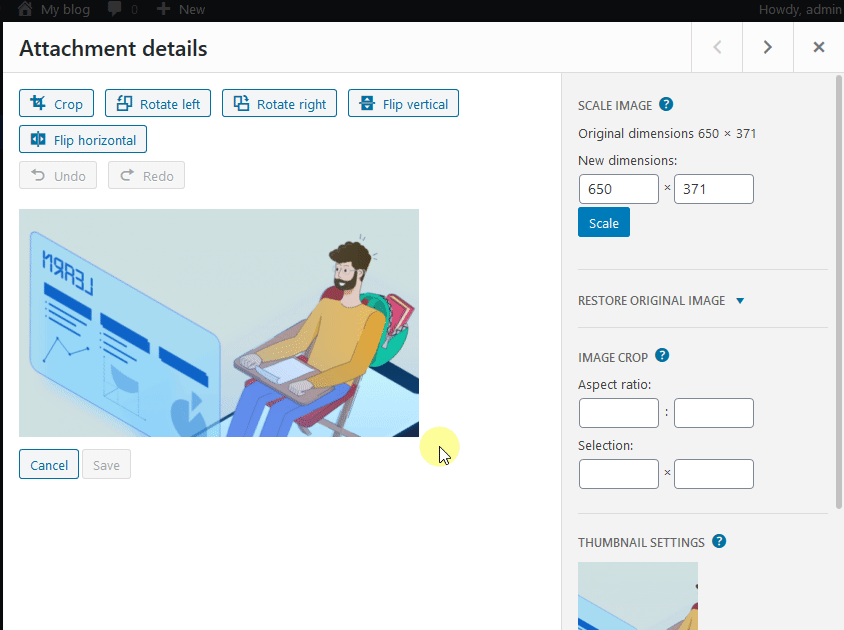
Select a media file (image) from your media library that you want to edit, and click the “Edit Image” button below the image.
WordPress lets users scale, crop, rotate, and flip the media files. WordPress also offers the option of changing thumbnail image settings, eliminating the need to make changes in any other application, and then upload it again.
There are also undo and redo buttons that will let you fix mistakes caused while editing. This tool is not a replacement for Photoshop, but it works wonders for small, fast fixes.
Crop
This step helps you to define the proportions of the image you want to use. To crop the image, click on it, and drag to make your selection. By holding down the Shift key while making a selection, you can keep the aspect ratio.
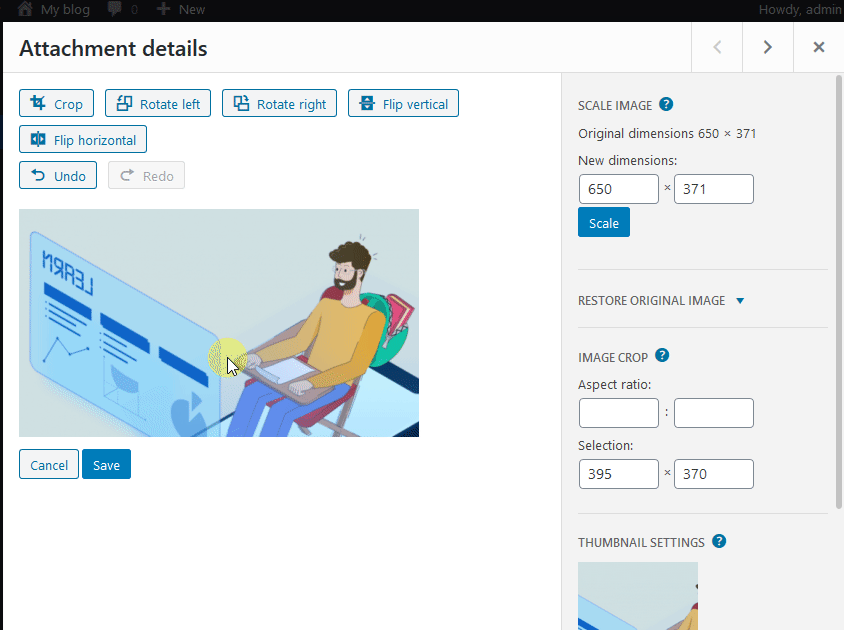
If you want to modify it, change the aspect ratio from the right side of the screen. For example, use a 1:1 ratio to make a square selection or change it to 4:3, 16:9, or anything else you want.
Once you have made your selection, you can quickly adjust it by choosing the size in pixels. The minimum range size is the thumbnail size as set in the Media settings.
Rotate
Click on the Rotate left button and Rotate right button to rotate the selected image left or right by 90 degrees, respectively.
Flip
Flip the media file to view it either vertically or horizontally.
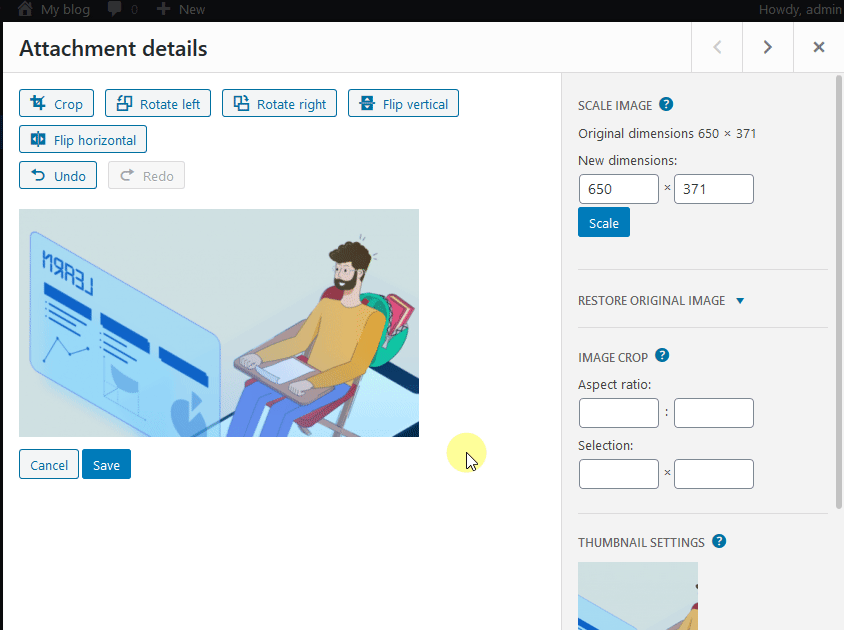
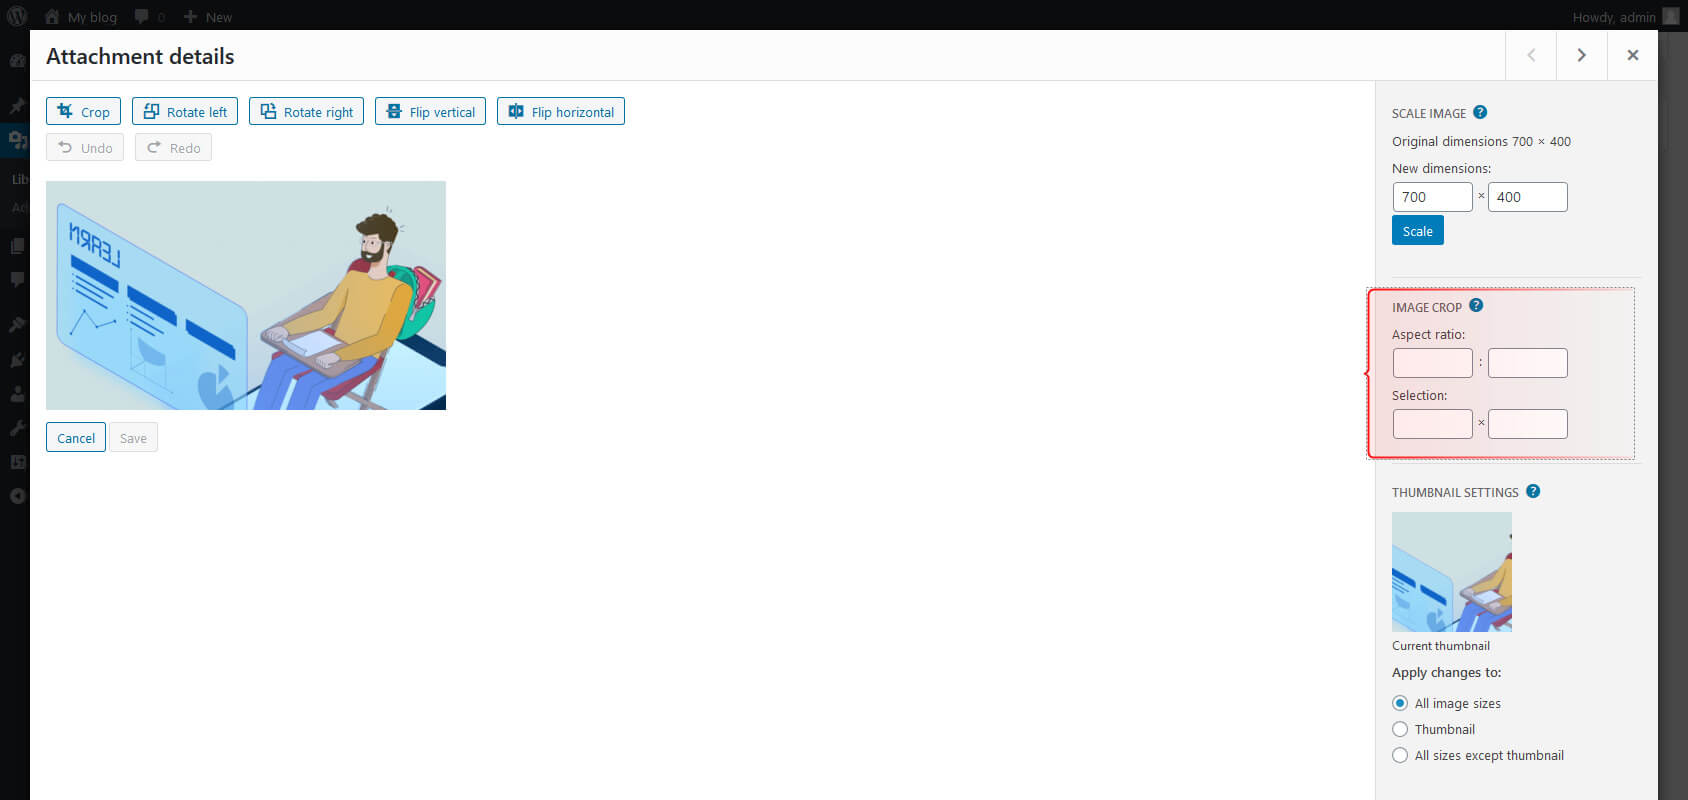
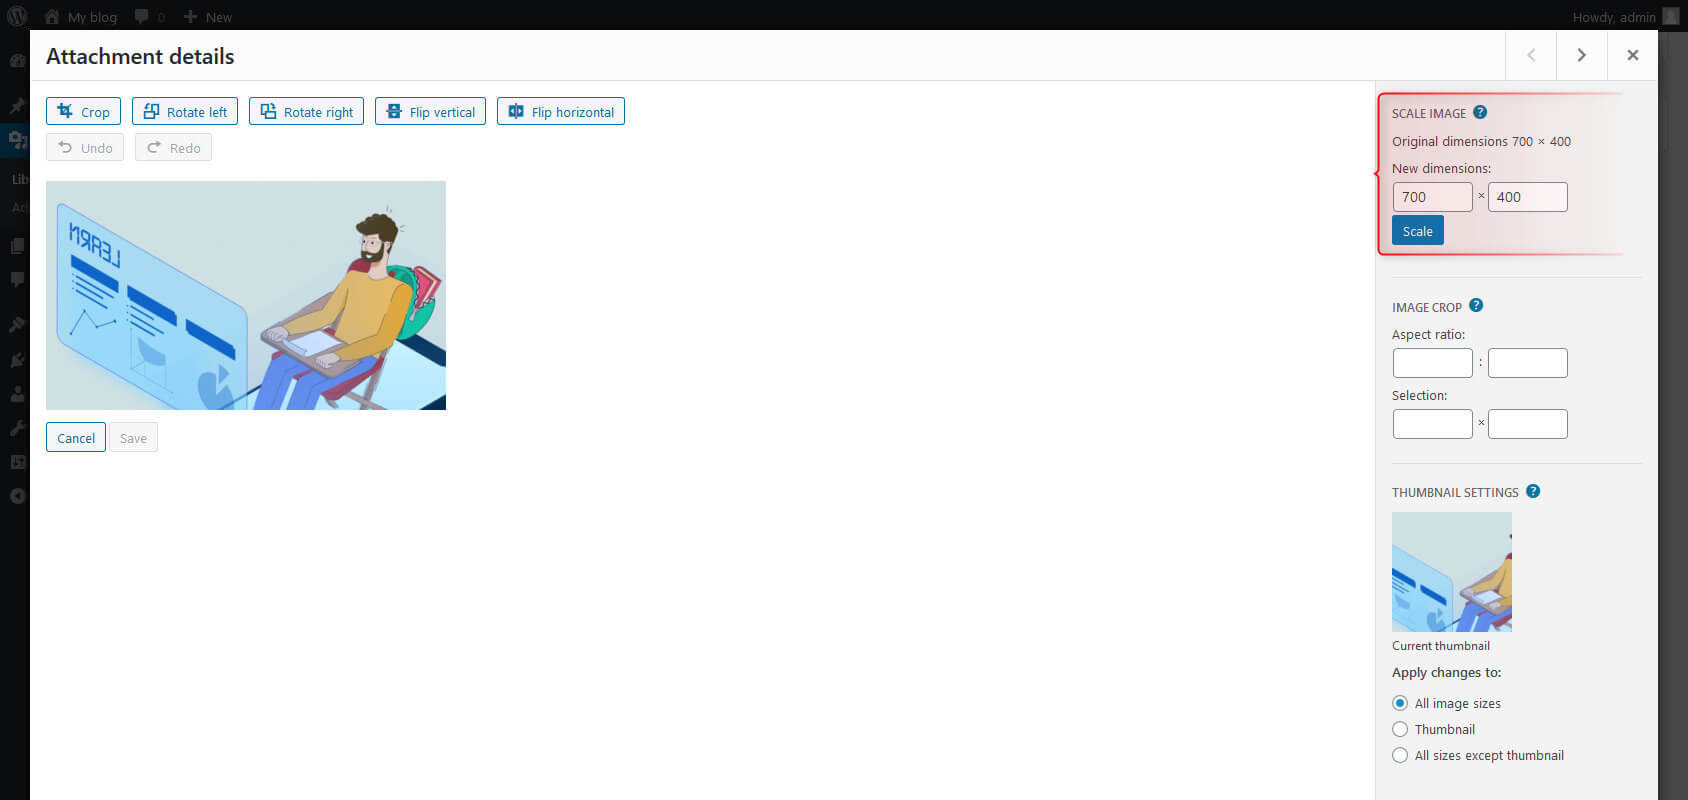
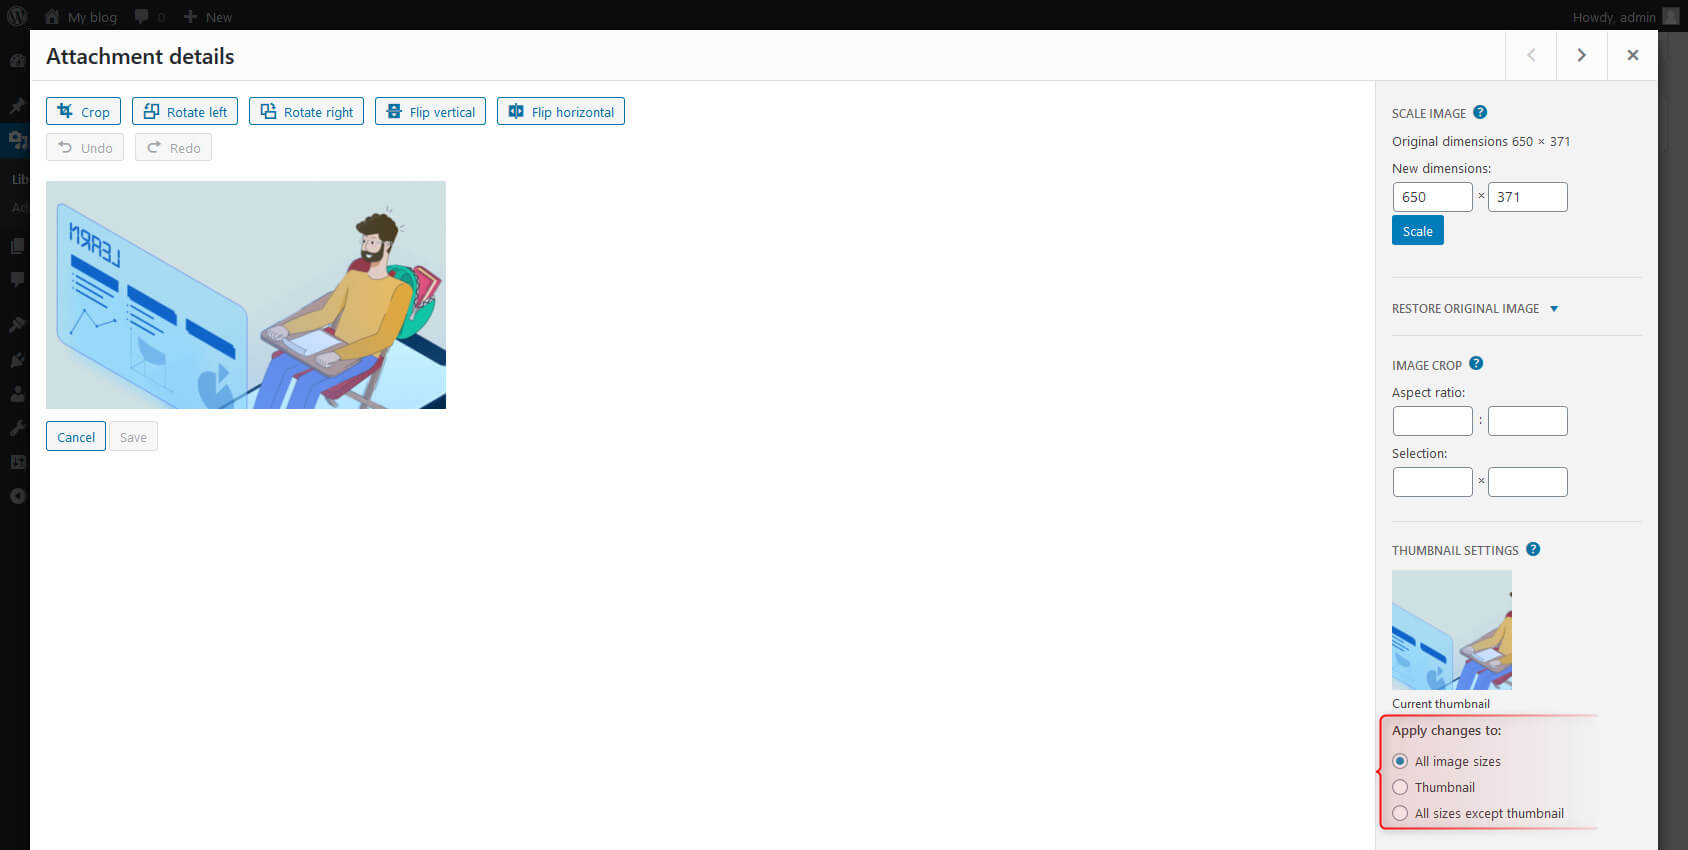
Scale Image
On the right sidebar, you can see some other settings. You can set new dimensions for your image to change the size of the image. Just enter your desired height or width. WordPress will automatically calculate the other dimension for you so that your image keeps its aspect ratio (you don’t want it to be distorted). Then click on the Scale button.
You can’t scale up the image. If you try scaling up, you will see a little red exclamation mark indicating that scaling up isn’t possible.
To crop your image, you can also use the “Aspect Ratio” and “Selection” fields under the “Image Crop” Section.
Apply changes
This option lets you apply changes to all image sizes, or just the thumbnail, or everything but the thumbnail. Select the radio button to select your desired version.
Attachment pages
When a user adds a new media file, WordPress automatically creates a new attachment page for it. Open the image and click on the “View attachment page” from the right-side options panel to access this page.
This page is similar to any other WordPress page. However, instead of you publishing it manually, WordPress does it for you. For example, an image’s attachment page will show that image with all of its additional data like title, description, caption, and alt text.
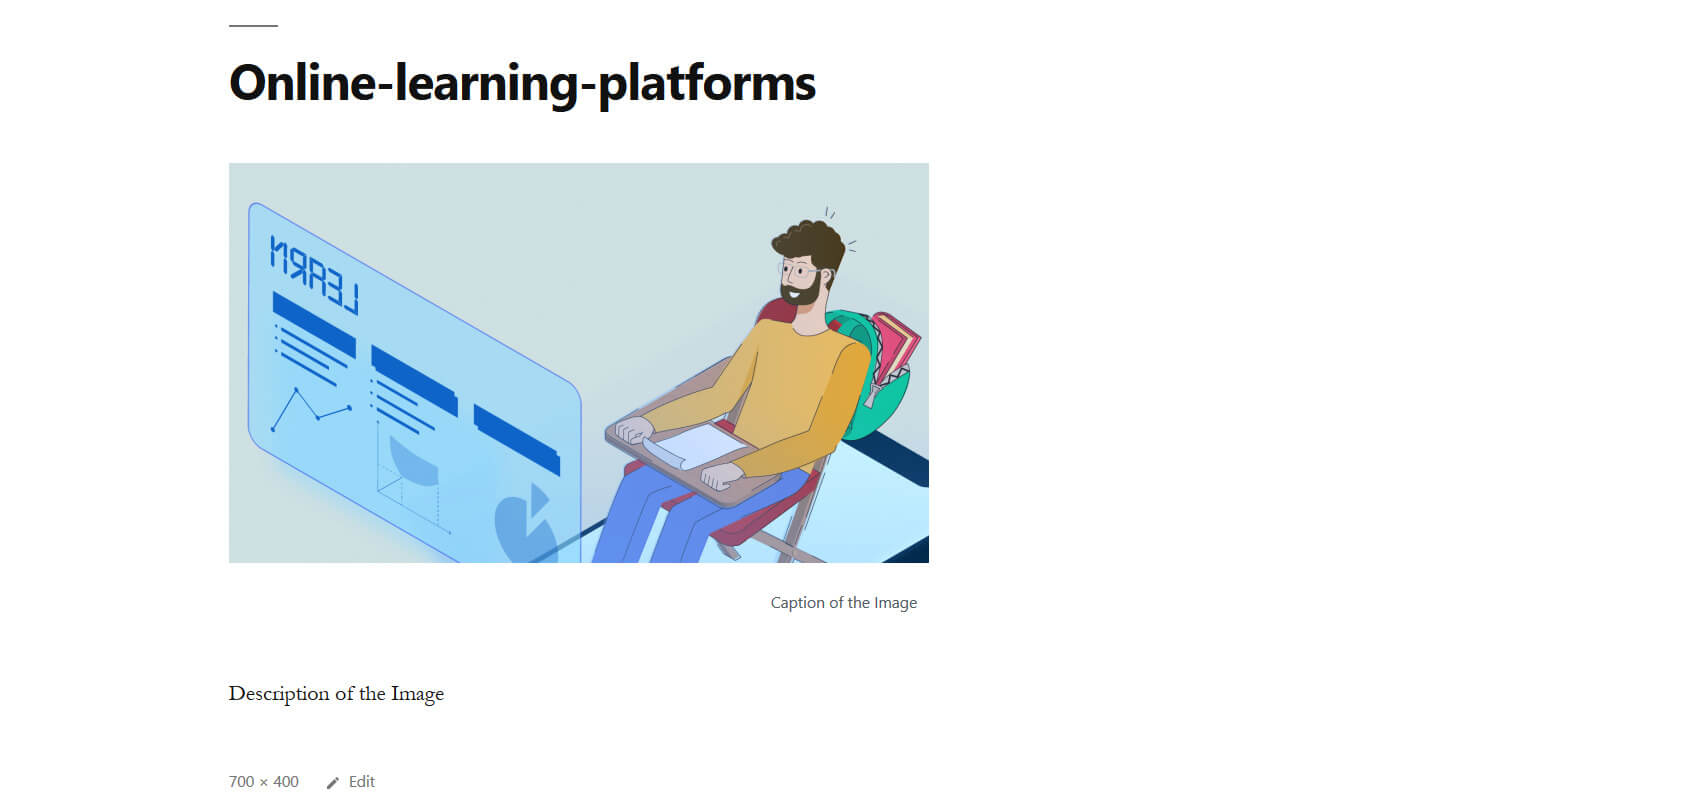
You can edit the page, have comments on it and share it with your users. Data shown on the page depends on your WordPress theme, as some themes may allow users to show more or less data.
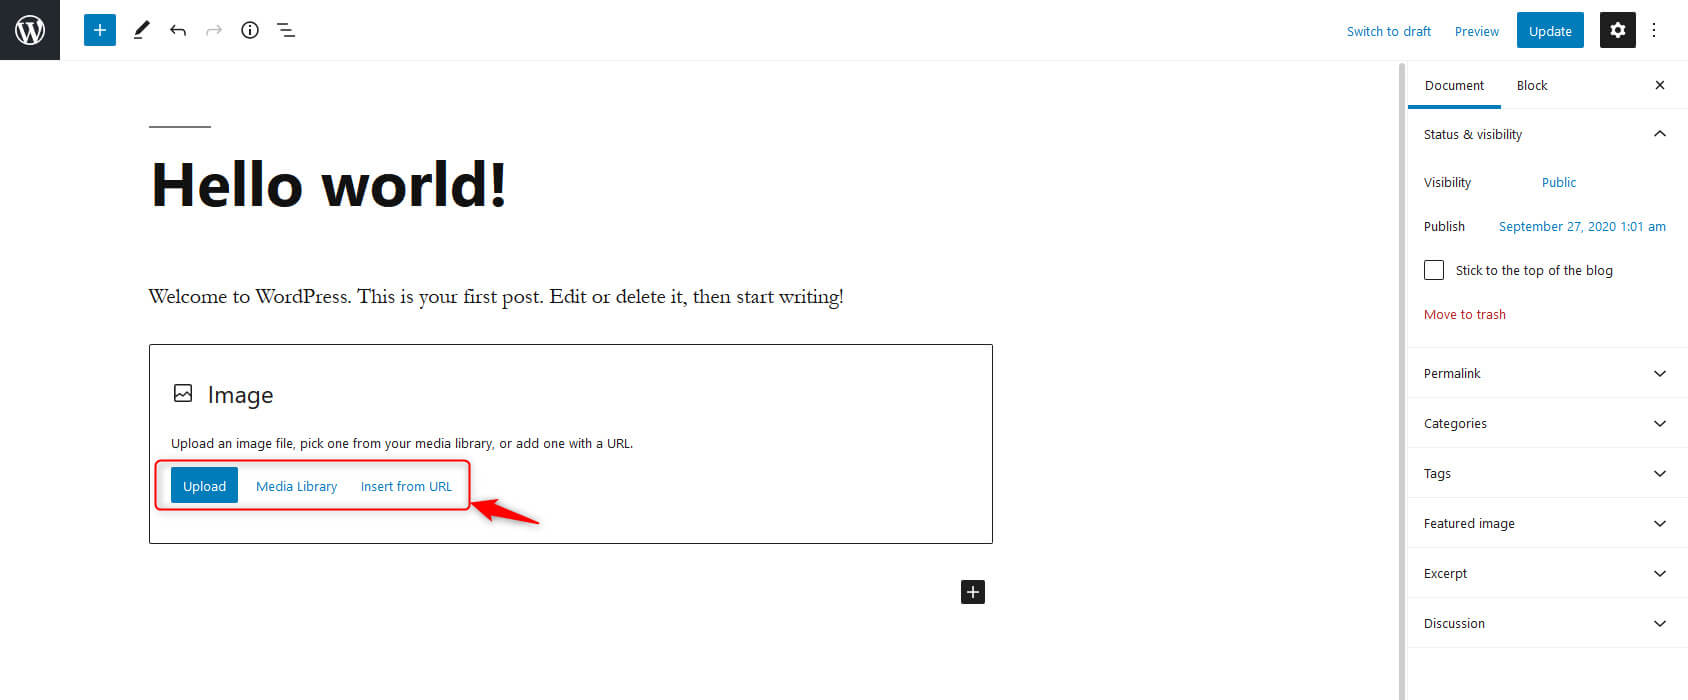
Upload images directly to your post (Gutenberg Editor)
Start by clicking on the “+” sign and select the media type (image, gallery, audio, video, or cover) that you want to add to your content in the Block Editor. Previously, we used to click on the Add Media button to perform the same task in the classic editor.
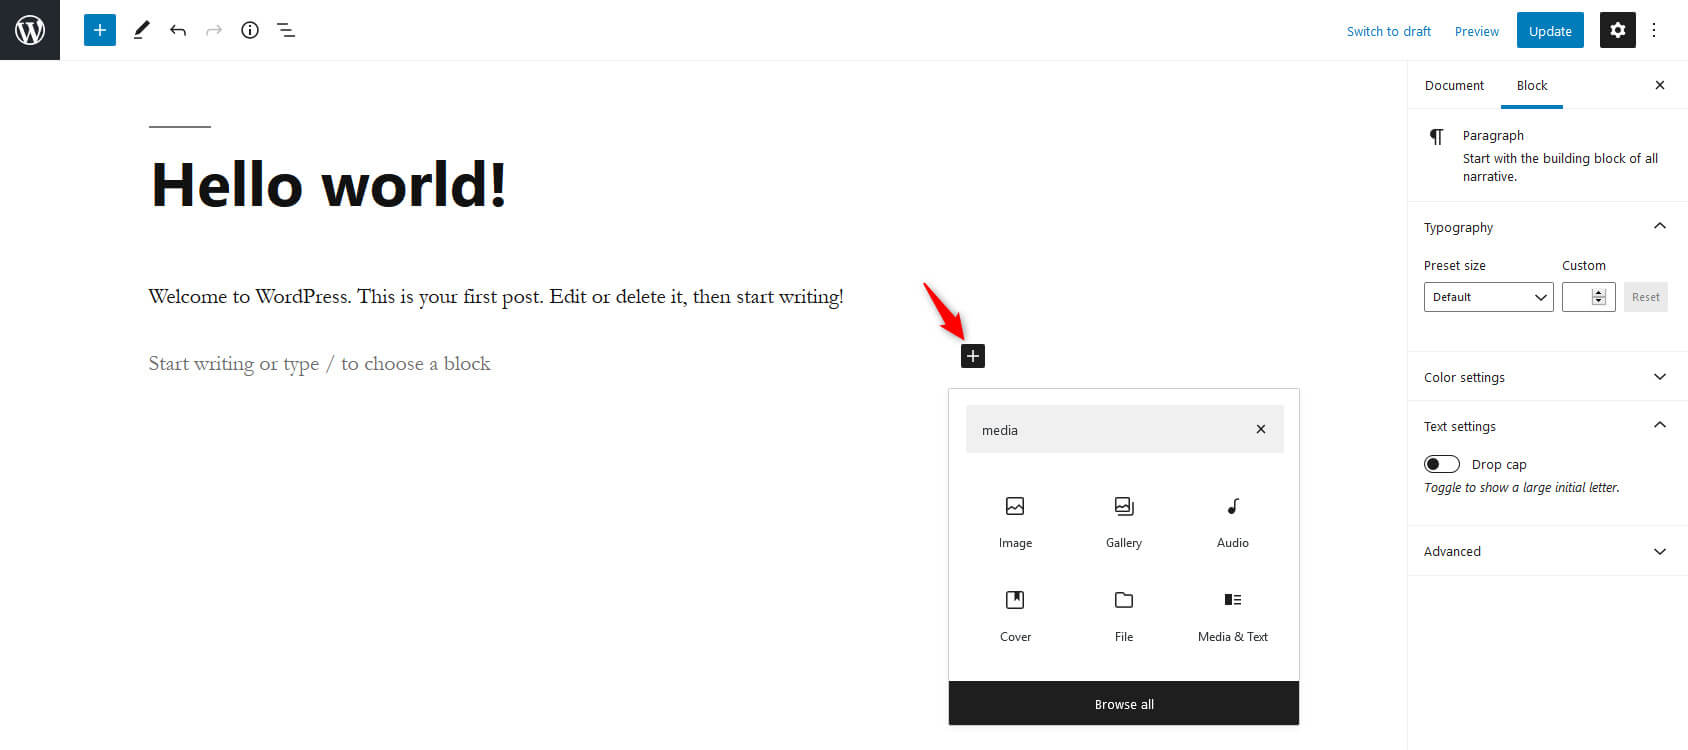
A dialog box will appear. Click on the “Upload” button to select a file from your system, or you can also select files from “Media Library,” or you can insert the image from a URL. The image will be added to your post/page.
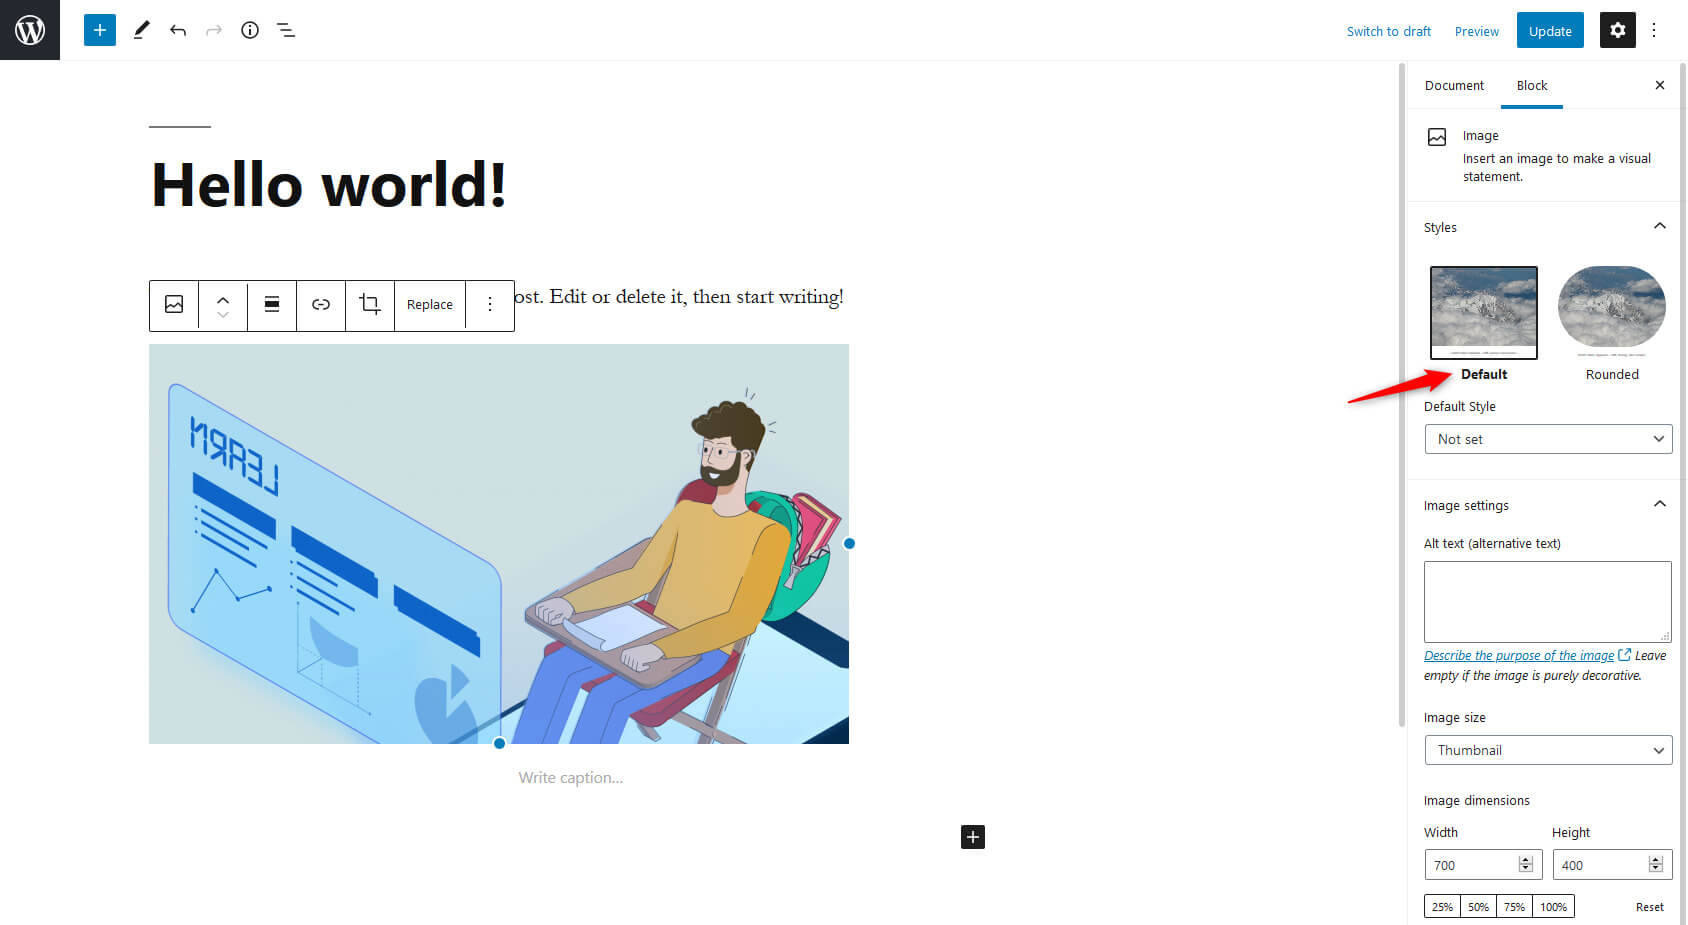
You can change the style of the image from the right sidebar. The remaining options are all the same as we have already seen in the classic editor.
Final words
In this post, you’ve learned how media files are essential for blog posts, how the WordPress media library works, and how to use media effectively. This feature helps to store and manage media files and improve your blog quality via the Media Library.
Want to ask any queries related to WordPress Media Library? Hit the comment section below to get your answers. Follow our WordPress blog to learn about exciting WordPress features and updates. We would love to have WordPress enthusiasts with us throughout this journey.
2 comments on “How To Use WordPress Media Library and Add Images”
Leave a Reply

Do we have to link the photo or give credit when we use the photos? Thanks!
Hi Bethany, credit is fine. Mention your source just to be on the safe side.