How to Add Your First Blog Post in WordPress Editor
When discussing WordPress (the best blogging platform) with bloggers who have already spent a few years writing, creating WordPress posts might sound trivial. The truth is that you can publish your first post very quickly. But if you want to do it the right way, there are things you should explore from the start. Let us help you with that.
Before we move on, it’s important to point out that WordPress replaced their classic editor with a brand-new editor named Block editor/Gutenberg Editor in the WordPress 5.0 update released on December 6, 2018. This new editor helps to add media-rich posts and pages to WordPress.
Gutenberg is currently the default and only editor. However, you can still install and use the Classic Editor plugin if you prefer the classic look: click here to find out how to continue using the previous (“classic”) WordPress editor.
This way you can still use the old version with the new Gutenberg editor.
Before discussing adding a new post using the classic and the new default editor, let’s first explain the main differences between the new Block (Gutenberg) and the Classic WordPress Editor.
What is Gutenberg editor?
Gutenberg editor uses “Blocks” to create visually appealing posts and pages by adding useful blocks, widgets, and much more. Blocks are the content elements that you add to the content editor to create this visually appealing content.
Each item, either a paragraph, image, video, or table that you wish to add to your post or page is a block. A WordPress user can easily drag and drop blocks to a post or page without any difficulty. To use this drag and drop functionality, you’ll need to hover your mouse over the six dots between the up and down arrows.
Also, the Gutenberg editor helps you to create complex layouts in WordPress without any building or coding. Most importantly, this editor will not damage your site functionality in any way.
This new editing interface was challenging for many users to adjust to working with. Many longtime WordPress users found it difficult due to the new complex editing interface as compared to the classic WordPress editor.
As already mentioned, Gutenberg Editor doesn’t prevent you from using the classic editor in the updated version of WordPress. If you prefer, you can continue using the old editor (classic editor) by installing a plugin called “Classic Editor.”
Before we dive deep into the details of how to create a post in the block editor (Gutenberg), let’s compare the new Gutenberg Editor and the Classic Editor.
What’s the difference between a block editor (Gutenberg) and a classic editor?
Here is how the classic editor appears:
If you upgrade to WordPress 5.0 or the latest version, you’ll see block editor (Gutenberg) as the default editor.
The most significant difference between the classic editor and block editor (Gutenberg) is that the classic allows you to edit text with formatting buttons like Microsoft Word. The block editor enables you to design appealing posts in the form of blocks. It’s simple and easy to use.
The Gutenberg editor equips you to add different types of content to your site in the form of paragraphs, lists, headings, tables, images, embeds, shortcodes, widgets, quotes, and more. You can also use a plugin like a contact form to add more blocks.
The Gutenberg editor has many benefits over the classic editor. It allows you to add tables easily, move elements up and down, edit individual blocks, and create media-rich content. Learn it and implement it; you’ll love it for sure. Ready?
Adding a new post in WordPress using the Gutenberg editor
Learn how to master Block Editor (Gutenberg) to build visually stunning layouts in WordPress without the work of adding extra codes.
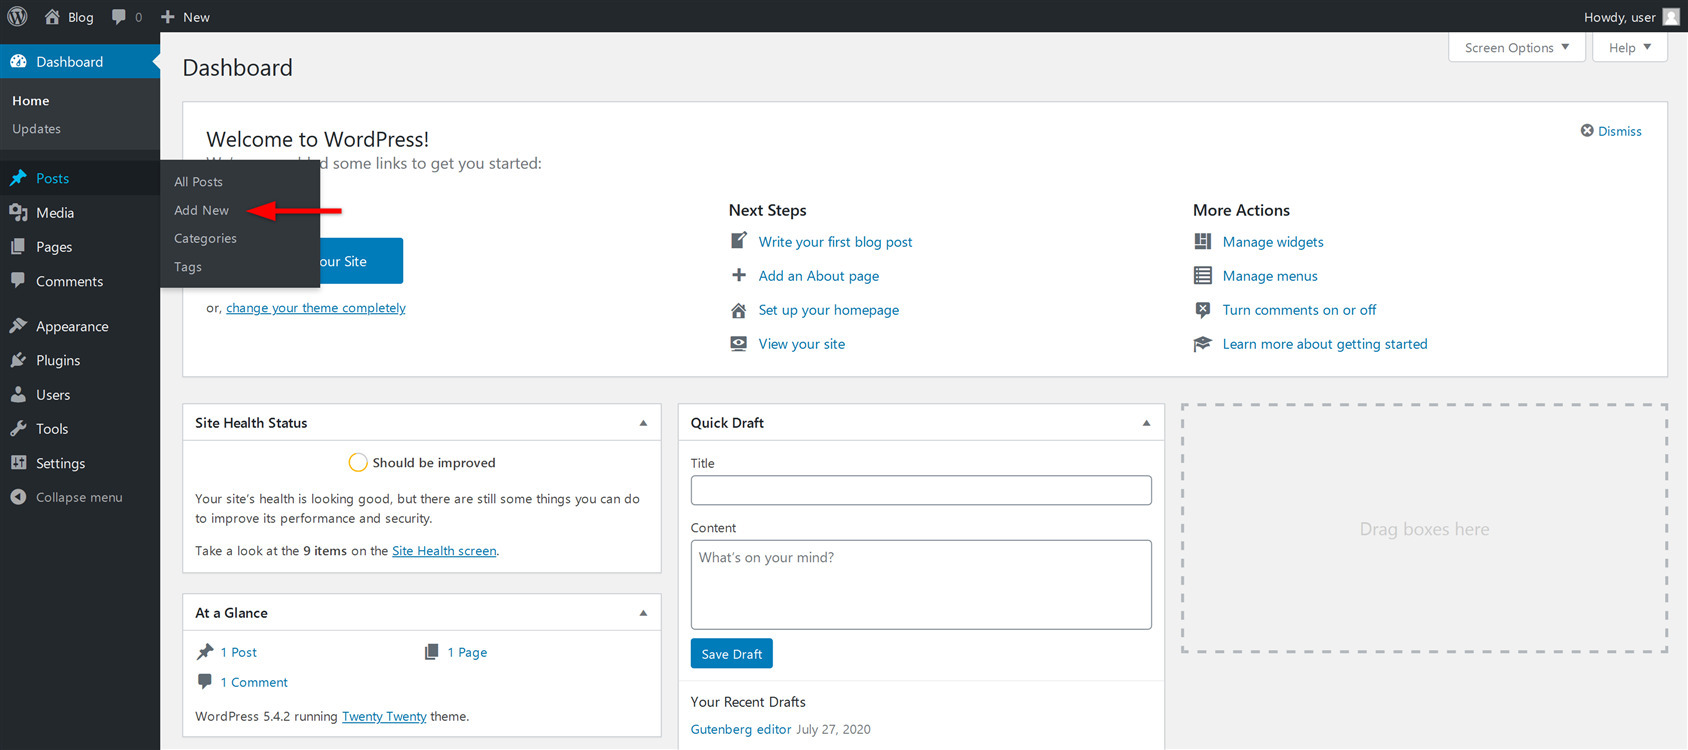
To create a new post, login to your WordPress dashboard. Next, hover your cursor over Posts on the left-hand side of the admin panel. Click on Add New.
A screen will appear where you will see the WordPress Gutenberg Block editor, and this is where you will add all of the content of your new post.

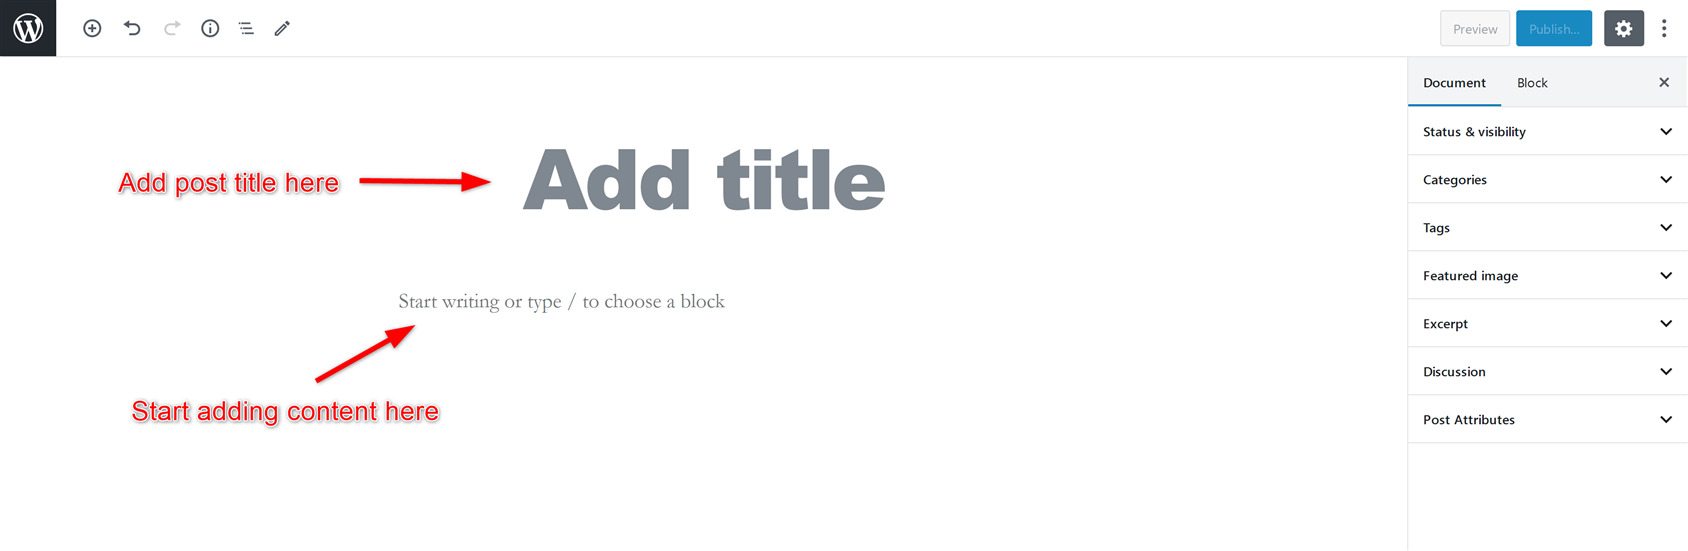
Add title and content
In the Add Title field, write the title of your blog post. Below it, you can begin writing your content directly, or add the content of your post in the form of blocks.
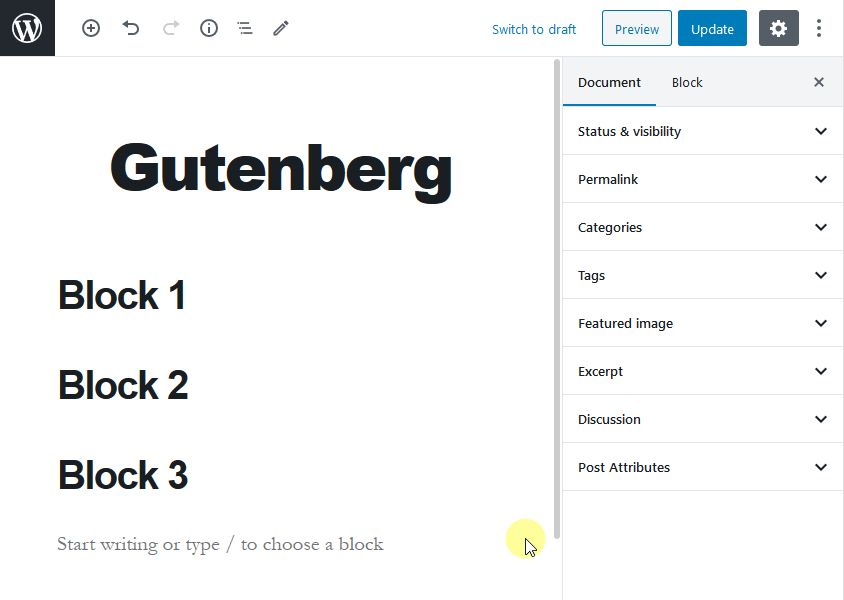
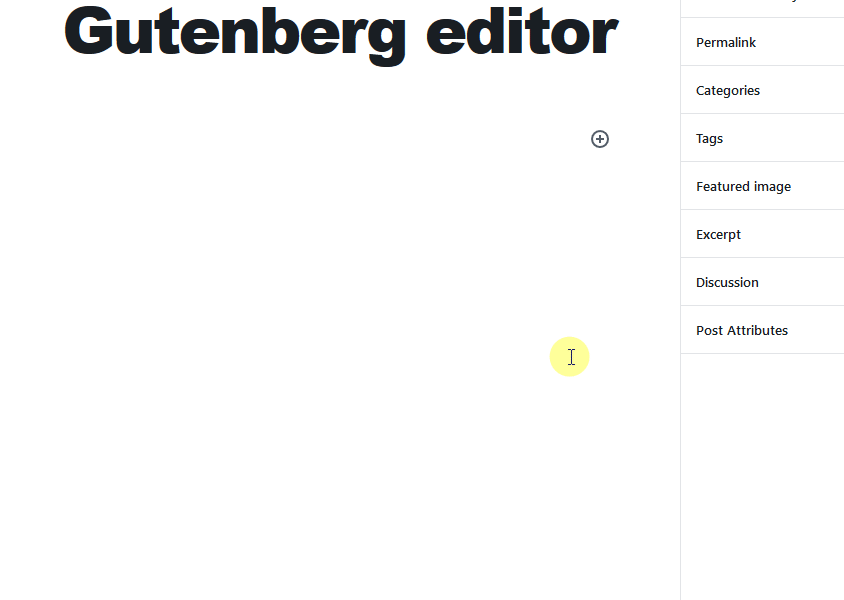
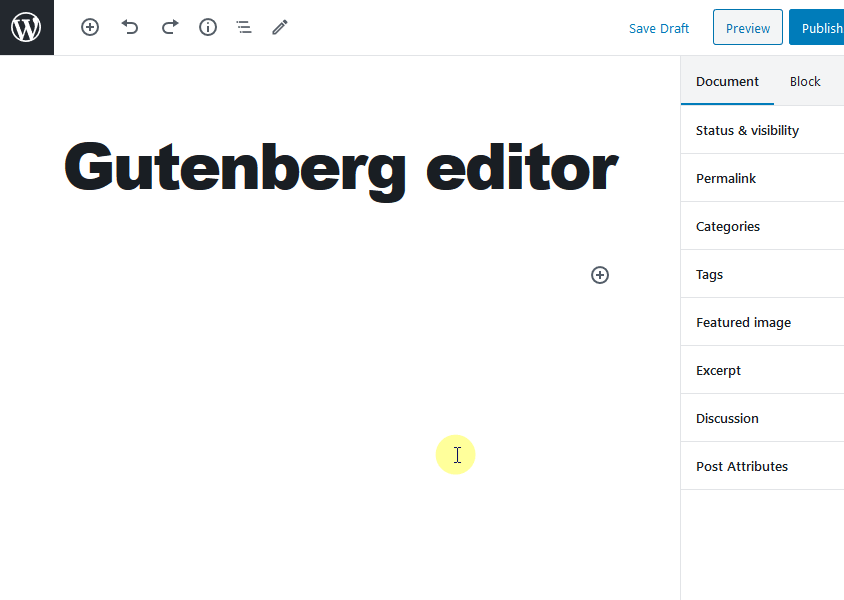
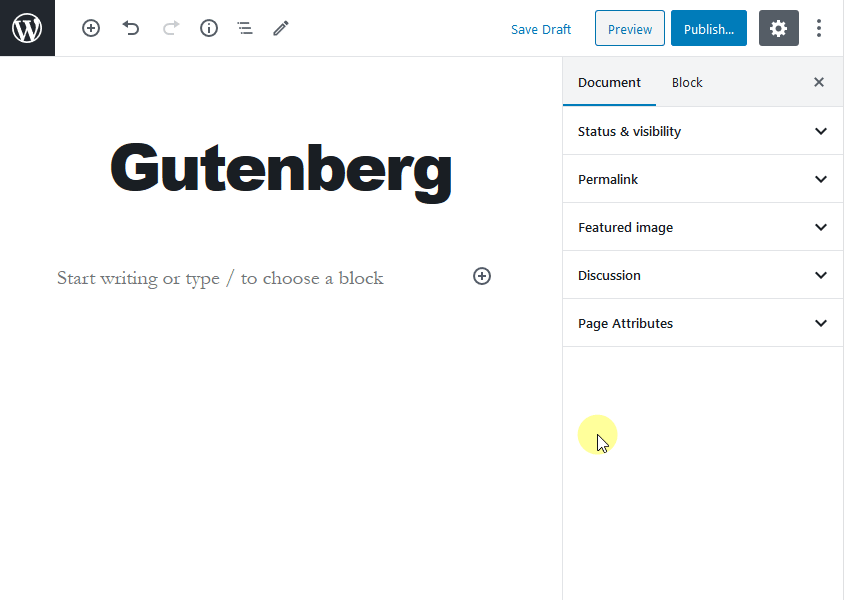
In the Gutenberg editor, all of the content elements are managed in the form of blocks. To add blocks, click on the + sign on the left side, or press enter, and you’ll see the + sign to add blocks, as shown in the image below.
The Gutenberg editor lets you add different useful blocks such as a paragraph, list, heading, tables, images, embeds, shortcodes, widgets, quotes, and more.
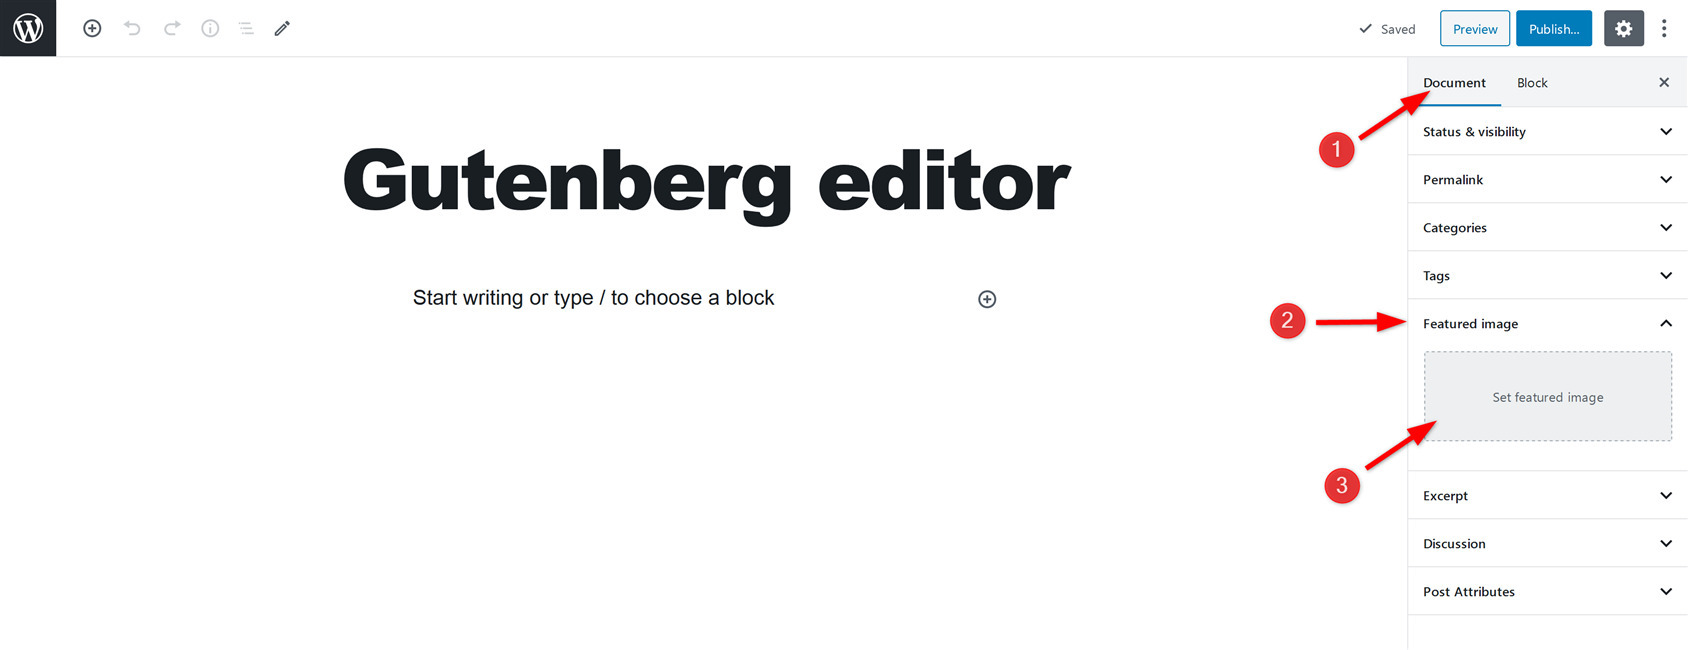
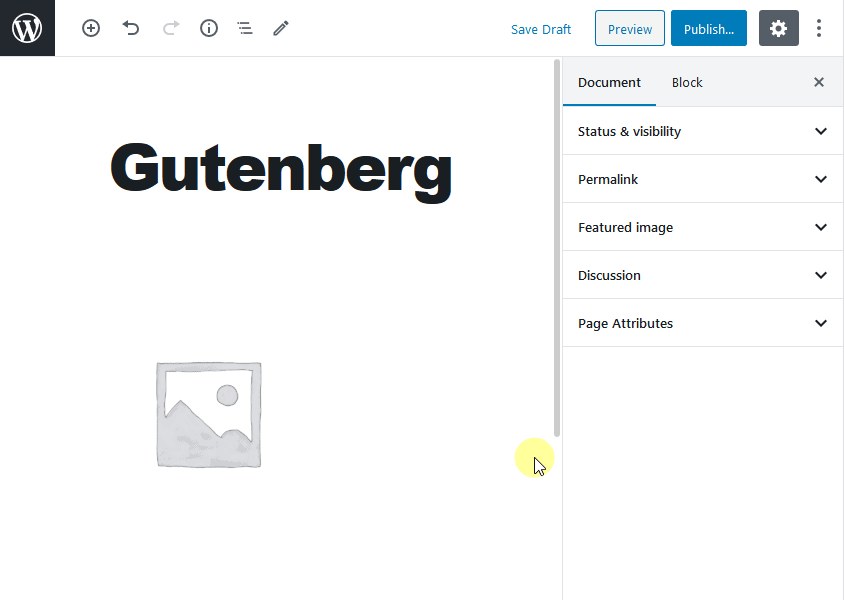
Set featured image
You’ll see two options on the top right-hand side of the editor; Document and Block. Click on the document section to see the Featured image field just below the Tags field. This field allows you to add a featured image to your post. A featured or cover image is the primary image you set on your WordPress post. It makes your post more meaningful and appealing.
Heading block
Now let’s see how to add a heading to your content in Gutenberg editor?
Click on the + sign and choose “heading block” to add headings to your content. You can add H1-H6 headings using this block. To get more options for the heading block, navigate to the right side of the screen, and select the Block tab to change the heading levels. Then you will be able to set the color of the text.
Add images, videos, and other media
You can easily find the ready to use image block in the Gutenberg editor. Simply add the Image block option that is available under the Common Blocks tab.
Now, you can upload an image file or select it from the media library. You can even use the URL of an image to add it to your post.

Alternatively, you can drag and drop images from your system, and the block editor will automatically create an image block for it.
To edit the settings of the image such as alt text, image size, or to add a link to the image, click on the Block tab in the top right-hand side of the editor.
You can also add a gallery block to your post. It works the same as an image block.
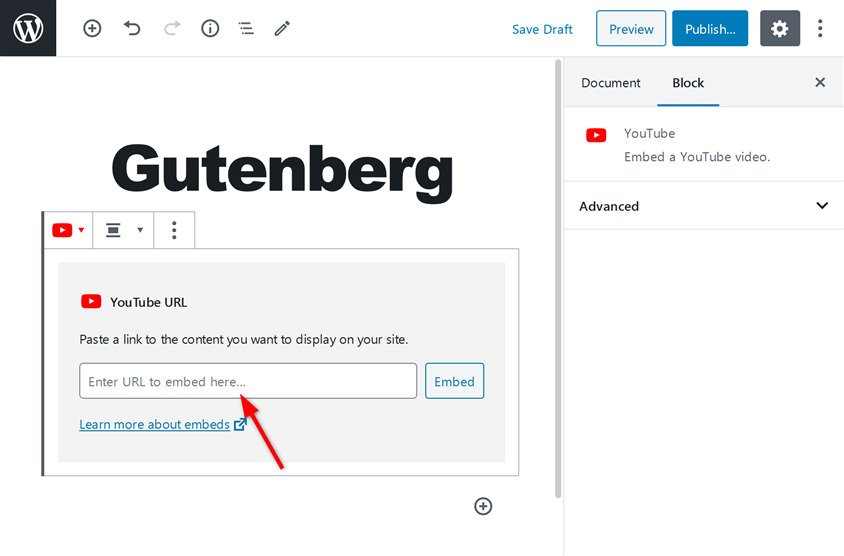
You can also add other media to your posts and pages such as videos, tweets, audio, and other social content. Just use the blocks available under the Embeds tab.
For example, to embed a YouTube video in your post, add a new block by clicking on the + sign and write embed in the search field. Then select YouTube under the Embeds tab.

Next, just add the URL of the YouTube video and click on the Embed button. The video that you selected will be added to your post.
In the same way, you can also embed other media into your WordPress post using the embed block.
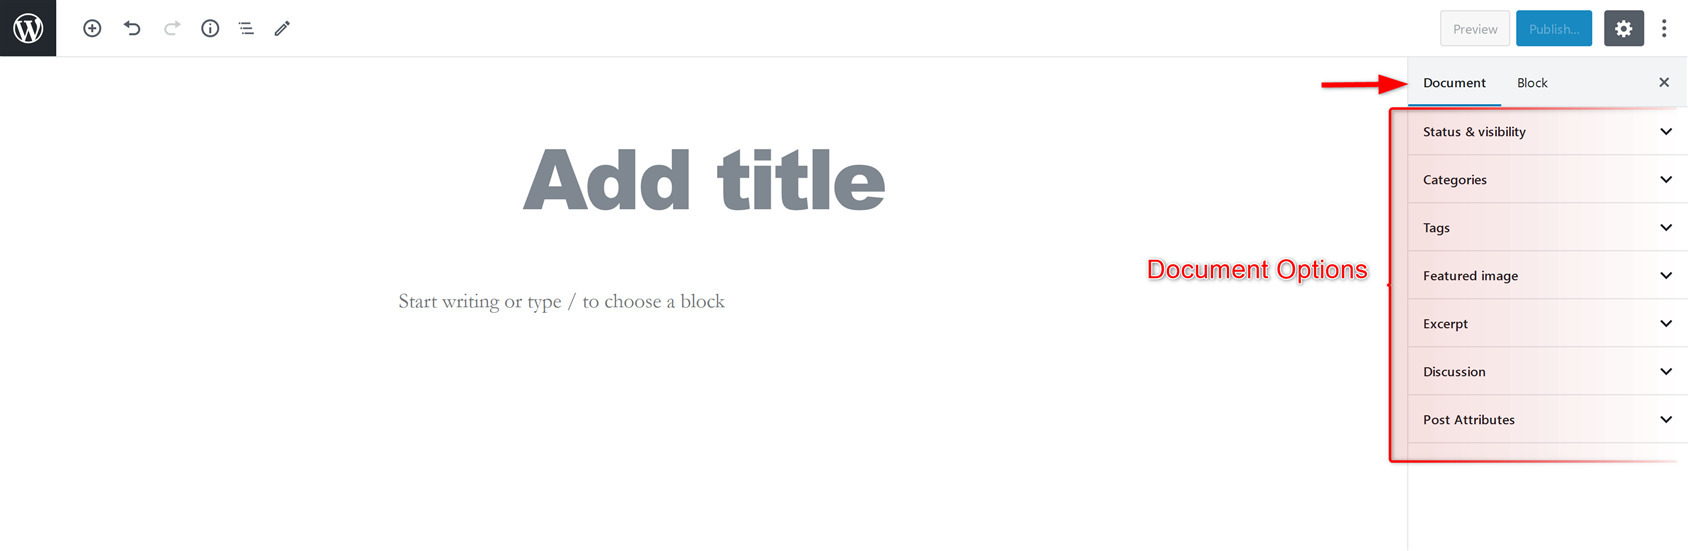
Show/Hide options from the document section
If you click on the Document section on the top right-hand side of the editor, you will see different options like permalink, categories, discussion, and excerpts.
If you want to hide some of these options or if some of these options are not appearing and you want them to show under the Document tab, click on the gear icon on the top-right corner of the editor. Then click on the ‘Options’ button to edit these screen options.
You can check and uncheck the options to show or hide them under the Document tab.
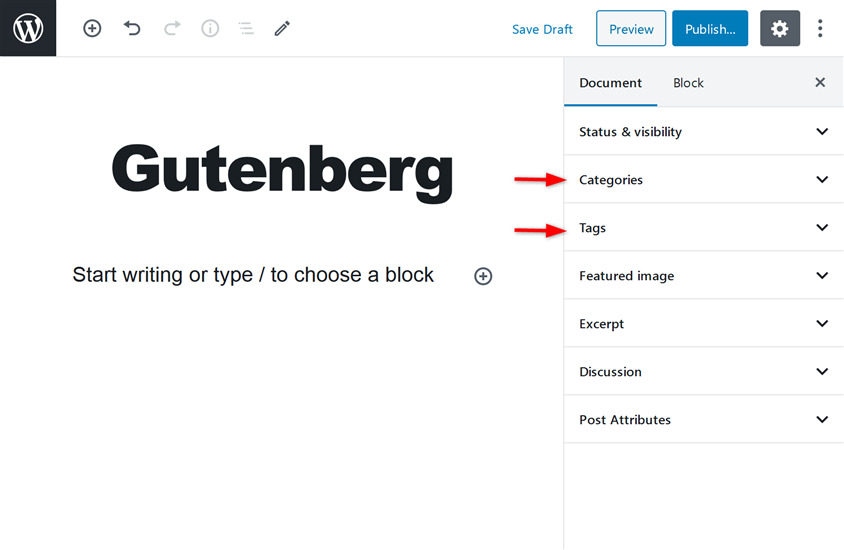
Add categories and tags
WordPress allows you to organize your posts easily using categories and tags. You can find the categories and tags section above the featured image section under the Document tab. Use this section to add relevant categories and tags to your post.
Organizing your data also helps the search engine crawlers to index your content efficiently.
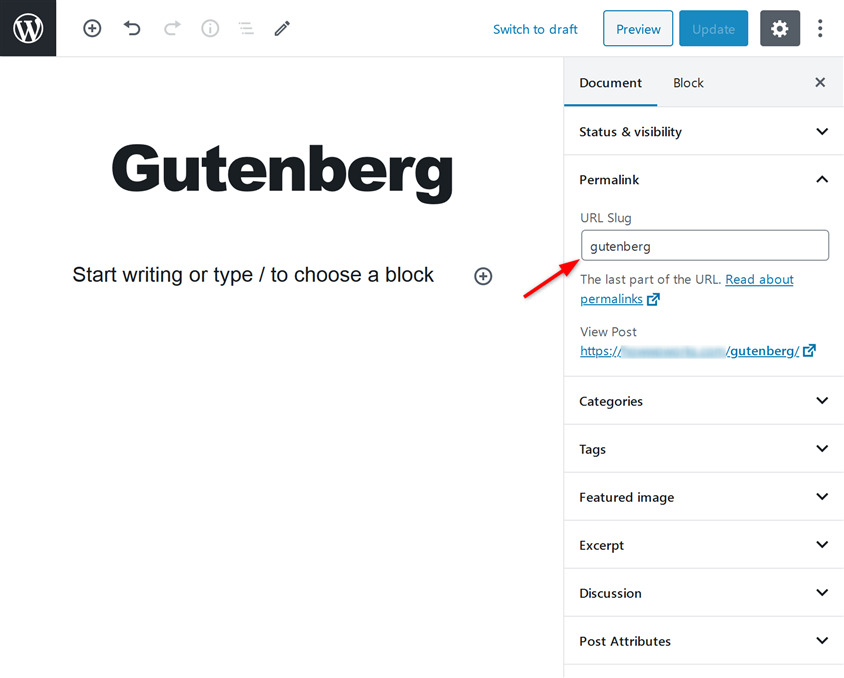
Change post permalink
Permalinks help to rank your post on search engines. It is an integral part of on-page SEO. Using a friendly and meaningful permalink is very necessary.
You can change or edit the permalink of your post using the Permalink option that is present under the Document tab.
Add excerpts (article summary)
An excerpt will serve as the summary of your post that you’ve created in the block editor. By default, WordPress uses the first 55 words of the post’s content to generate the excerpt of the post.
However, if you wish, you can add the excerpt of your choice by utilizing the Excerpt option under the Document tab.
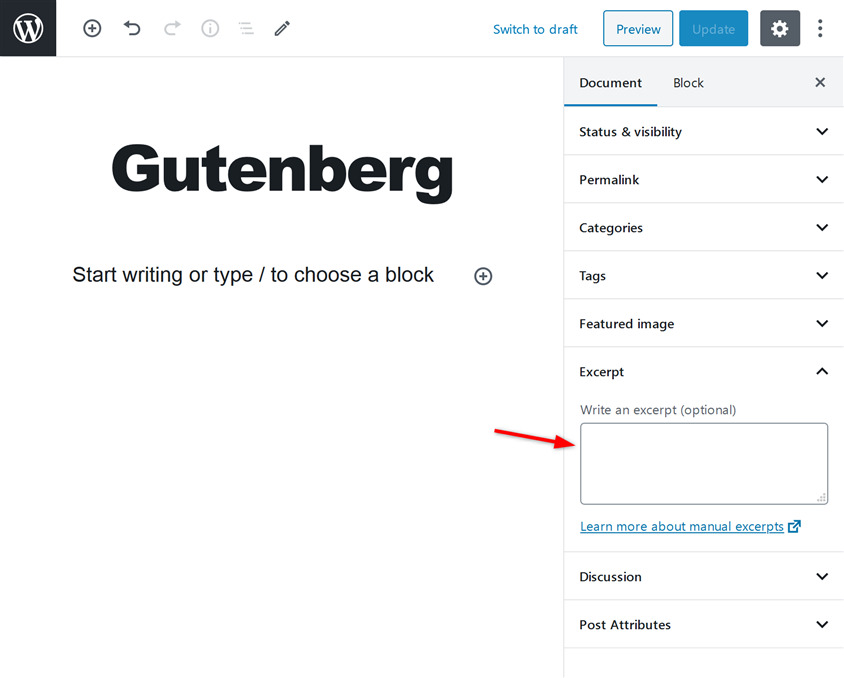
WordPress will show this excerpt as the summary instead of the auto-generated excerpt once you add the excerpt in the Excerpt option.
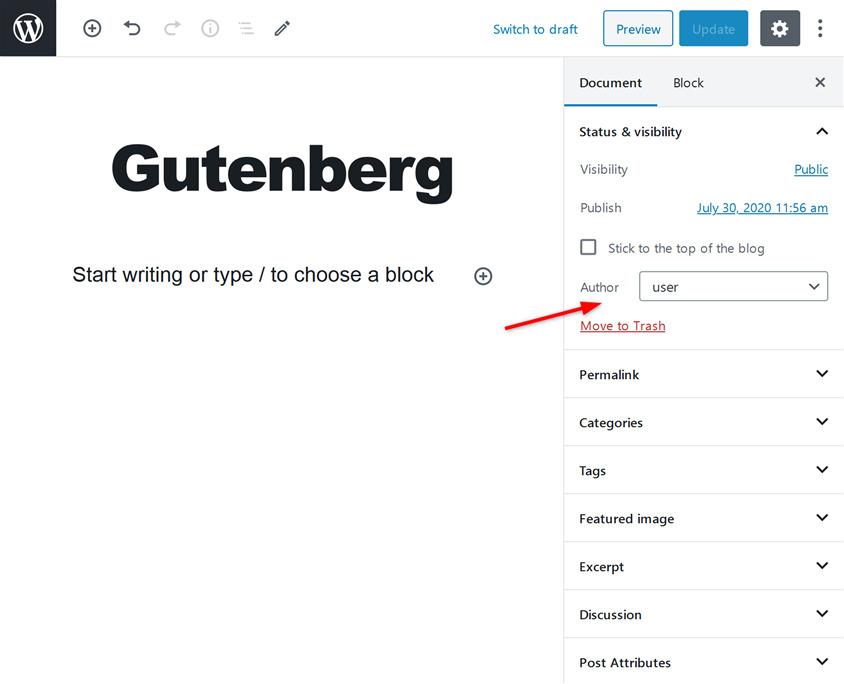
Change author
By default, a WordPress post is published under the name of the author who creates it and publishes it. However, if you have multiple users on your WordPress website, you will also have the option to select a different author for the post.
To change the author of a post, click on the Status and visibility option under the Document tab. There you can see the option to change the author of the post. Click on the drop-down arrow to select the author’s name.
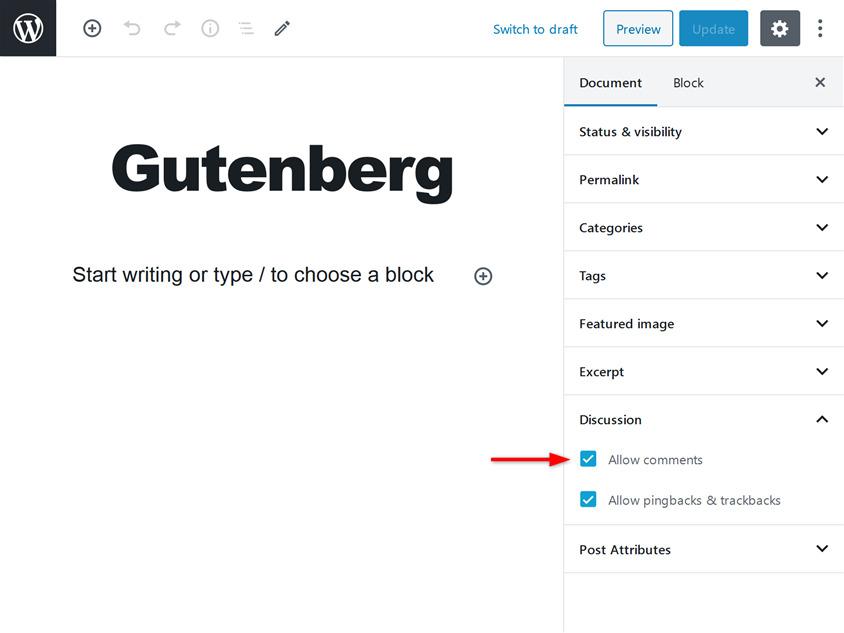
Show comments (Discussion) option
Comments are a great way to increase the interactivity of your posts. By default, the comments section is enabled on your posts.
WordPress allows you to enable/disable the comments section on your posts. In the Document tab under the excerpt section, you’ll see the Discussion option. Click on this option to see the options to enable/disable the comments section.
Here, you will also see the option to allow/disallow pingbacks and trackbacks.
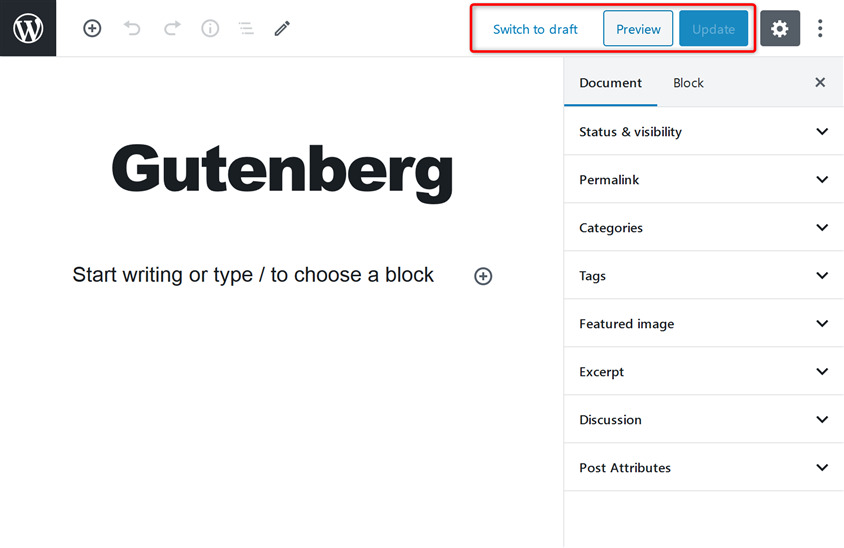
Show draft, preview, and publish options
On the top right section of the editor screen, you’ll see Save Draft, Preview, and Publish buttons. Here you can save your content as a draft to publish it later. You can also use the preview button to see how your post looks online. After you’re done adding content, media, tables, and on-page SEO, you can instantly publish your post so that it will be visible to your audience.
We hope that this block editor guide helped you in learning how to use the new Gutenberg WordPress editor. Now let’s move on to learning how to use the old WordPress editor for all of you who prefer the classic feel.
Adding a new post in WordPress using the classic editor
Although both WordPress editors (visual and textual) look quite intuitive, sometimes even more experienced users can get in trouble.
If you just learned how to start a WordPress blog and you’re about to start writing your first WordPress post, you are in the right place.
How to add your first WordPress post
After logging into WordPress, take a look at the left side of the screen. On the admin menu, there is the Post menu item just under the Dashboard one.
To start writing your first post, hover your mouse cursor (or click) on Post item. Then select “Add New”.
Alternatively, you can create a new post by selecting New -> Post from the admin bar.
Either option will take you to another page which allows you to write and edit your first article.
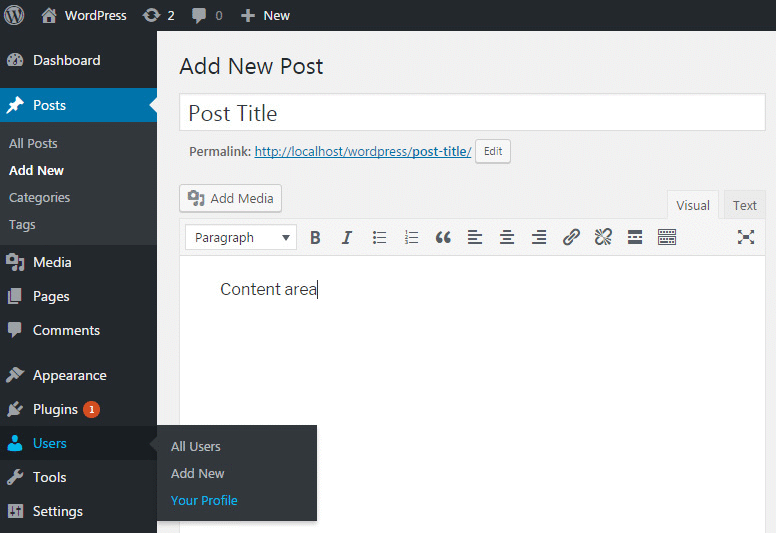
Title and Permalink
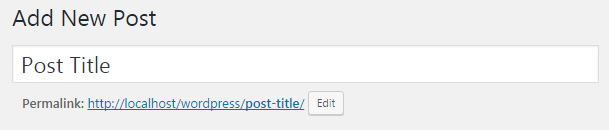
The first element on the new page is a post title. Here you will write the title of your article. Technically, it is possible to leave this field empty, but in that case, WordPress will automatically add a “(no title)” attribute as your headline. Just from a user experience point of view, we advise that you always write a custom title for any post that you’re about to publish.
As soon as you write a title and switch focus to the content box, Permalink Settings will appear below the title field. If you haven’t changed anything to your permalink structure, this will just help you to see the exact URL of your new post. If you copy this URL, you can send it to your friends, post on social media, or use anywhere else to share direct access to the post once you publish it.
In case you do have a custom permalink structure, clicking the “edit” button next to it allows you to change the last part of the permalink to anything you like.
Content area – Visual and text editor
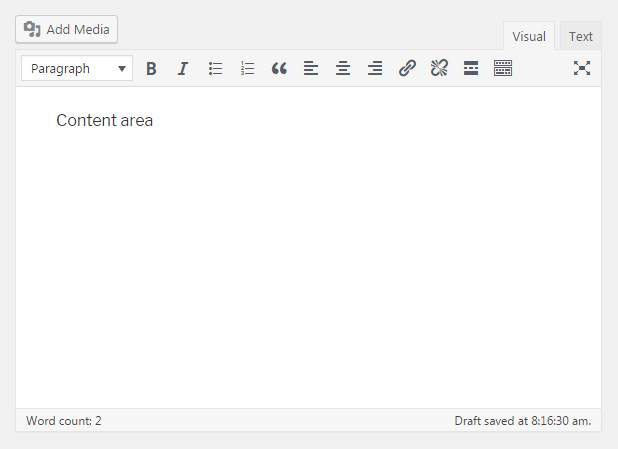
Below the title field, the content box waits for your input. This is the area where you should write your first WordPress post. Depending on the editor, things can look a bit different. In the following segment, we’re about to show you all of the elements available on the page.
The visual editor is more beginner-friendly. It lets you focus on the content and use formatting buttons to style your text just like with any word processors. On the other hand, the text editor is more developer-friendly. It empowers you to write and add code directly from the editor.
While switching between editors is possible just by selecting the right tab from the right side of the content area, it’s not recommended. Changing editors could mess up your formatting. For example, if you create a numbered list in the text editor and then switch to a visual one, WordPress will jumble up the list by adding additional HTML tags. If you have no experience with HTML, we suggest that you stick with the visual editor.
When working in any of the editors, you can use keyboard shortcuts to work faster and more efficiently. For example, press CTRL + B key combination to make selected text bold.
How to turn off the visual editor
Although it is not possible to shut down the text editor, you can easily turn off the visual one. To do so, please navigate to Users -> Your Profile which will open your profile settings page. Under Personal Options, select the first “Disable the visual editor when writing” option. Don’t forget to scroll down and click the Update Profile button to save changes.
Now, you will only have the text editor, and you won’t have to worry about switching editors by mistake.
Worry-free writing
While writing your new article, you don’t need to worry about losing your content. By default, WordPress automatically saves the entire post content for you every 60 seconds. Just in case you forget to save the progress manually, it’s good to know that WordPress has your back.
Add Media

On top of the content area (and just below the title), click the big “Add Media” button to open Media Library. Here you can select previously uploaded images, add new ones, create galleries and so much more.
Publishing Options
On the right-hand side of the post screen, several publishing options are waiting for your selection. Let’s take a closer look at all of the options available to you.
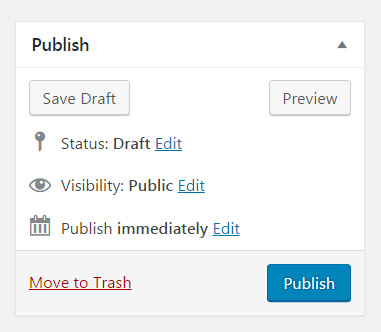
Save Draft button
If you click on the Save Draft button, WordPress will save everything you’ve done so far on the page. That includes the content and everything around it that you filled in or selected (like categories, tags, and so on).
Preview button
The preview button opens a new tab or window in your browser, and it shows you what your article looks like at the current stage. This is what the post would look like to everyone if you were about to publish it.
Please take note that the URL of a preview is different from the actual published post. Also, the preview link will not work for non-logged-in users. Even though it is possible to make previews available for the public, you would have to install additional plugins for that to work.
Status
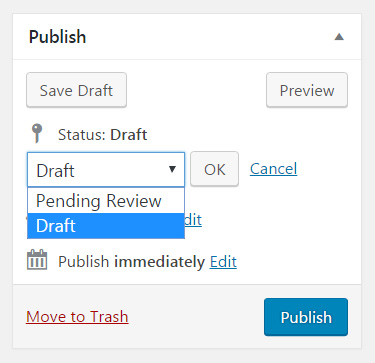
While still working on your article, by default, the status will be set to draft. By changing the status to “Pending review”, you can tell your coworkers that you have finished working on the post and allow editors to review and approve it. Changing statuses is a must-have feature when working in a team.
Once you publish a post, the status will automatically change to “Published”. It is possible to alter the status of an already published post from here. You can even unpublish a post if you wish.
Visibility
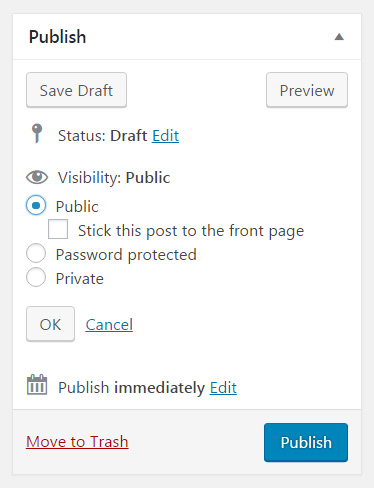
Your new post can have three different visibility statuses.
- Public – allows everyone to see your new article. If you select the option to stick the post to the front page of your blog, that particular post will always appear on top of your blog list. This is also known as a sticky post.
- Password Protected – enter a password for the post. Only people who enter the correct password will be able to see the contents of the article.
- Private – If you privately publish the post, only users who are logged in and have editing privileges will be able to see it.
Publish immediately, schedule or backdate a post
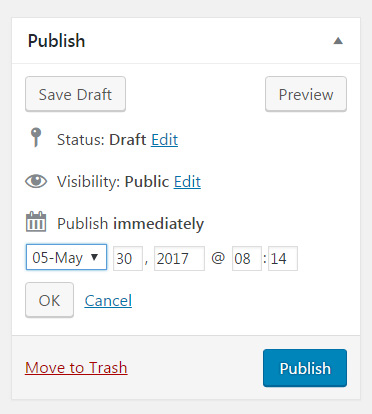
By default, WordPress sets all posts to be published immediately. By clicking the “Edit” link next to this option, an article can be scheduled for publishing or set to any date in the past.
Move to trash
If you decide to delete the post that you’re currently editing, just click the “Move to trash” option. If you click the link by mistake, don’t worry; WordPress allows you to undo changes from the next screen. Also, your post will stay in the trash for 30 days. During that period you can always choose to bring it back to life or permanently delete to keep things neat.
Publish
Lastly, there’s the blue “Publish” button that makes your post public. By default, clicking the button will make your post live instantaneously, and everyone will be able to see it. But if you click the “Edit” link next to the button, you can schedule or create a backdated post.
Formats
By default, WordPress allows ten different post formats to be used by any theme. Depending on the theme you have installed, you may have all ten, none, or anything in between. Those formats allow you to change the layout of your post. Although the post would be displayed differently by changing a format, the content would stay the same.
These are ten default WordPress post formats:
- Standard – the default post format
- Aside – content without a title
- Gallery – best used when displaying a gallery of images
- Link – use a post as the link to another website
- Image – show a single image
- Quote – display the quoted content
- Status – publish a short status update
- Video – post a single video or playlist
- Audio – use audio file or playlist (good for podcasts)
- Chat – show a chat transcript
Categories
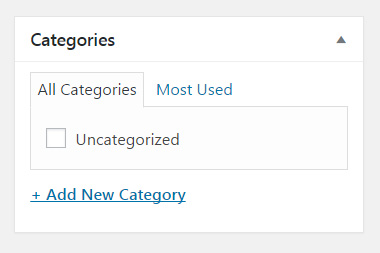
Add your new post to a category that you have previously created or generate a new one by clicking the link below the list. You can choose a category from the list or view the most used ones.
Tags
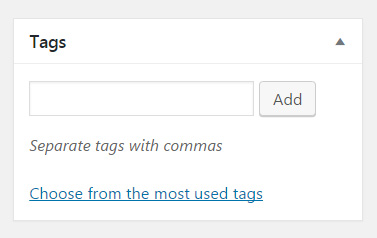
Describe your post with one or multiple tags. By writing tags, WordPress will autosuggest ones that you have previously used. If no suggestions appear, add a new tag by clicking the “Add” button or hitting the Enter key.
If you’re more of a visual type, you can click the “Choose from the most used tags” link found below. It will open a list of tags where the biggest ones represent tags you use the most frequently, while the smallest ones will be those you use less often.
Featured Image
A featured image (also known as post thumbnail) is one picture that will represent your post. In the past, only some themes allowed this option. Today, almost all WordPress themes support featured images.
Depending on the WordPress theme you use, a featured image will appear at the top of your post after you publish it. It will also show on your homepage, blogroll, and other places where your theme displays posts.
To insert a featured image for the post, click the “Set featured image” link. From this new window, select a picture that you’ve already uploaded, or add a new one from your computer.
Screen Options

At this point, it may seem that we’re done with all of the options available on the post screen. But if you scroll all the way up, you will see a Screen Options tab. By clicking on it, a few options will drop down from the top of your page.
By default, Format, Categories, Tags, and Featured Image boxes are already selected. As you can see, those are the ones that we just went through together. But a few more boxes still sit empty. If you check them, new options will appear below your content editor. Let’s quickly see all the options and what they can do for you.
Excerpt
Excerpts are short summaries that you need to write manually. Depending on the theme you use, you can display excerpts on your homepage where you show all of the latest posts. If you don’t use the manually written excerpt option, WordPress will automatically take the first few sentences of your post to create an extract when needed.
Send Trackbacks
If you enter URLs of websites in this field, WordPress will send them a notification. This way, the admins will know that you linked to their sites from that particular post. If you are linking to another WordPress site, you don’t have to do anything – WordPress will automatically send a pingback to the linked blog and make the same notification.
Since trackbacks and pingbacks are often misused for spam, many bloggers turn them off altogether. So, if you decide to send a trackback, don’t be surprised if that user never receives it.
Custom Fields
Sometimes, WordPress themes might use custom fields to allow some information to be added to the post. Depending on the theme you use, there may be dozens of available custom fields. Custom fields can be programmed to do practically anything with your post. They can simply add extra information to describe it, or they can change it completely.
For example, if you are using a professional theme designed for a food blog, you could add a custom field that will show a menu or a recipe on that specific post only.
Discussion

By default, WordPress allows comments on each one of your posts. But if you want to turn off comments just for that one post, this is the place to uncheck the option. You can also disable trackbacks and pingbacks here.
Slug
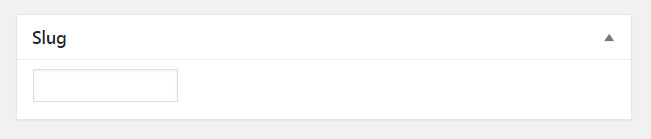
A slug is the part of the URL that you can edit. It is the same option that shows under the title.
Author
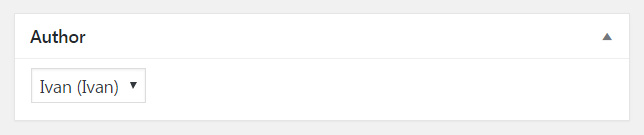
If this is your first post, chances are that you only have one user account – your own. But sometime in the future when you could have more than one account, this is the place to switch the author of a post. WordPress will automatically select your primary account as the author of the article, but if you want to change that, just select a new user from the list.
Layout
After choosing the boxes that you want to have on the post screen, the layout allows you to show them in 1 or 2 columns. We suggest that you try both options to see which one suits you better.
If you decide to go with just one column, please take note that everything that was by default on the right side of the screen will now appear below the content editor.
By placing your cursor over the upper part of any box, you will be able to drag and drop the entire section to another available location. By moving elements, you can reorganize your whole layout.
Additional settings and options
The screen options tab allows you to disable full-height editor and distraction-free functionality. By default, they will be turned on so that you can resize the content area, and allow distraction-free functionality, which opens the editor in full-screen while hiding all the other options.
It is possible to extend the options and features of the post screen by installing additional plugins. More often than not, a theme will already have custom boxes and features. So, even if you’re just starting, you may have some extra options on this screen that are unique to your site. Don’t be scared to explore them.
Conclusion
In terms of efficiency, both WordPress classic and Gutenberg editor will provide you with the necessary tools to start blogging. The choice between the two is only a matter of interface preference, layout complexity, and content type.
The Gutenberg block editor is an intuitive drag and drop tool, perfect for adding media-rich content. You can easily add blocks in your post for different items like images, headings, and videos. With the Gutenberg editor, you can visually edit your posts and easily add, duplicate, and move blocks. This editor allows you to create complex layouts without any HTML knowledge. Over time, WordPress will be adding more and more blocks to this editor that will help to set up posts even more easily.
However, for those of you who prefer the classic feel, it may make more sense to continue using the old version. The classic WordPress editor is ideal for adding mostly text-based content with a simpler layout. The old version is an easy to use textual content creator that requires you to have basic HTML skills that are relevant for SEO.
Which one should you use? That’s entirely up to you. Even though the new Gutenberg version seems more intuitive and modern, if you prefer the simplistic design of the old version, you can keep using the classic editor so that the transition does not seem as painful.
Super helpful, thank you for the information. I am a new blogger and this cleared up some apprehension I had.
Thanks Jerry.
Aw, this was a really nice post. Spending some time and actual effort to generate a great article… but
what can I say… I put things off a whole lot and never manage to get nearly anything done.